Post-processing is a crucial step in the world of photography that involves manipulating and enhancing digital images after they have been captured. It plays a vital role in bringing out the full potential of a photograph and creating a visually compelling final result. Whether you are a professional photographer or an amateur enthusiast, understanding the importance of post-processing can significantly elevate the quality and impact of your photos.
Here are several key reasons why post-processing is essential in enhancing photos:
- Correcting Exposure and White Balance: In many instances, the camera may not capture the perfect exposure or white balance, especially when shooting in challenging lighting conditions. Post-processing allows you to adjust these parameters, bringing out the true colors and tonal range of the image. This can make a significant difference in the overall look and feel of the photo, ensuring that it accurately represents the scene as you intended.
- Enhancing Details and Sharpness: Post-processing enables you to enhance the fine details and sharpness of your images. Through techniques like sharpening and clarity adjustments, you can make textures more pronounced and bring out intricate elements that might have been lost or softened during the capture process. This can greatly enhance the overall quality and impact of the photograph, making it more visually appealing.
- Color Correction and Enhancement: Colors can significantly influence the mood and atmosphere of a photograph. Post-processing provides the ability to fine-tune and enhance colors, ensuring they are accurate and vibrant. You can adjust individual color channels, manipulate saturation and vibrancy, or apply creative color grading techniques to achieve the desired effect. This allows you to create images that evoke specific emotions and make a stronger visual impact.
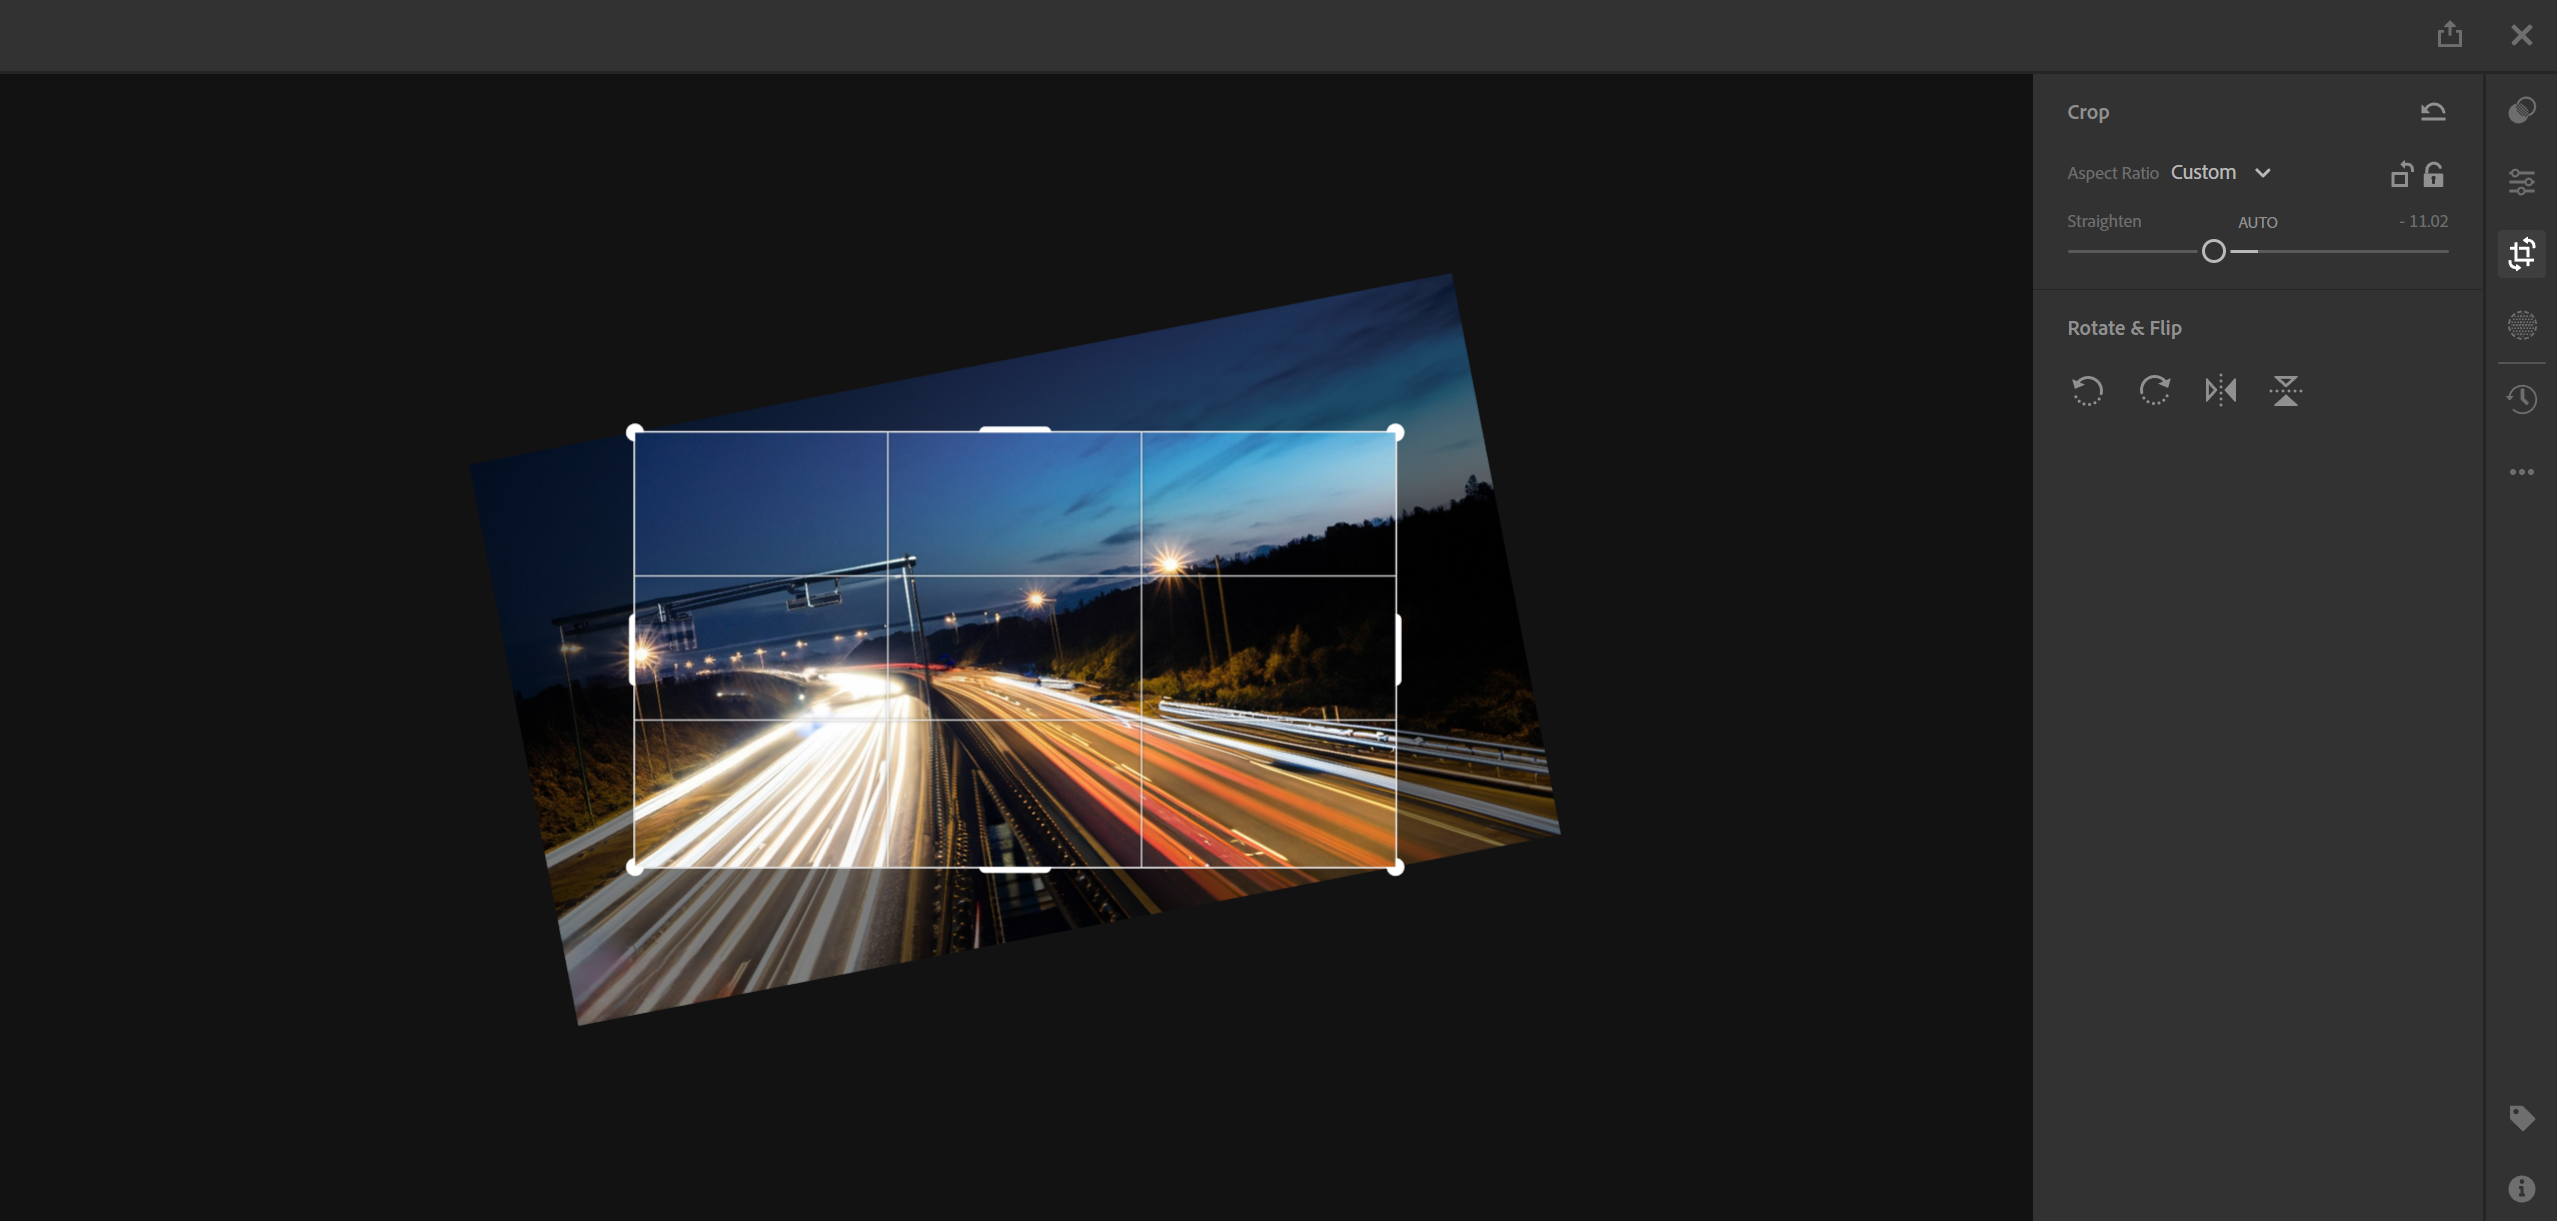
- Composition and Cropping: Sometimes, the composition of a photograph may benefit from adjustments after the initial capture. Post-processing allows you to crop the image, removing distracting elements or improving the overall balance and framing. You can also straighten horizons, correct perspective distortion, or apply other techniques to refine the composition, ultimately leading to a more visually pleasing result.
- Creative Expression and Artistic Interpretation: Post-processing opens up a realm of creative possibilities, enabling photographers to apply their artistic vision and style to their images. With various editing tools and techniques, you can add artistic filters, create dramatic black and white conversions, apply selective editing to draw attention to specific areas, or experiment with different effects. This empowers photographers to infuse their images with their unique creative touch, resulting in photographs that stand out and reflect their personal vision.
- Image Restoration and Retouching: Post-processing also plays a vital role in image restoration and retouching. It allows you to remove blemishes, dust spots, or other unwanted distractions from the image. Additionally, you can correct imperfections, such as skin tones in portraits, remove red-eye, or smooth out wrinkles. These techniques help enhance the overall aesthetics of the photo and ensure a polished, professional finish.
In conclusion, post-processing is an integral part of the photographic process, offering a range of tools and techniques to enhance, refine, and transform your images. It allows you to correct technical flaws, enhance details, manipulate colors, refine compositions, and express your unique artistic style. By leveraging the power of post-processing, you can unlock the full potential of your photographs, creating visually stunning images that captivate viewers and leave a lasting impression.
Preparing for Post-Processing
Preparing for photo post-processing is an important step that sets the foundation for achieving excellent results in editing and enhancing your images. By following a few key steps before you begin the post-processing stage, you can ensure a smooth and efficient workflow while maximizing the potential of your photographs. Here are some essential tips for preparing for photo post-processing:
- Shoot in RAW: When capturing images, opt to shoot in RAW format if your camera supports it. RAW files contain unprocessed data straight from the camera’s sensor, providing greater flexibility and control during post-processing. RAW files retain more details and offer a wider dynamic range, allowing for better exposure adjustments and color manipulation.
- Organize and Backup: Before you start post-processing, organize your image files and create a backup system to ensure the safety of your work. Create a logical folder structure and use appropriate naming conventions for easy navigation. Backup your files to an external hard drive or cloud storage to protect against data loss or corruption. This way, you’ll have a secure and organized collection of images to work with.
- Calibrate your Monitor: The accuracy of your monitor’s display is crucial for effective post-processing. Use a monitor calibration tool or software to calibrate your monitor regularly. This ensures that the colors and tones you see on your screen are accurate and consistent. A calibrated monitor helps you make precise adjustments and ensures that your edited images will look the way you intend on other devices or when printed.
- Develop a Post-Processing Workflow: Establishing a consistent post-processing workflow can streamline your editing process and save you time. Define a series of steps that you typically follow for editing, such as adjusting exposure, white balance, cropping, and applying specific adjustments or filters. Having a structured workflow allows you to work efficiently and maintain a consistent look and feel across your images.
- Set Realistic Goals: Before you dive into post-processing, it’s essential to have a clear vision and goal for each image. Identify the mood, style, or story you want to convey and consider the adjustments or enhancements required to achieve that vision. By setting realistic goals, you can focus your efforts and avoid over-editing or losing the essence of the original photograph.
- Take Breaks and Fresh Perspectives: Editing can be a time-consuming process, and it’s easy to get lost in the details. To maintain objectivity and prevent fatigue, take breaks during your post-processing sessions. Step away from the screen, refresh your eyes, and revisit your work with a fresh perspective. This helps you spot any flaws or areas that need further improvement, ensuring the best outcome for your images.
- Keep an Open Mind: While it’s essential to have a vision for your images, don’t be afraid to experiment and explore different editing techniques. Post-processing offers a range of creative possibilities, and trying out new approaches can lead to unexpected and exciting results. Embrace the flexibility that digital editing provides, and allow yourself to push boundaries, refine your skills, and develop your unique style.
By following these steps, you can establish a solid foundation for post-processing your photographs. Preparing your files, organizing your workflow, and setting realistic goals will help you achieve consistent, high-quality results. Remember to balance technical adjustments with creative expression and maintain an open mind throughout the process. With these preparations in place, you’ll be well-equipped to bring out the best in your images during post-processing.
Basic Adjustments
When it comes to post-processing techniques for photographs, there are several basic adjustments that are commonly used to enhance the overall quality and visual impact of an image. These adjustments allow photographers to fine-tune various elements, such as exposure, colors, contrast, and sharpness, among others. Here are some essential techniques for basic adjustments in photo post-processing:
- Exposure and Brightness: Adjusting the exposure and brightness of an image is often the first step in post-processing. This involves controlling the overall lightness or darkness of the photo to ensure proper tonal balance. You can increase or decrease exposure to correct underexposed or overexposed areas, bringing out details in the shadows or highlights. Tools like exposure sliders or levels adjustments are commonly used for this purpose.
- White Balance: White balance adjustment is crucial for achieving accurate and natural-looking colors in an image. It involves correcting any color cast caused by different lighting conditions. By adjusting the temperature (warmth or coolness) and tint (green or magenta) of the photo, you can ensure that whites appear white and the overall color balance is pleasing to the eye. White balance adjustment tools such as temperature and tint sliders or color balance adjustments are commonly used for this purpose.
- Contrast and Tone Curve: Adjusting contrast and tone curve helps in fine-tuning the tonal range and enhancing the overall dynamic range of the image. Contrast adjustment involves increasing the difference between highlights and shadows to make the image appear more vibrant and impactful. The tone curve allows for precise control over the brightness and contrast of specific tonal ranges within the image. By adjusting the curve, you can bring out details in both shadows and highlights, adding depth and dimension to the photograph.
- Color Saturation and Vibrancy: Color saturation and vibrancy adjustments allow you to control the intensity and richness of colors in your image. Saturation adjustment affects the overall strength of all colors, while vibrancy focuses on enhancing less saturated colors while protecting skin tones. These adjustments can help make the colors in your photo pop and create a more visually appealing result. Saturation and vibrancy sliders or HSL (Hue, Saturation, Luminance) adjustments are commonly used for this purpose.
- Sharpening and Noise Reduction: Sharpening enhances the clarity and details in an image, making it appear sharper and more defined. Noise reduction, on the other hand, reduces the digital noise or grain that can be present in images, especially in low-light or high ISO situations. Applying these adjustments appropriately can significantly improve the overall sharpness and quality of the photo. Tools such as sharpening sliders, noise reduction filters, or dedicated plugins are commonly used for this purpose.
- Cropping and Straightening: Cropping allows you to remove unwanted elements, improve the composition, and focus on the main subject of the image. It helps eliminate distractions and create a more pleasing composition. Straightening adjusts the horizon or corrects any tilted angles to ensure a level and balanced image. These adjustments can greatly enhance the overall visual impact and aesthetics of the photograph.
- Cloning and Healing: Cloning and healing tools are used for retouching and removing imperfections in an image. Cloning allows you to duplicate a specific area and cover up unwanted objects or distractions. Healing tools, on the other hand, blend and smooth out imperfections, such as blemishes or sensor spots. These adjustments help achieve a clean and polished final result.
It’s important to note that the extent and application of these adjustments may vary depending on the specific image and the photographer’s creative vision. The aim is to enhance the image while maintaining a natural and realistic appearance. By mastering these basic adjustments, photographers can significantly improve the quality and impact of their photographs during the post-processing stage.
Cropping and Composition
Cropping and composition are vital aspects of photography that can significantly impact the visual storytelling and overall aesthetics of an image. While cropping involves removing unwanted elements or adjusting the frame, composition refers to the arrangement and placement of subjects within the frame. Applying these techniques during the post-processing stage can further enhance the quality and impact of your photographs. Here’s a look at how cropping and composition can be utilized in post-processing techniques:
Cropping in Post-Processing:
- Refining Composition: During post-processing, you have the opportunity to reassess the composition of your image and make necessary adjustments through cropping. By cropping, you can remove distracting elements, reposition the main subject, or alter the overall balance within the frame. This allows you to create a stronger composition that draws the viewer’s attention to the intended focal point or enhances the visual flow of the image.
- Aspect Ratio Adjustment: Post-processing enables you to crop your images to specific aspect ratios, such as square, 4:3, 16:9, or any other desired format. This can be particularly useful for optimizing your images for different platforms, such as social media or print. Adjusting the aspect ratio through cropping can help create a more visually pleasing and harmonious composition within the chosen format.
- Size and Framing Considerations: Cropping in post-processing allows you to determine the final size and framing of your image. You can crop tighter to create a sense of intimacy or zoom out to provide context and a broader view. The ability to control the framing enables you to emphasize specific details or adjust the perspective, ultimately influencing the overall narrative and impact of the photograph.
Composition in Post-Processing:
- Rule of Thirds: The rule of thirds is a fundamental compositional guideline. During post-processing, you can use grid overlays or guides to apply the rule of thirds. By aligning important elements along these grid lines or at their intersections, you can create a visually balanced and pleasing composition that encourages the viewer’s eye to move naturally through the image.
- Leading Lines and Diagonals: Leading lines and diagonal elements can add depth, dynamism, and a sense of movement to your photographs. In post-processing, you can enhance these compositional elements by adjusting contrast, tonal range, or color saturation to make them more prominent. You can also use cropping to emphasize or align these lines more precisely within the frame, enhancing the overall impact of the composition.
- Framing and Negative Space: The use of framing and negative space can help create a sense of focus and emphasis within your photographs. In post-processing, you can adjust the framing elements, such as cropping out unnecessary parts or refining the framing elements, to enhance their impact. You can also consider adjusting the balance between positive and negative space to achieve the desired visual effect and storytelling.
- Balance and Symmetry: Post-processing allows you to fine-tune the balance and symmetry within your composition. You can make subtle adjustments to align elements precisely or create symmetrical reflections. Balancing the visual weight of objects within the frame through cropping or editing techniques can contribute to a harmonious and visually pleasing composition.
By utilizing cropping and composition techniques during post-processing, you have the power to refine and enhance the visual impact of your photographs. These techniques enable you to optimize the composition, emphasize the main subject, remove distractions, and create a more engaging and visually appealing final result. Through experimentation and careful consideration of the composition, you can effectively tell your story and evoke the desired emotions in your audience.
Retouching and Enhancements
Retouching and enhancements in photo post-processing techniques involve making targeted adjustments to specific elements of an image to improve its overall appearance, correct imperfections, and enhance visual impact. These techniques allow photographers to refine their photos, create a polished final result, and convey their artistic vision effectively. Here are some common retouching and enhancement techniques used in photo post-processing:
- Spot Removal: Spot removal involves the removal of small imperfections or distractions from the image. These may include dust spots, sensor spots, blemishes, or unwanted objects. Using tools like the healing brush or clone stamp, you can carefully retouch and blend these areas seamlessly into the surrounding pixels, resulting in a cleaner and more visually appealing image.
- Skin Retouching: In portrait photography, skin retouching is often applied to create a smoother and more flawless complexion. Techniques such as reducing blemishes, softening wrinkles, or enhancing skin tone can be used to achieve a polished look while maintaining a natural appearance. It’s important to strike a balance to avoid overly airbrushed or unrealistic results.
- Color Adjustments: Color enhancements play a crucial role in post-processing. You can adjust color temperature, saturation, vibrance, and hues to achieve the desired look and mood in your image. This allows you to enhance the natural colors, create a specific color palette, or even apply creative color grading for artistic effects. Selective color adjustments can be used to target specific areas or objects within the image.
- Contrast and Tone Adjustments: Adjusting contrast and tones helps to enhance the overall visual impact of the photograph. You can fine-tune the tonal range, highlight details in the shadows or recover highlights in the blown-out areas, and create a more balanced exposure. This helps add depth and dimension to the image, making it more visually engaging.
- Sharpening and Detail Enhancement: Sharpening techniques are used to enhance the overall clarity and detail of an image, making it appear sharper and more defined. This is particularly useful for bringing out intricate textures or enhancing fine details. Care should be taken not to over-sharpen the image, as it can result in artifacts or an unnatural look. Additionally, detail enhancement techniques can be applied to specific areas, such as eyes or landscapes, to further draw attention and enhance the impact.
- Noise Reduction: In situations where digital noise or grain is present in the image, noise reduction techniques can be employed to minimize or eliminate it. This is particularly relevant in low-light or high ISO photographs. By using noise reduction tools or software, you can reduce the appearance of noise while preserving image details and maintaining overall image quality.
- Creative Effects: Post-processing also offers opportunities for creative enhancements and effects. These can include applying artistic filters, adding vignettes, applying selective adjustments, or experimenting with different styles and tones. Such effects can help add a unique touch to the image, reflect personal artistic expression, and create a distinct visual style.
It’s important to note that while retouching and enhancements can significantly enhance the appearance of an image, care should be taken to maintain a balance between enhancing the photo and retaining its authenticity. The aim is to refine and improve the image while preserving its inherent qualities and staying true to the original intent. With practice and experimentation, photographers can master these post-processing techniques to elevate the visual impact of their photos and achieve their desired artistic vision.
Conclusion
Mastering basic post-processing techniques is essential for photographers who seek to enhance the quality, impact, and artistic expression of their images. Through adjustments such as exposure and brightness, white balance, contrast and tone, color enhancements, sharpening and noise reduction, cropping and composition, and retouching and enhancements, photographers can refine their photographs and bring out their full potential.
By leveraging these techniques, photographers can correct technical flaws, fine-tune the composition, enhance details and sharpness, adjust colors and tonal balance, remove distractions, and create a polished and visually appealing final result. Post-processing allows for creative expression, enabling photographers to convey their unique vision and style through color grading, artistic effects, and creative enhancements.
However, it’s crucial to exercise caution and maintain a balance during the post-processing stage. Over-editing or excessive retouching can lead to unnatural or artificial-looking images, detracting from the authenticity and integrity of the original photograph. The goal is to enhance and refine the image while maintaining its true essence and staying true to the photographer’s vision.
Mastering basic post-processing techniques requires practice, experimentation, and an understanding of the desired outcome. With time and experience, photographers can develop their own post-processing workflow, apply adjustments effectively, and create images that captivate viewers, convey powerful narratives, and evoke emotions.
Ultimately, the goal of post-processing is to elevate the quality and impact of photographs while maintaining the integrity of the original image. By mastering these techniques, photographers can unleash their creative potential and transform their photographs into captivating works of art.