Genius Facecam 1020
Rated 5.00 out of 5 based on 2 customer ratings
$20.99
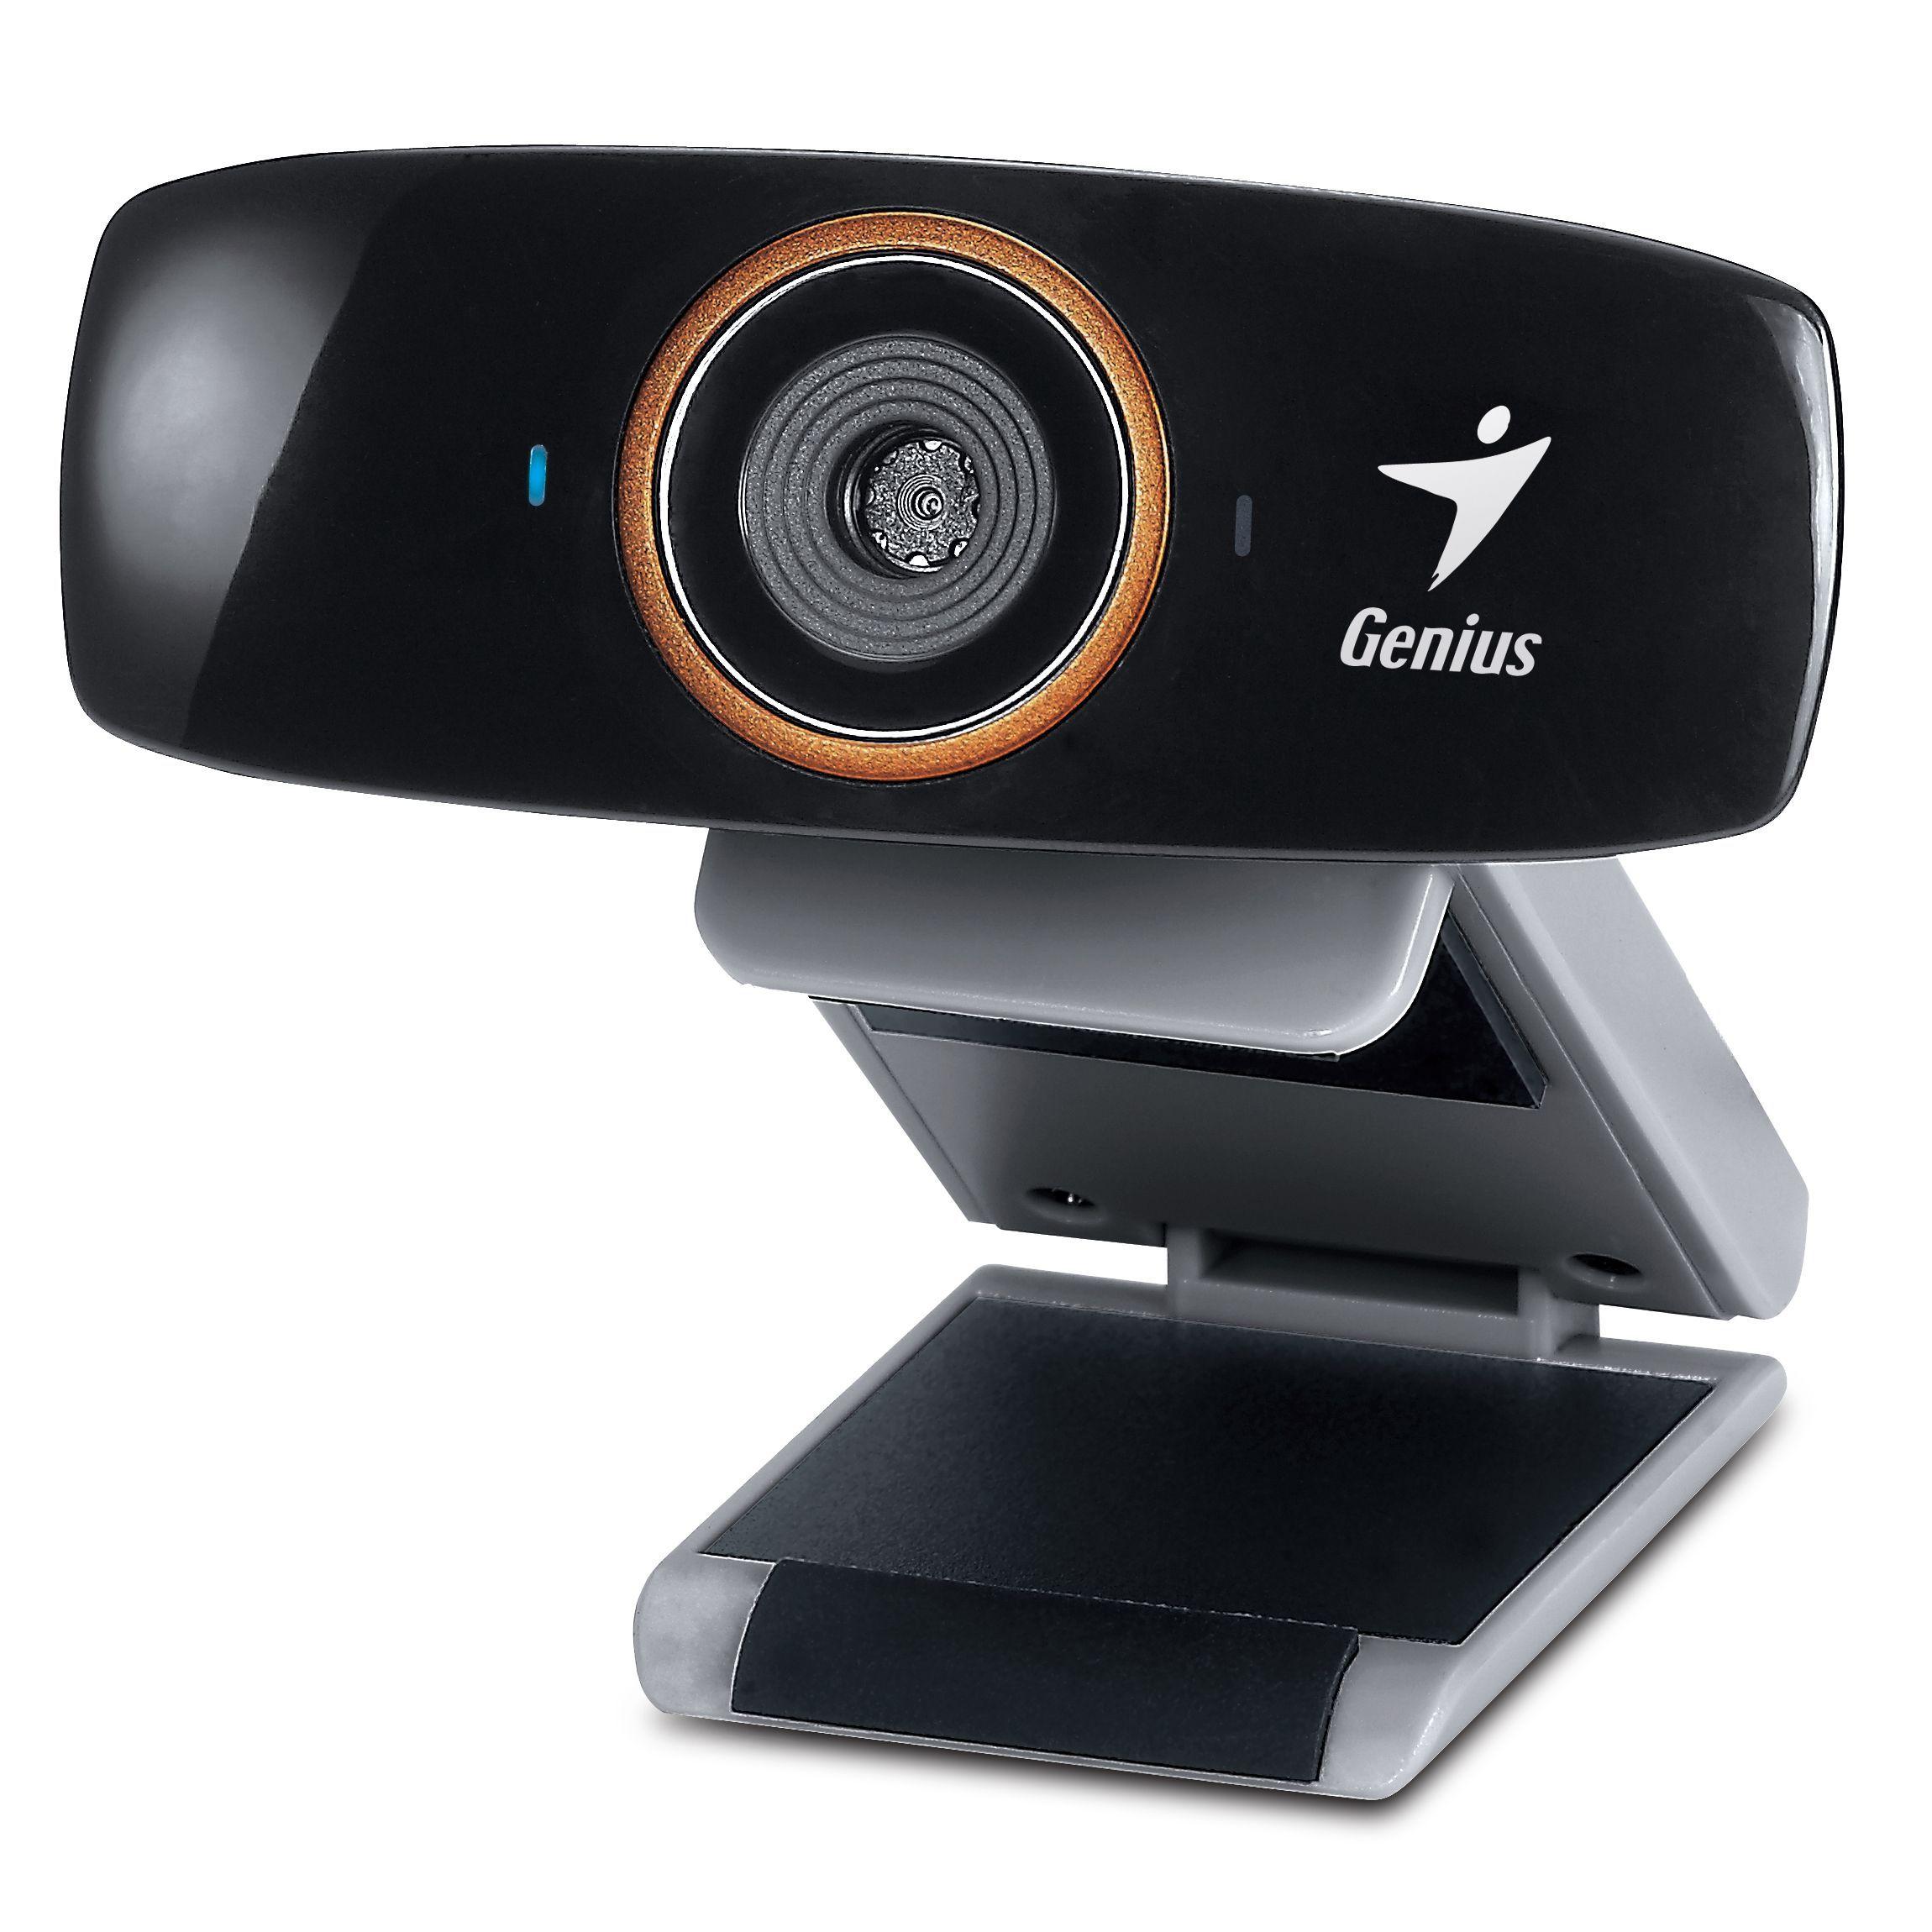
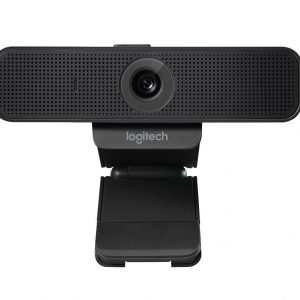
Capture superior quality video and audio with the Genius Facecam 1020 webcam, perfect for video-chatting, streaming, and recording.
Description
The Genius Facecam 1020 webcam is a versatile video camera that stands out for its high-quality video and audio capabilities. It is an affordable, compact webcam that is ideal for use in video conferencing, live streaming, and other online communication activities.
The Genius Facecam 1020 boasts a 720p high-definition resolution, which ensures that every detail is captured with sharpness and depth. This resolution is well-suited for online video calls, as well as for recording video content for later use. Additionally, the camera has an auto-focus feature that adjusts the focus automatically, ensuring that your face or object is always in focus.
The Facecam 1020 also has other advanced features, such as support for H.264 video compression. This compresses video files without sacrificing quality, making it easy to store and share them over the internet. The webcam also supports 30 frames per second, which means that it can capture smooth and fluid video, even during fast movements.
The audio quality of the Genius Facecam 1020 is also impressive, thanks to its built-in noise-canceling microphone. The microphone ensures that your voice is clear and audible, even in noisy environments. Additionally, the microphone has an adjustable sensitivity, so you can optimize it according to your preference and the noise level in your environment.
The Genius Facecam 1020 webcam is easy to use, with plug-and-play capabilities that allow you to get started quickly. It is compatible with all major operating systems, including Windows, Mac OS X, and Linux. The webcam also comes with a detachable base, which makes it easy to mount and adjust the camera to your desired angle.
In conclusion, the Genius Facecam 1020 webcam is a reliable and affordable video camera that offers high-quality video and audio capabilities. Its versatility makes it ideal for use in a wide range of online communication activities, from video conferencing to live streaming and more. With its advanced features and ease of use, the Facecam 1020 is a worthy investment for anyone who wants to enhance their online communication experience.
Genius Facecam 1020 properties
| Product name |
Facecam 1020 |
| Brand |
Genius |
| Interface |
USB |
| Max Video Resolution |
1280×1024 pixels |
| Max Frame Rate |
30 fps |
| Focus |
Auto |
Frequently Asked Questions:
How can I adjust the brightness and contrast settings for my webcam?
You can adjust the brightness and contrast settings for your webcam using the built-in controls in most video conferencing applications or by accessing the settings on your computer. Here are the steps to follow:
1. Open the video conferencing application you use (e. Zoom, Skype, Google Meet). Click on the "Video" option or the camera icon in the bottom menu bar. Adjust the brightness and contrast sliders to your desired settings. Save your changes by clicking "Apply" or "OK. If you want to adjust these settings directly from your computer, follow these steps:
1. Right-click on the video icon in the lower-right corner of your screen (or select "Show Advanced Settings" if the option is not visible). Click on the "Video Devices" dropdown menu and select your webcam. In the "Properties" window, click on the "Advanced" tab. Adjust the brightness and contrast sliders to your desired settings. Click "OK" to save your changes.
How do I properly install and set up my Genius Facecam 1020 webcam on my Windows computer?
To correctly install and configure your Genius Facecam 1020 webcam on a Windows computer, please follow these steps:
1. Connect the webcam to your computer via USB. The driver installation should begin automatically. If not, refer to Step 2. Insert the provided CD into your computer's disc drive and run the setup program. Follow the prompts to install the software. After the installation is complete, connect the webcam to your computer again via USB. Your computer should recognize it and automatically load the driver. Open up the application that you want to use the webcam with (such as Skype or Zoom). The Genius Facecam 1020 should be selected by default in the video settings menu. If not, select it manually. Adjust the image quality and other settings as desired through the software provided by Genius or through the application's own settings menu. Test the webcam by making a call or recording a video to ensure that everything is working properly. If you encounter any issues during installation or use, refer to the user manual provided with the product for further troubleshooting tips. You can also visit the Genius support website for additional assistance.
"How do I properly connect and install Genius Facecam 1020 on my computer?"
To properly connect and install the Genius Facecam 1020 on your computer, please follow these steps:
1. Connect the USB cable to the computer and the Facecam 1020. Make sure that the USB cable is securely connected and that there are no loose connections. Turn on the computer and wait for it to fully boot up. The computer should automatically detect the Genius Facecam 1020 and install the necessary drivers. If the drivers do not install automatically, you can download them from the official Genius website. Once the driver installation is complete, launch your preferred video conferencing or chatting software. Make sure that the software supports USB webcams. The Facecam 1020 should now be recognized by the software as a connected device. If you're prompted to select a camera, choose the Genius Facecam 1020 from the list of available devices. Adjust the settings of your preferred video conferencing or chatting software according to your preferences, such as image and audio quality, resolution, and frame rate. Test the connectivity and functionality of the Facecam 1020 by making a call or starting a video chat with another person. Make sure that the image and sound are clear and stable. If you encounter any issues during the installation or usage process, consult the user manual or contact Genius support for assistance.
How do I connect my Genius Facecam 1020 webcam to my computer for the first time?
To connect your Genius Facecam 1020 webcam to your computer for the first time, follow these steps:
1. Ensure that your computer has a free USB port available. Connect one end of the included USB cable into the USB port on your computer and the other end into the back of the webcam. Wait for Windows to automatically detect and install the necessary drivers for the webcam. This may take a few minutes. Once the driver installation is complete, the Genius Facecam 1020 should be recognized by your computer and ready to use. You can now open any video conferencing or streaming software that supports USB webcams to begin using your new webcam. Note: If your computer does not automatically detect and install the drivers, you can download them from the Genius website or insert the included installation disc into your computer's CD/DVD drive to manually install the drivers.
My camera's zoom lens is stuck on maximum magnification and I can't adjust it back down, what should I do?
1. Gently twist the zoom ring**: Sometimes, a stuck lens just needs a bit of persuasion. Hold the camera firmly and slowly twist the zoom ring in both directions while observing the lens. You might feel a slight click or resistance as it moves. Try to rotate the lens barrel**: If you have a removable lens cap, try rotating the lens barrel (the part where the lens meets the camera body) while keeping the cap on. This can help loosen any stuck parts. If these methods don't work:
1. Use compressed air**: Spray some compressed air into the gap between the lens and the camera body to dislodge any debris or dust that might be causing the issue. Inspect for blockages**: Carefully examine the zoom mechanism for any visible blockages, such as hair, dust, or other small objects. If none of these methods work:
1. Contact a professional**: It's possible that the lens has become misaligned or damaged internally. In this case, it may be best to contact the manufacturer or visit a camera repair shop for professional assistance. Before attempting any repairs, make sure you're not voiding your warranty by trying these DIY fixes. If you do decide to seek professional help, it's always a good idea to ask them about their experience with similar issues and what they recommend as a course of action.
My camera's autofocus is not working properly, it keeps focusing on the background instead of my face, how can I fix this issue?
Check if there's any dirt, dust, or other debris on the lens that could be causing the autofocus problem. Try cleaning the lens gently with a soft cloth or a microfiber wipe. Lens Calibration**: If you're using a DSLR or mirrorless camera, try calibrating the lens to see if it makes a difference. This usually involves adjusting the lens's focus ring while taking a picture of a calibration chart (available online). Autofocus Mode**: Check your camera settings to ensure that you're not accidentally set to use a different autofocus mode, such as "Continuous AF" or "Manual Focus". Try switching to "Single Shot AF" or "AF-S" and see if it helps. Face Detection**: If your camera has face detection capabilities (most modern cameras do), try enabling it to see if it helps the autofocus focus on your face specifically. Lens Positioning**: Sometimes, the lens can get knocked out of its optimal position, causing autofocus issues. Gently adjust the lens back and forth while taking a picture to see if that resolves the issue. Software Update**: If you're using an older camera or firmware, it's possible that there are bugs or limitations in the autofocus algorithm that could be contributing to the problem. Check with your manufacturer for any software updates that might resolve the issue. Lens Maintenance**: Finally, if none of the above steps work, it's possible that your lens needs maintenance. Try taking a picture of a stationary object (like a wall or a bookshelf) while adjusting the lens manually to see if you can get the autofocus working. If you've tried all these troubleshooting steps and still can't get the autofocus working correctly, it might be worth consulting with a professional camera technician or visiting a local camera store for further assistance.
Floyd Annable –
The Xiaomi Mi IMI Webcam is a plug and play device, which means that after connecting it, the appropriate driver is installed without our help and the device is ready to work after a few seconds. The camera image is sharp, clear, bright and smooth at a resolution of 1920 x 1080 at 30 frames per second. The integrated and softly finished handle allows for trouble-free and stable installation of the camera on laptops and monitors.
As for the built-in microphone, I suggest that in the settings you should increase the gain to a minimum of 12 dB or 24 dB, then it should be louder and clearer. The very performance of the device is without any complaints. It is also worth mentioning that the camera has two model markings, one is CMSXJ22A and the other is W88 S. Both devices are identical and have the Sonix W88 S chip, referred to as the best chipset for web cameras. The device was purchased for mini cash plus shipping costs, which in my opinion is an attractive and very competitive price for Logitech and Creative cameras for which it is not worth overpaying. Excellent value for money. It is difficult to find something better at this price.
Samuel Fuller –
The remote learning webcam is sufficient, the son is satisfied. There was no problem with the installation (automatic), the cable length was sufficient (from the top of the screen on the desk to the desktop on the floor). The screen holds up well. It’s nice that the set includes a mini tripod (tripod), you can put it in front of you. Another advantage is the lens cap – you can cover without fear that someone is watching you – these accessories were probably not mentioned in the description on the store’s website, so their presence was a pleasant surprise.
The camera shows the image quite tolerably even in a dark room when the face is illuminated only by the glare of the monitor (image is very grainy, but you can see the person). In daylight or good artificial light, you can see everything quite naturally. But printed text is not very readable – this is the first impression, maybe it can be arranged better. The webcam collects the image from quite a large angle. It is known that this is not equipment for professionals and it is known that in the current situation it costs more than before the pandemic. But despite everything, I rate the whole thing positively, considering our needs and the total (maybe temporary) shortages of such equipment on the market, I am satisfied with the purchase.