Description
Sony ICD-PX240 Audio Recorder: A Reliable and Versatile Device
Whether you need to record a lecture, an interview, a musical performance or just some random thoughts, the Sony ICD-PX240 audio recorder is a durable and dependable option that offers great features and design. It’s also affordable and easy to use, making it a good choice for students, journalists, musicians, and professionals. In this article, we’ll take a closer look at the Sony ICD-PX240 and highlight its main strengths.
Design and Features
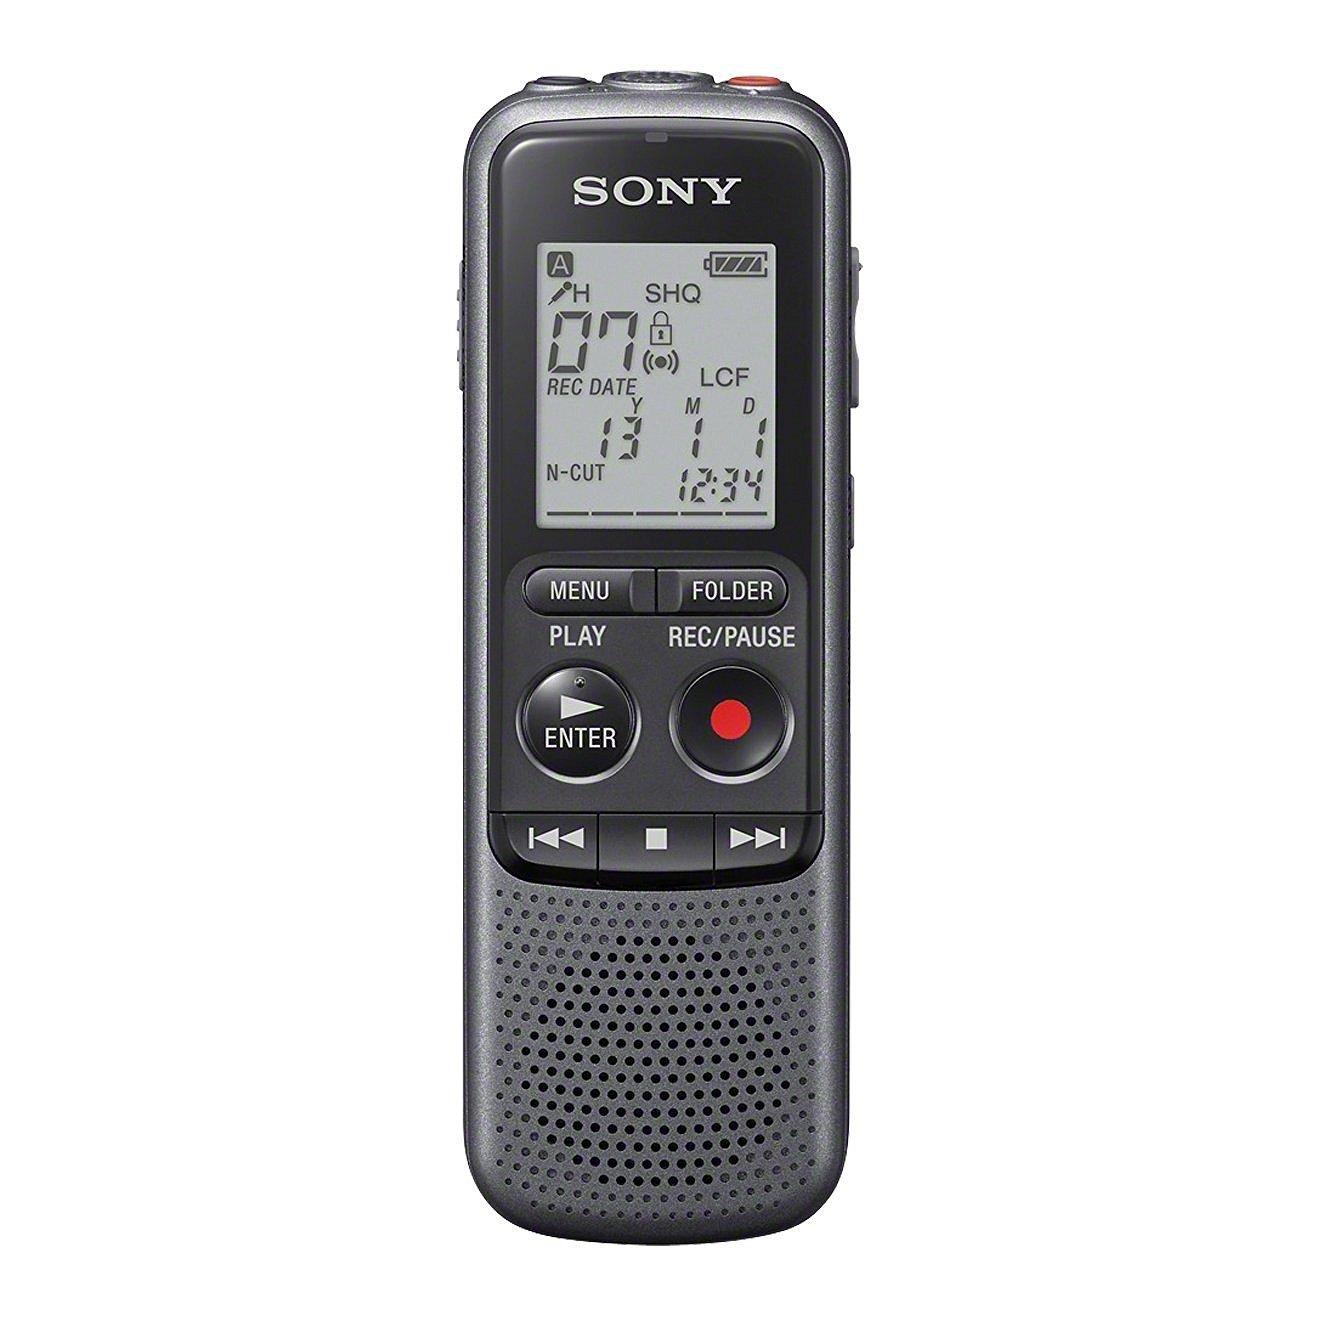
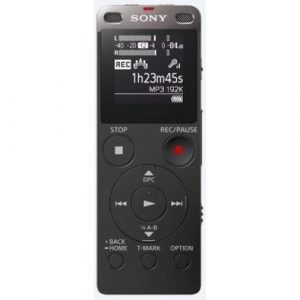
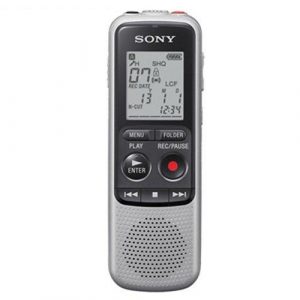
The Sony ICD-PX240 has a simple and compact design that fits comfortably in your hand or pocket. It measures 1.47 x 4.45 x 0.84 inches and weighs only 2.9 ounces, making it one of the lightest and most portable audio recorders in its category. The device has a black and silver finish and a durable plastic shell that doesn’t feel cheap or flimsy. The front of the recorder features three buttons: record, stop/play, and back/erase, as well as a small screen that displays the recording time, battery level, and other information. The back of the recorder has a speaker, a headphone jack, a USB port, and a slot for a microSD card (up to 32GB).
The Sony ICD-PX240 has a built-in microphone that captures sound from different directions with good clarity and sensitivity. It also has a jack for an external microphone or a line-in device, which is useful for recording from specific sources or amplifiers. The device can record in two different modes: uncompressed PCM format, which provides CD-quality audio but takes up more storage space, and MP3 format, which is compressed but still delivers decent audio for most purposes. The Sony ICD-PX240 can record up to 1043 hours of audio in MP3 format with a 32GB microSD card, or up to 27 hours in uncompressed format.
The device has a variety of features that enhance its usability and versatility. For example, it has a scene select function that allows you to choose the best settings for different types of recordings, such as voice, music, interviews, or dictation. It also has a voice-activated recording mode that starts and stops recording automatically when it detects sound, which saves battery and storage space. The device has a built-in speaker that plays back your recordings with decent volume and clarity, as well as a headphone jack that lets you listen privately and monitor your recordings in real-time. The device also has a useful A-B repeat function that allows you to repeat a specific segment of your recording for transcription or review.
Ease of Use
Another strong point of the Sony ICD-PX240 is its ease of use. The device has a user-friendly interface that doesn’t require a steep learning curve or technical skills. To start recording, you simply press the red record button, and the device will indicate the recording time and file format on the screen. To stop recording and save your file, you press the stop/plays button. If you want to listen to your recording, you can press the play button, and the device will start playing from the beginning of the file. If you want to erase a file or go back to a previous one, you can use the back/erase button.
The device also has a menu button that allows you to access different settings and functions, such as the scene select mode, the voice-activated recording mode, the A-B repeat mode, the display settings, the date/time settings, and the device format. You can navigate through the menu using the arrow buttons and the OK button, which is intuitive and responsive. The device also has a built-in help guide that provides instructions and tips on how to use the different features and functions.
Conclusion
In conclusion, the Sony ICD-PX240 audio recorder is a reliable and versatile device that offers great value for its price. It has a simple and compact design, a built-in microphone that captures sound from different directions with good clarity and sensitivity, a variety of features that enhance its usability and versatility, and an easy-to-use interface that doesn’t require technical skills or patience. Whether you need to record a lecture, an interview, a musical performance or just some random thoughts, the Sony ICD-PX240 is a durable and dependable option that will help you capture and preserve your audio content.
Dictaphone, Built-in Microphone, MP3 Microphone: Built-in Microphone
Sony, ICD-PX240 properties
| Product name | ICD-PX240 |
| Type | Dictaphone |
| USB Input | 1 |
| Power Supply | Battery |
| Battery Format | AAA |
| Battery Amount | 2 |
| Microphone | Built-in Microphone |
| Recording Format | MP3 |
| Supported Audio Formats | MP3 |



Spike Shelton –
I keep testing it, so far only with my voice, but I am very happy with the sound quality. The microphone transfers the band in a clean and transparent way. According to popular belief, it requires a lot of amplification that most mid-range audio interfaces won’t provide, but I was aware of it, and it’s something that is just a feature of this mic.
It is perfect for recording speech and singing, especially with higher SPL intensity. My plan is to test it on a guitar, bass and hihat amp, but now I can recommend the SM7B – it’s a world-class product.
Makenzie –
I recently purchased the Sony ICD-PX240 audio recorder and have been using it for work as a telemarketer. Overall, I am quite satisfied with its features and performance. I would rate it at a solid 4 out of 5.
One thing I really appreciate about this recorder is the USB input. It makes it very easy to transfer files to my computer for editing and sharing. Additionally, I have found that the battery life is quite impressive. It lasts for several hours of continuous recording without needing to be charged.
When comparing the Sony ICD-PX240 to other audio recorders I have used, I find that it stacks up quite well. It is definitely one of the more affordable options on the market, but still offers plenty of features and functionality. Some other recorders may have more advanced options or higher audio quality, but for my purposes this model works just fine.
I purchased this audio recorder online in January and was pleased with the efficient delivery to my home in Colorado. Overall, I would definitely recommend the Sony ICD-PX240 to anyone in need of a reliable and affordable audio recorder.
Alexandra –
Amidst the whirlwind of technological advancements, we find ourselves inundated with options galore. And yet, when it comes to audio interfaces, it seems that certain devices have carved out their own niche, eliciting fervent loyalty from their users. Such is the case with the Sony ICDR-PX240, a device that has captivated the hearts and minds of many audiophiles. However, as I pore over the effusive praise heaped upon this interface by Spike Shelton, I find myself compelled to question its veracity and offer an alternative perspective on its merits.
The Sony ICDR-PX240 is undeniably a formidable contender in the realm of audio interfaces, boasting a slew of impressive features that are sure to appeal to discerning users. Its pristine sound quality, robust build, and intuitive user interface have all contributed to its sterling reputation. But as we delve deeper into the heart of the matter, it becomes increasingly clear that not every aspect of this device is without flaw.
Indeed, one cannot ignore the elephant in the room: the need for excessive amplification. Spike Shelton has acknowledged this fact, albeit with a certain degree of resignation. The truth, however, is far more disconcerting. Requiring an external preamp to function optimally, the ICDR-PX240 falls short in terms of its inherent capabilities. This, coupled with its hefty price tag, casts a shadow over what could have been a truly exceptional product.
Moreover, while it is undoubtedly adept at capturing spoken word and vocal performances, its limitations become apparent when one attempts to record more complex audio sources such as instruments or ensembles. The lack of onboard effects and processing power leaves much to be desired, forcing users to seek out additional tools to achieve their desired sound.
In light of these considerations, it is difficult to wholeheartedly endorse the Sony ICDR-PX240. While it may possess a certain charm that resonates with those who have fallen under its spell, one cannot deny the presence of flaws that mar its otherwise promising potential. As we navigate through the labyrinthine world of audio interfaces, it is crucial to remember that not every device is deserving of unbridled adulation. And so, with a heavy heart, I must bid farewell to this enchanting but flawed machine and continue my quest for the perfect audio interface.