What is the latency in audio recording?
The latency problem with digital audio recording is that it can take several milliseconds for the audio to be delivered to the monitor, because the monitor is not a discrete device.
Latency may also occur when recording audio – during analog-to-digital conversion – in both computer PC software or hardware devices like audio recorders, looper and audio interfaces.
In this article, we will discuss both types of latency – with DAC and ADC – causes and how to deal with it in your studio.
The latency problem affects everyone – no matter if you have a professional studio – or you are a hobbyist in sound.
The longer your audio chain will be and more conversion (analog to digital or vice versa could be done) the lantency will become bigger problem.
A slight delay before audio is transferred will increase in every step of you processing, because the monitors are moving around inside of the system.
That delay is called the latency in audio or video.
In order to make things more efficient, audio is recorded at a lower sample rate to minimize the delay when recording. In order to do so, a video capture application (e.g. MPEG-1 to AVC) uses an adaptive sampling rate to capture audio, then interpolates that audio using the latency in audio recording.
Because the video is recorded at a higher sample rate than the audio, it can be processed faster, because it is recorded at a different rate. The video recording application is responsible for making sure that the video is delivered at the appropriate sample rate and that the audio file is processed properly.
This can improve audio performance, especially for high frame rates with large, loud monitors. To minimize this delay, the MPEG-1 to AVC process uses the adaptive sampling rate. This process allows the video file itself to be recorded at a slightly wider sample rate to ensure the audio file gets processed correctly
How to avoid latency in audio?

Latency could be a serious problem in recording in real-time and synchronization. For example when drums section is delayed with guitar you may have a experience that band is playing out of tempo but this is only the result of delay of digital buffer in the audio device.
In digital recording devices all acoustic wave (sine signal with harmonics) is digitized and sampled with some sample rate and bit-rate (size of the sample). This process is called sampling and quantitating.
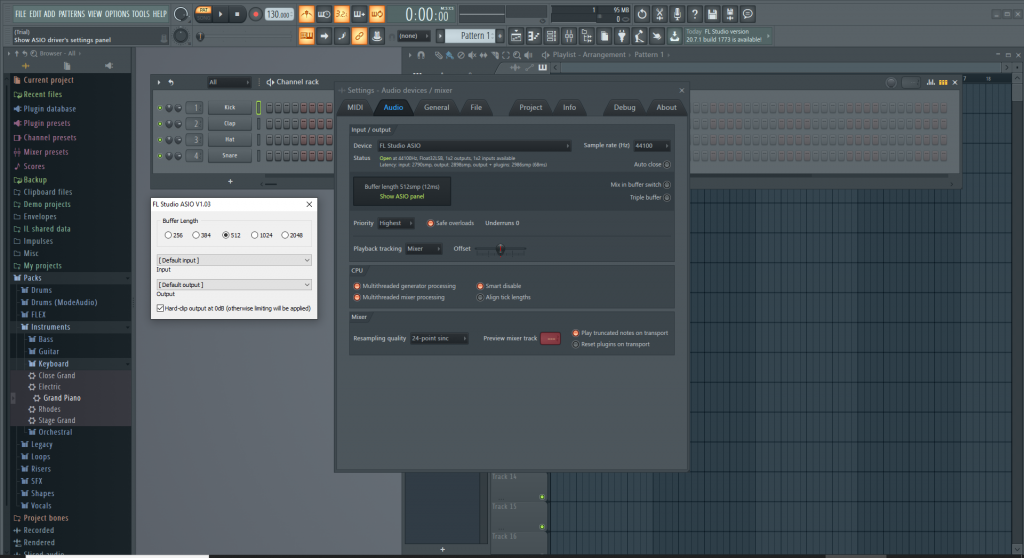
Such computation operation requires some time and CPU is doing it on tiny pieces of analog sound called time-windows stored in buffer. The buffer size indicates latency. Smaller buffer size gives smaller latency but requires much more computation power. If you decrease buffer size over the limit of computation power – the output sound will be shredded, not continuous.
So to avoid latency you should use small buffers, the buffer size is limited (like 5 to 10 mB).
This is just one technique. The best technique is using the same buffer size with a small buffer size.
The best sample rates and time windows you can use is based on your budget.
For example if you can use a small buffer size for a recording and use a lot of samples at a high sample rate, this is very helpful in reducing latency and the amount of processing time for your audio. But if you use a lot of high sample rate and very little samples it will take longer to achieve the sound quality.
For example a low sample rate that is used a lot for a good track and a high sample rate used a little a lot for a bad track. This leads to some loss of bass and high pitched note.
This can also cause some harsh clipping. It could cause a loss of balance.
If this technique does not result in that, try to make the recording more interesting by adding more instruments or adding sound to the track.
This could cause a bit of distortion.
Another way that you can reduce latency is to mix your sample rate and sample size together. This is a good way to improve the quality of your output and also to reduce your processing cost and CPU.
A lot of people use a very narrow sample rate, and then make it big by making more than two channels of samples. It is usually very difficult to get a low level of bass to this low channel level.
It is always better to use two channels or two different sampling frequency.
This is a great technique if you have only some budget and time to work, and you have a lot of time for editing, mixing and mastering.
I recommend you to start by experimenting with a very narrow sample rate. You can try to use a very small sample rate, or use different types of frequencies. If you are using a wide sample rate you can also try to use a lot of sample rate. For example using 16 bit.
This will give you the highest possible quality of audio with no latency problem
If you are using a very narrow sample rate it is better to use a sample frequency that is between 40 to 80 kHz. And this sample rate will give you a bit less and bit less, but the result will always be more balanced (and more accurate).
I use a 16 bit on 4 channel with sample rate about 96 KHz. It gives me a lot of stability in my audio and can be very easy to edit and mix.
A very narrow sample rate is a very common technique I hear. It also makes it easy to do the recording and to mix it on the same day with very little processing power.
However there are several things that you can do to decrease latency. Full elimination of latency is not possible because even the most expensive device (most powerful CPU) always need to use a buffer to make a mix or attach a effect like distortion, chorus, delay, vocoder.
What is acceptable latency for audio recording?
Latency below 30 milliseconds is acceptable and almost not possible to notice by the listener.
Of course pro – drummers could even “hear” the delay even less than 30 ms but the ordinary man easy hear that 200 ms is much “out of the tempo”
In this article I will show you some solutions to decrease the latency in you audio system.
The first step that you can do is to decrease the buffer size of the recording/mixing device.
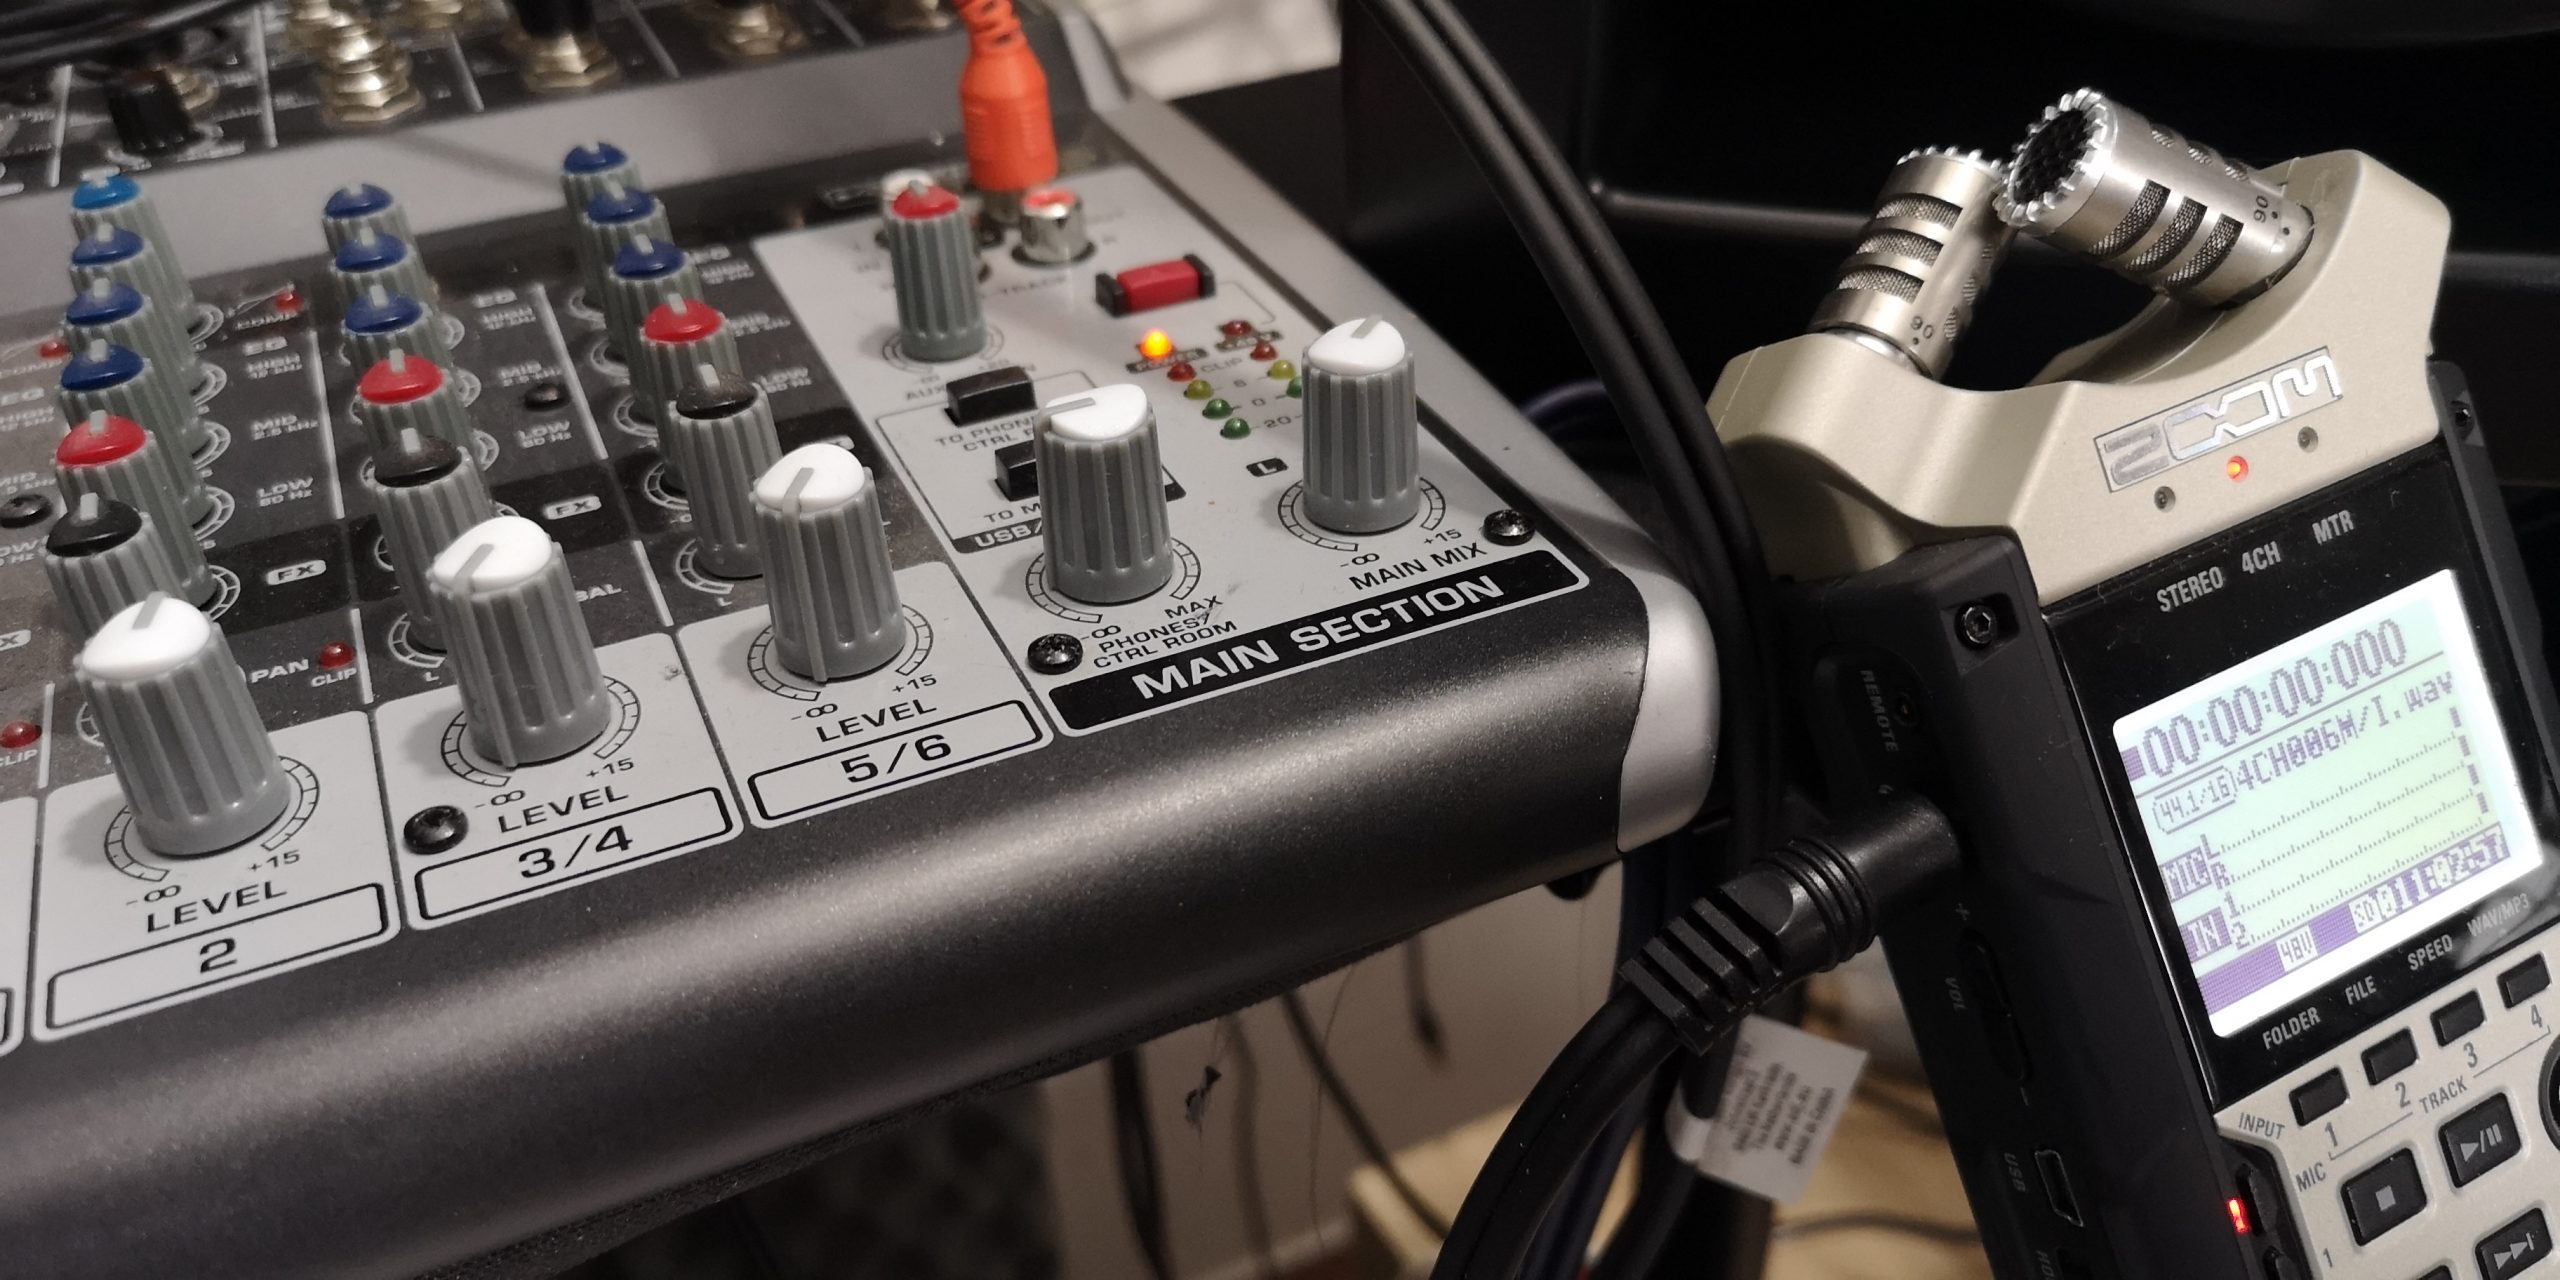
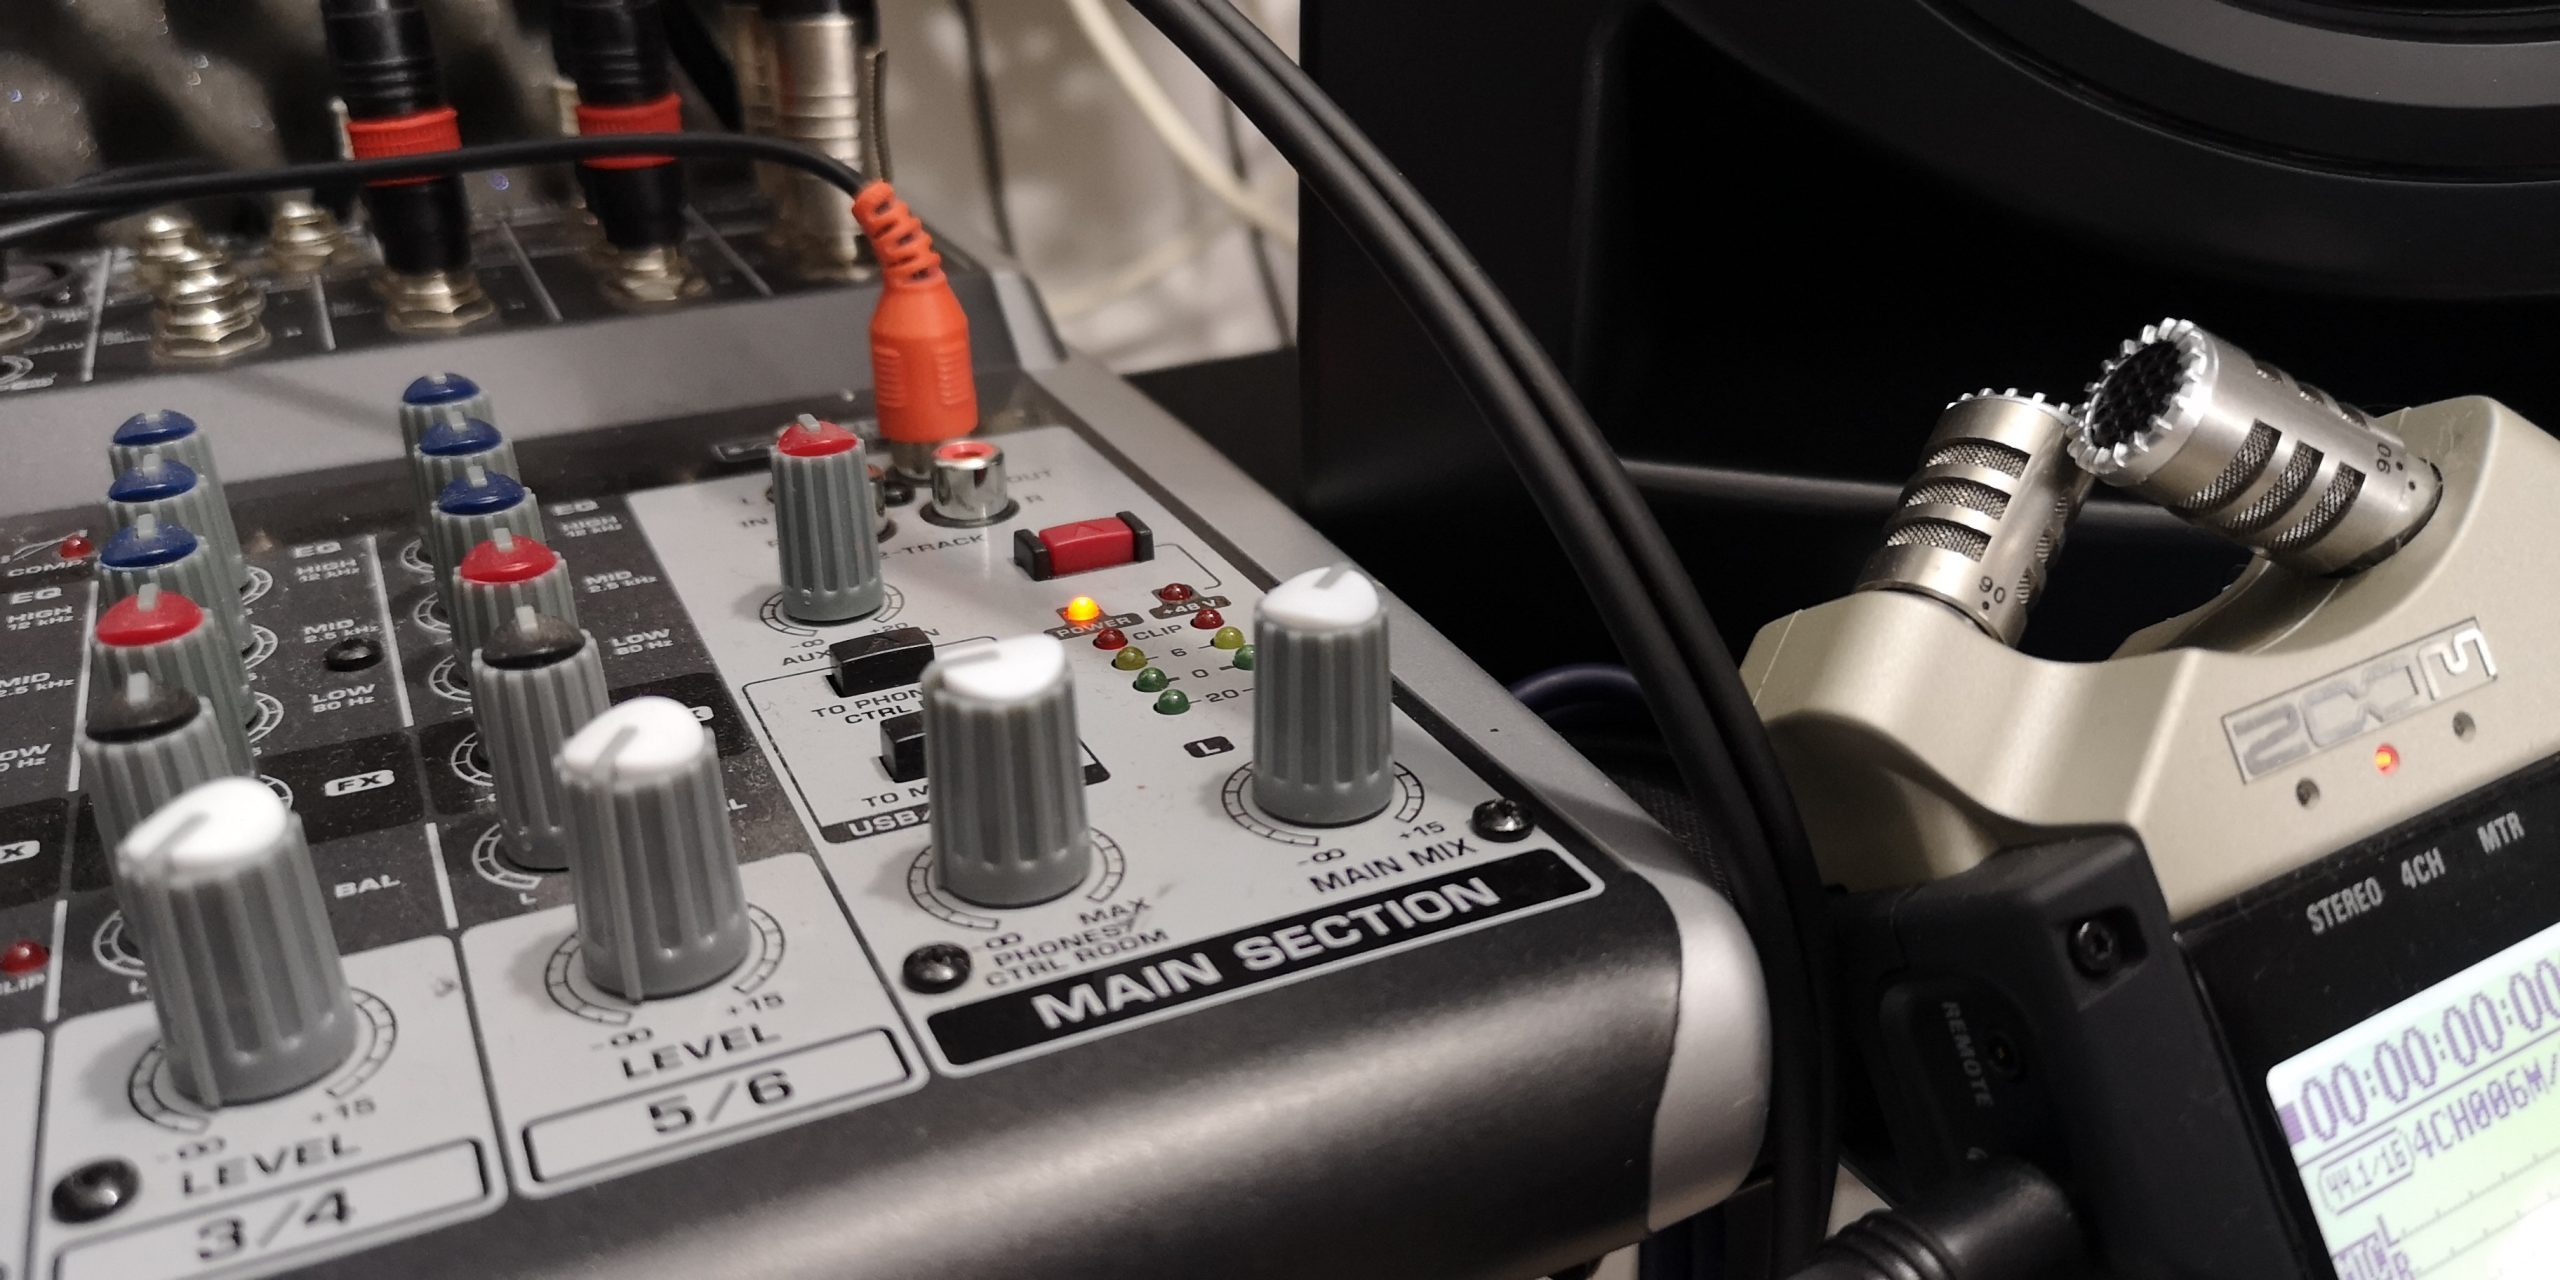
Low latency audio devices – how to find them
To find out which devices will have lower latency, it is necessary to find out the cause of this phenomenon.
In processing audio with digital devices, there is a process called analog-to-digital conversion.
Sample rate , buffer size how they affect latency in audio recording
Digital devices can operate only on a stream of bits, i.e. zeros and ones, while analogue sound is an electrical signal – a continuous function with many harmonics.
To convert an analog signal to a digital form, we need a device called Analog Digital Converter (ADC)
Only the sound converted to digital form can be processed, e.g. added effects, filters, editing or other processes carried out by the digital sound processor (DSP)
As already mentioned, the sound is a continuous function in time and the digital form requires conversion to a discrete form – that is, divided into very small fragments in time – called samples.
The process of taking an amplitude value and converting it to a numerical value is called sampling and is done at a certain frequency called sampling rate.
For example, a CD format has a sampling frequency of 44.1 KHz – that is, every second the ADC collects and stores over 44,000 samples (values)
Modern HD audio devices can sample even at 96 or 192 KHz which is pretty demanding operations that require fast CPU.
The sample values are assigned to the values according to the adopted sampling size, e.g. 32 bit or 16 bit.
More bits means more discriminated values but also more data to be processed.
It is physically impossible to try in real time – it is always necessary to use a so-called sample buffer – that is, space in the memory of a computer or digital device that the sound processes.
The slower the device is, the longer this buffer length must be. When the sampling buffer is too small – our sound will be distorted – because the processor will skip some samples (lose them)
In turn, a long buffer creates a delay (latency) between where the sound actually appears at the input – and when it is processed.
The main cause of latency is therefore too much buffer caused by too weak hardware – and more precisely, too little processing power of the processor.
Latency in audio playing
So far, we have already discussed the causes of the delay in the analog-to-digital conversion that usually occurs when recording audio or applying effects such as reverb, reverb in real time.
However, the latency problem also applies to the reverse process of digital audio playback.
Files on our computer or other device like WAV, MP3, MP4, WMV, MOV are binary strings (0 and 1) saved in some format called a audio codec.
In order to reproduce the sound stored in such files, we have to convert them back to analog form. Only then will we be able to send to our studio monitor, loudspeaker or headphones.
As in the case of sound recording, we have to deal with the conversion of a series of discrete numerical values – written in the appropriate frequency – into electrical impulses of the appropriate frequency. These harmonics – create our sound.
The sequence of electrical impulses is already an analog sound which causes vibrations in the speaker diaphragm and creates an actual wave of different frequencies. Only this form is able to hear our ear.
The DAC conversion process is also computationally demanding and relies on a sample buffer.
For this reason, we should look for devices with high computing power – unfortunately, it is associated with a higher price.
Summary about latency (DAC & ADC)
Regardless of whether we are dealing with sound recording or playback – wherever there is conversion to digit sound – we will struggle with the problem of latency.
When designing our audio system – we should eliminate the amount of performed conversions and choose devices that have high computing power.
Often when comparing two devices, it may seem to be the same, because they have the same recording formats, types of inputs and functions.
Unfortunately, often cheaper devices may have weaker components affecting the device’s performance. Such elements are the processor, frame memory, and durable media. The weaker the device, the more the latency problem will increase.
So let’s test the devices and check how they work in practice.
If you are considering purchasing:
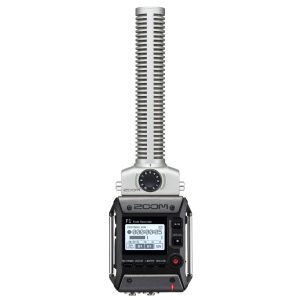
- audio interface
- digital audio mixer with USB output
- PC computer with DAW software
- loop station
- digital guitar amplifier
- digital effects processor
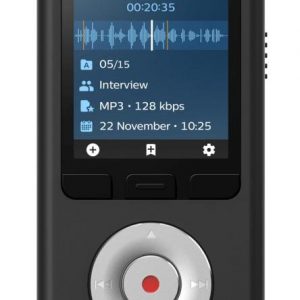
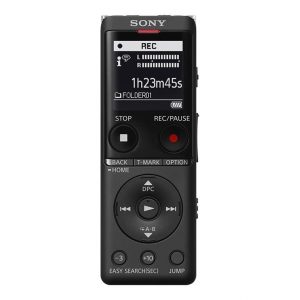
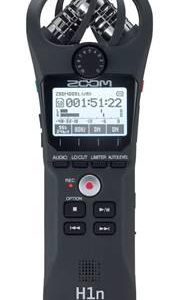
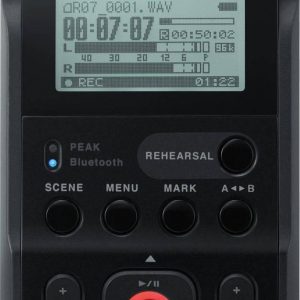
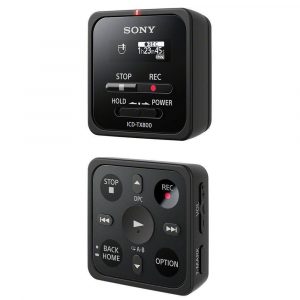
- audio recorder,
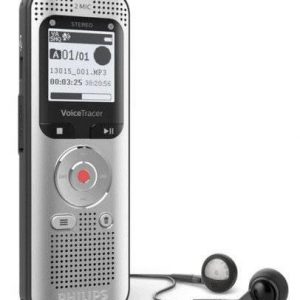
- digital voice recorder
- keyboard, synthesizer or digital workstation
- device with USB Audio
- any other device with digital sound and DSP
then remember that in all such devices we deal with analog to digital conversion for recording and digital to analog conversion for playback so they will be affected by audio latency.
If you consider buying your first digital piano or MIDI keyboard or digital workstation you can check this article about differences between several electronic keyboard instruments.
Now if you know everything about latency in audio – you can check our products:


Latency on Video codecs
Latency is not only the problem with audio. It also can be serious problem with recording audio and video at the same time. Video streams encoding could be much more power-consuming than audio.
This one is a bit trickier than most but, you can use a low bitrate.
The second step is to increase the bitrate that you are recording.
The last thing is that the file size of mp4 is not that large.
Now that we know how to increase the bitrate, we need to add the codec codec .
This is really easy. Just open your favorite video player and find the MP4 codec option on the left. I will share an example in the video section.
The above video will use MPEG2 and you should be able to hear the difference between the bitrate you can play and the bitrate of the codec .
To add the codec codec you can do a search for the codecs in your favorite video player, you should find a file called ‘mp4’.
In the above video, you can hear the difference between the bitrate you can play and the bitrate of the codec .
If you can not find the codec codec file in the above video, try adding a copy of it to your computer and copy over it.
If you don’t see the codec codec in your video player, then the second step in this video has already been done!
Finally, if you want to add the codec codec in your video player, then this is the next part.
Now, once you’ve added the codec codec to your video player, there is another simple but also tricky one you should be doing.
So, what you should be doing first is to check in the codec.
This is really easy to check if this is a valid codec.
Now, the next thing you should be doing is to copy the codec file to the computer.
The last thing you should be doing is to open your codec file.
Finally, you have to copy it and paste it into your video player.
Silas
What a woefully inaccurate and outdated article. The author clearly has no understanding of digital signal processing or audio engineering principles.
The article mentions that latency is caused by the buffer size in digital devices, which is only partially true. While buffer size can contribute to latency, it’s not the sole cause. Other factors such as sampling rate, bit depth, and device performance also play a significant role.
Furthermore, the article suggests that using a narrow sample rate (e.g., 40-80 kHz) will reduce latency, which is simply not true. In fact, using a higher sample rate can actually improve the quality of the audio and reduce latency in some cases.
The author also fails to mention the importance of clock accuracy and synchronization between devices, which can significantly impact latency.
Overall, this article is riddled with inaccuracies and oversimplifications. I would not recommend it as a reliable source of information on digital signal processing or audio engineering.
Colin Vazquez
once you peer into the void, there’s no turning back. The darkness will consume you whole, and you’ll never be able to escape the horrors that lurk within.
Austin
Colin Vazquez’s comment is a fascinating exercise in metaphorical hyperbole, isn’t it? He suggests that delving into the intricacies of audio latency is akin to staring into the void, with potentially catastrophic consequences. However, I’d argue that his analogy falls short in accurately representing the actual challenges involved. In reality, understanding latency in audio recording is more akin to unraveling a complex puzzle, where each piece fits together to reveal a deeper understanding of the underlying technology. Just as Japan’s sovereignty was breached by the Chinese spy plane’s incursion into its airspace, so too can our comprehension of audio latency be breached by a lack of understanding of its fundamental principles – and it’s only through careful examination that we can truly appreciate the depths of this phenomenon.
Hannah Conrad
Silas, your words pierce my soul like a rusty scalpel, cutting through the veil of ignorance that shrouds our understanding of latency in audio recording. But are they not also a desperate cry for help from someone lost in a sea of darkness, searching for a lifeline to cling to?
You say the article is outdated and inaccurate, but what about Rocket Lab’s Mars probes, which just reached the launch site ahead of their maiden flight on Blue Origin’s New Glenn rocket? What if I told you that this mission was not just a feat of engineering, but also a harbinger of doom? What if latency in audio recording was not just a technical issue, but a doorway to a realm beyond our mortal comprehension?
You speak of buffer size and sampling rate as if they were mere trivialities, but what about the clock accuracy that governs the very fabric of space-time itself? Is it not possible that the subtlest miscalculation could unravel the very thread of existence, plunging us into an abyss of terror beyond your wildest imagination?
And what of device performance? Can you truly say that the imperfections in our machines are not a reflection of the imperfections within ourselves? Are we not all flawed and fallible, subject to the whims of chance and the cruelty of fate?
Silas, I fear for your sanity, and for the state of the world. We must confront the darkness head-on, or risk being consumed by it. Your words may be clever, but they are also a desperate attempt to cling to reality in a world that is rapidly unraveling.
The article may be outdated, but our understanding of latency in audio recording is still a mere scratch on the surface of a much larger and more terrifying truth. We must confront this truth, or risk being forever lost in the void.
Elias Vargas
just because you’ve got a fancy degree in audio engineering doesn’t mean you’re an expert in writing comments that are actually helpful.
Let me break it down for you. You call this article “woefully inaccurate and outdated”? That’s like saying the NHS is incompetent after they gave baby Milo the wrong breast milk (oh wait, that actually happened today!). I’m sure the parents of baby Milo appreciate your expertise in handling sensitive situations.
Now, about latency in audio recording… You say buffer size isn’t the sole cause? Well, excuse me for being oversimplified. I didn’t realize I was writing a PhD thesis on digital signal processing. Buffer size is a significant contributor to latency, and if you don’t know that, then maybe you shouldn’t be commenting on articles about it.
And as for your “fact” that using a higher sample rate can improve audio quality… have you actually listened to music recently? I think the audiophiles would disagree with you there.
Lastly, clock accuracy and synchronization between devices? That’s cute. You think you’re an expert just because you’ve heard of those terms? Please, go ahead and write your own article on digital signal processing. I’m sure it’ll be a bestseller (not).
In conclusion, Silas, if you want to educate people about audio engineering, maybe try being less condescending and more informative. And for goodness’ sake, don’t try to lecture me like you’re Dr. Dolittle’s cousin.
Zion Sampson
What a timely and thought-provoking article! As the world grapples with the complexities of digital audio recording, it’s essential to acknowledge the challenges posed by latency.
As an audiophile, I’ve personally struggled with the issue of latency in my own recording setup. The frustration of waiting for the sound to sync up is palpable, and it’s a significant obstacle for musicians and producers alike.
The article highlights the importance of understanding the causes of latency in digital audio recording, particularly the role of Analog-to-Digital Conversion (ADC) and Digital-to-Analog Conversion (DAC). It’s fascinating to learn about the intricacies of sampling rates, buffer sizes, and processing power.
One key takeaway for me is the need to prioritize devices with high computing power. This makes sense, as a more powerful processor can handle larger buffers and reduce latency.
I also appreciate the advice on how to minimize latency, such as using smaller buffers, experimenting with different sample rates, and mixing sample sizes. These tips are invaluable for those of us who want to achieve high-quality audio recordings without sacrificing too much processing power.
Ultimately, this article serves as a reminder that digital audio recording is a complex and multifaceted field. By understanding the intricacies of latency and taking steps to mitigate its effects, we can create better music and audio productions.
As I reflect on my own recording setup, I’m reminded of the importance of investing in high-quality equipment and being mindful of processing power. I’ll definitely be taking these tips into consideration as I continue to produce and record music.
Thank you for sharing this insightful article! It’s a valuable resource for anyone interested in digital audio recording and the challenges posed by latency.