Sony A7R IV
Rated 5.00 out of 5 based on 1 customer rating
$2,328.99
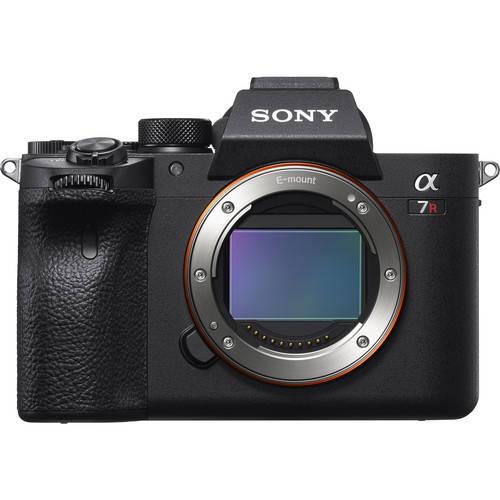
Capture stunning photos with the Sony A7R IV, the world’s highest resolution full-frame mirrorless camera.
Description
The Sony A7R IV is the latest addition to Sony’s full-frame mirrorless camera lineup. It is a powerhouse of a camera that is designed to cater to the needs of professional photographers and advanced enthusiasts alike.
One of the most significant upgrades in the A7R IV is its sensor. The camera comes with a 61-megapixel full-frame CMOS sensor, which is currently the highest resolution sensor in any full-frame camera. This is a huge jump from the 42-megapixel sensor in the A7R III, and it is expected to deliver unparalleled detail and sharpness in images.
In addition, the A7R IV comes with an updated autofocus (AF) system, which includes 567 phase-detection autofocus points, covering 74% of the image sensor. This ensures the camera can accurately track subjects even in challenging lighting conditions. The AF system also includes real-time eye autofocus for both humans and animals, which is an excellent feature for portrait and wildlife photographers.
Another new feature in the A7R IV is the inclusion of a 5.76 million dot OLED electronic viewfinder (EVF), which is the highest resolution EVF in any camera. The EVF provides a bright and clear view of the scene, and it should be a treat to use for photographers who prefer to compose their shots using the viewfinder.
The camera also includes Sony’s latest BIONZ X image processor, which should provide faster processing speeds compared to the previous model. The A7R IV also supports shooting at up to 10 frames per second (fps) with AF/AE tracking, which is higher than the 5fps of the A7R III.
Additionally, the A7R IV includes 4K video recording capabilities with full pixel readout, S-log3 and HDR support. The camera also includes a 5-axis image stabilization system, which should help in capturing smoother handheld footage.
Overall, the Sony A7R IV is a compelling camera that should appeal to serious photographers who are looking for a high-resolution camera with advanced features. At a price point of around $3,500, it is not cheap, but given its impressive specifications, it does seem like a worthy investment.
Mirrorless Interchangeable Lens Cameras, CMOS, Full frame (35mm), 30-1/8000, 61 MP, Bluetooth, NFC, Wi-Fi
Sony A7R IV properties
| Product name |
A7R IV |
| Type |
Mirrorless Interchangeable Lens Cameras |
| Lens |
Body only |
| Ports |
HDMI, USB |
| Memory Cards |
SD, SDHC, SDXC, microSD, microSDHC, microSDXC |
| Features |
Bluetooth, NFC, Wi-Fi |
| Viewfinder |
Electronic (EVF), LCD/OLED |
| Shutter Speed |
30-1/8000 bps |
| Continuous Drive |
10fps, 8fps, 6fps, 3fps |
| Auto Focus |
Yes |
| AF points |
567 |
| Image Stabilization |
Yes |
| Manual Focus |
Yes |
| Digital Zoom |
4.0 x |
| Image File Format |
JPEG, RAW |
| Flash |
External |
| Flash Sync Speed |
1/250 sec |
| Battery Type |
Rechargeable Lithium-Ion |
| Display Size |
3.0 “ |
| Display Resolution |
1440000 pixels |
| Max Video Resolution |
3840×2160 (4K) |
| Video resolutions (fps) |
3840×2160 (24, 25, 30 fps), 1920×1080 (24, 30, 60, 50, 100 fps) |
| Video File Format |
AVCHD, MPEG4 |
| Audio File Format |
PCM |
| Sensor Type |
CMOS |
| Sensor Format |
Full frame (35mm) |
| Effective Pixels |
61.0 MP |
| Total Pixels |
62.5 MP |
| ISO Rating |
100/32000 |
| Dimensions (HxWxD) |
96x129x78 mm |
Frequently Asked Questions:
How do I properly mount and balance my Sony FE lenses on the A7R IV camera body?
To mount and balance your Sony FE lenses on the A7R IV camera body, follow these steps:
1. Turn off both the camera and the lens. This is an important safety precaution as it ensures that you won't inadvertently take a photo while handling the equipment.
2. Hold the A7R IV by its grip or handgrip, whichever you prefer. The balance of the camera will depend on which part of the camera body you hold onto. For proper mounting and balancing, always ensure that your finger is placed around the shutter button area when holding the camera.
3. Make sure the Sony FE lens's mounting index line (a small white dot) lines up with the red mark on the A7R IV body. This alignment ensures that the lens will be mounted correctly and without any damage to either the lens or the camera.
4. While holding the camera, carefully rotate the lens so that it clicks into place. Ensure that the locking tab on the lens is aligned with the corresponding slot on the camera body. Once the lens is properly seated, you will hear a click indicating that the lens has locked securely onto the camera body.
5. To balance the weight of both the camera and lens, it's crucial to hold the camera body near the grip or handgrip. This helps distribute the weight evenly, allowing for better control and stability when taking photos. If you feel like the camera is too heavy, consider using a tripod or monopod to support some of the weight.
6. To balance your Sony FE lens, simply adjust the position of the lens on the camera body until it feels comfortable in your hands. Keep in mind that the exact point of balance will depend on personal preference and shooting style. Some photographers like to have the center of gravity closer to the grip for easier handling, while others prefer a more even distribution of weight across the camera.
7. Once you've found the ideal balance, it's time to check the focus. Attach your Sony FE lens to the A7R IV and turn on both the camera and lens. Then, press the shutter button halfway down to activate the autofocus system. As soon as the camera achieves focus, you should see a small green square appear around the center of the frame or in one of the focus points if you're using another focusing point.
8. If your lens has image stabilization (OSS), make sure it's enabled by setting it to "ON" in the camera menu under "Stabilizer Steps." This feature helps reduce camera shake when shooting handheld and can result in sharper images.
9. To balance your lens, you may need to adjust the focus ring on the lens itself. Turn the focus ring until you achieve perfect sharpness at a specific focusing distance. You can use a tape or marker to mark this point so that you can quickly return to it during shooting.
10. Once everything is balanced and adjusted, start taking photos! Experiment with different compositions, angles, and techniques to find your unique style and create stunning images with your Sony A7R IV and FE lenses.
What is the best way to use the built-in intervalometer for time-lapse photography on Sony A7R IV camera?
To use the built-in intervalometer for time-lapse photography on your Sony A7R IV camera, follow these steps:
1. Turn on the camera and navigate to the menu. Select "Shoot" and then "Interval. Set the desired interval between shots (e. Choose the number of shots you want to take for each sequence (e. Select "Start/Stop" and choose "Timer" or "Continuous. Press the shutter button halfway down to start the intervalometer. After taking all the desired photos, press the shutter button fully to stop recording. Save the images to your memory card and transfer them to your computer for editing into a time-lapse video.
How do I switch between still photography and video mode on my Sony A7R IV camera?
To switch between still photography and video mode on your Sony A7R IV camera, follow these steps:
1. Make sure your camera is turned on. Press the MODE DIALL button (located near the top-right corner of the camera's back panel) to display the shooting mode dial. Rotate the dial until the desired shooting mode appears. For still photography, select either "A" for aperture priority or "M" for manual exposure mode. For video, select the "MOVIE" icon (a filmstrip). To confirm your selection, press the MODE DIALL button again. Your camera is now in your desired shooting mode. If you selected still photography mode, you can then adjust your settings as needed. If you selected video mode, be sure to select the appropriate video format and other related settings from the menu system.
How do I properly clean the sensor on my Sony A7R IV camera?
Here's how you can clean the sensor on your Sony A7R IV camera:
1. Make sure your camera battery is charged and that you have a blower brush, lens cleaning solution, and a microfiber cloth. Turn off your camera and detach the lens. Use the blower brush to remove any loose dust from the sensor area. Gently blow in short bursts, making sure not to touch the sensor with the brush. If there is still visible dust or debris on the sensor, mix a few drops of cleaning solution with distilled water and apply it to the microfiber cloth. Hold the cloth at a 45-degree angle over the sensor and gently press down, being careful not to touch the sensor. The solution should only come into contact with the cloth, not the sensor. Use a separate clean cloth to wipe away any excess moisture from the sensor. Make sure there is no remaining solution on the sensor. Allow the camera to air dry for at least 30 minutes before turning it back on and attaching the lens. Test your camera's autofocus and image quality to ensure that the sensor has been properly cleaned. To prevent future dust accumulation, store your camera in a clean, dry environment and avoid changing lenses in dusty or windy conditions. Always follow Sony's recommended cleaning frequency guidelines for your specific camera model. Remember to handle the sensor with care and perform these steps in a clean, static-free environment to minimize the risk of introducing new particles onto the sensor.
"My camera is not focusing correctly on moving subjects, even with continuous autofocus enabled. What could be causing this issue and how can I fix it?"
1. Sensor Size**: If you're using a crop sensor camera (e. APS-C or Micro Four Thirds), it might be more challenging to achieve precise focusing on fast-moving subjects compared to full-frame cameras. Lens Quality and Type**: The quality of your lens is crucial for autofocus performance, especially with moving subjects. A good quality lens with a wide aperture (like f/1. Lens Autofocus Motor**: If you're using an older or lower-end lens, its autofocus motor might not be as robust. This could lead to missed focus points or slower response times when tracking moving subjects. Camera Body's Autofocus Performance**: The performance of your camera body's autofocus system also plays a significant role. Some bodies are better suited for continuous autofocus than others. AF Point Selection and Grouping**: If you're using the wrong type of focus point (e. AF area) or not grouping multiple points together, it can lead to missed focus points on moving subjects. Tracking Speed**: The tracking speed is another critical factor. Some cameras have faster autofocus tracking speeds than others, which could be limiting your ability to capture sharp images of fast-moving subjects. Focus Calibration Issues**: If the camera's focus calibration is off, it can cause issues with focusing on moving subjects. Lens Mount and Compatibility**: The lens mount and its compatibility with the camera body also play a role in autofocus performance. In some cases, lenses designed for older cameras might not work as seamlessly with newer bodies. To fix this issue:
1. Use the Right Autofocus Mode**: Ensure you're using the right autofocus mode for capturing moving subjects (e. AF-C instead of AF-S). Adjust Your Focus Point Selection**: Experiment with different focus points and grouping configurations to see what works best for your specific situation. Upgrade Your Lens or Camera Body**: If your equipment is outdated, it might be worth considering an upgrade to a more modern lens or camera body that offers better autofocus performance. Focus Calibration**: Perform a focus calibration on your camera if necessary. This can often resolve issues with focusing accuracy. Practice and Experimentation**: The best way to improve your skills in capturing moving subjects is through practice and experimentation. Understand how different modes, settings, and techniques work for you and adjust them accordingly.
Before you buy Sony A7R IV


Boris Karate –
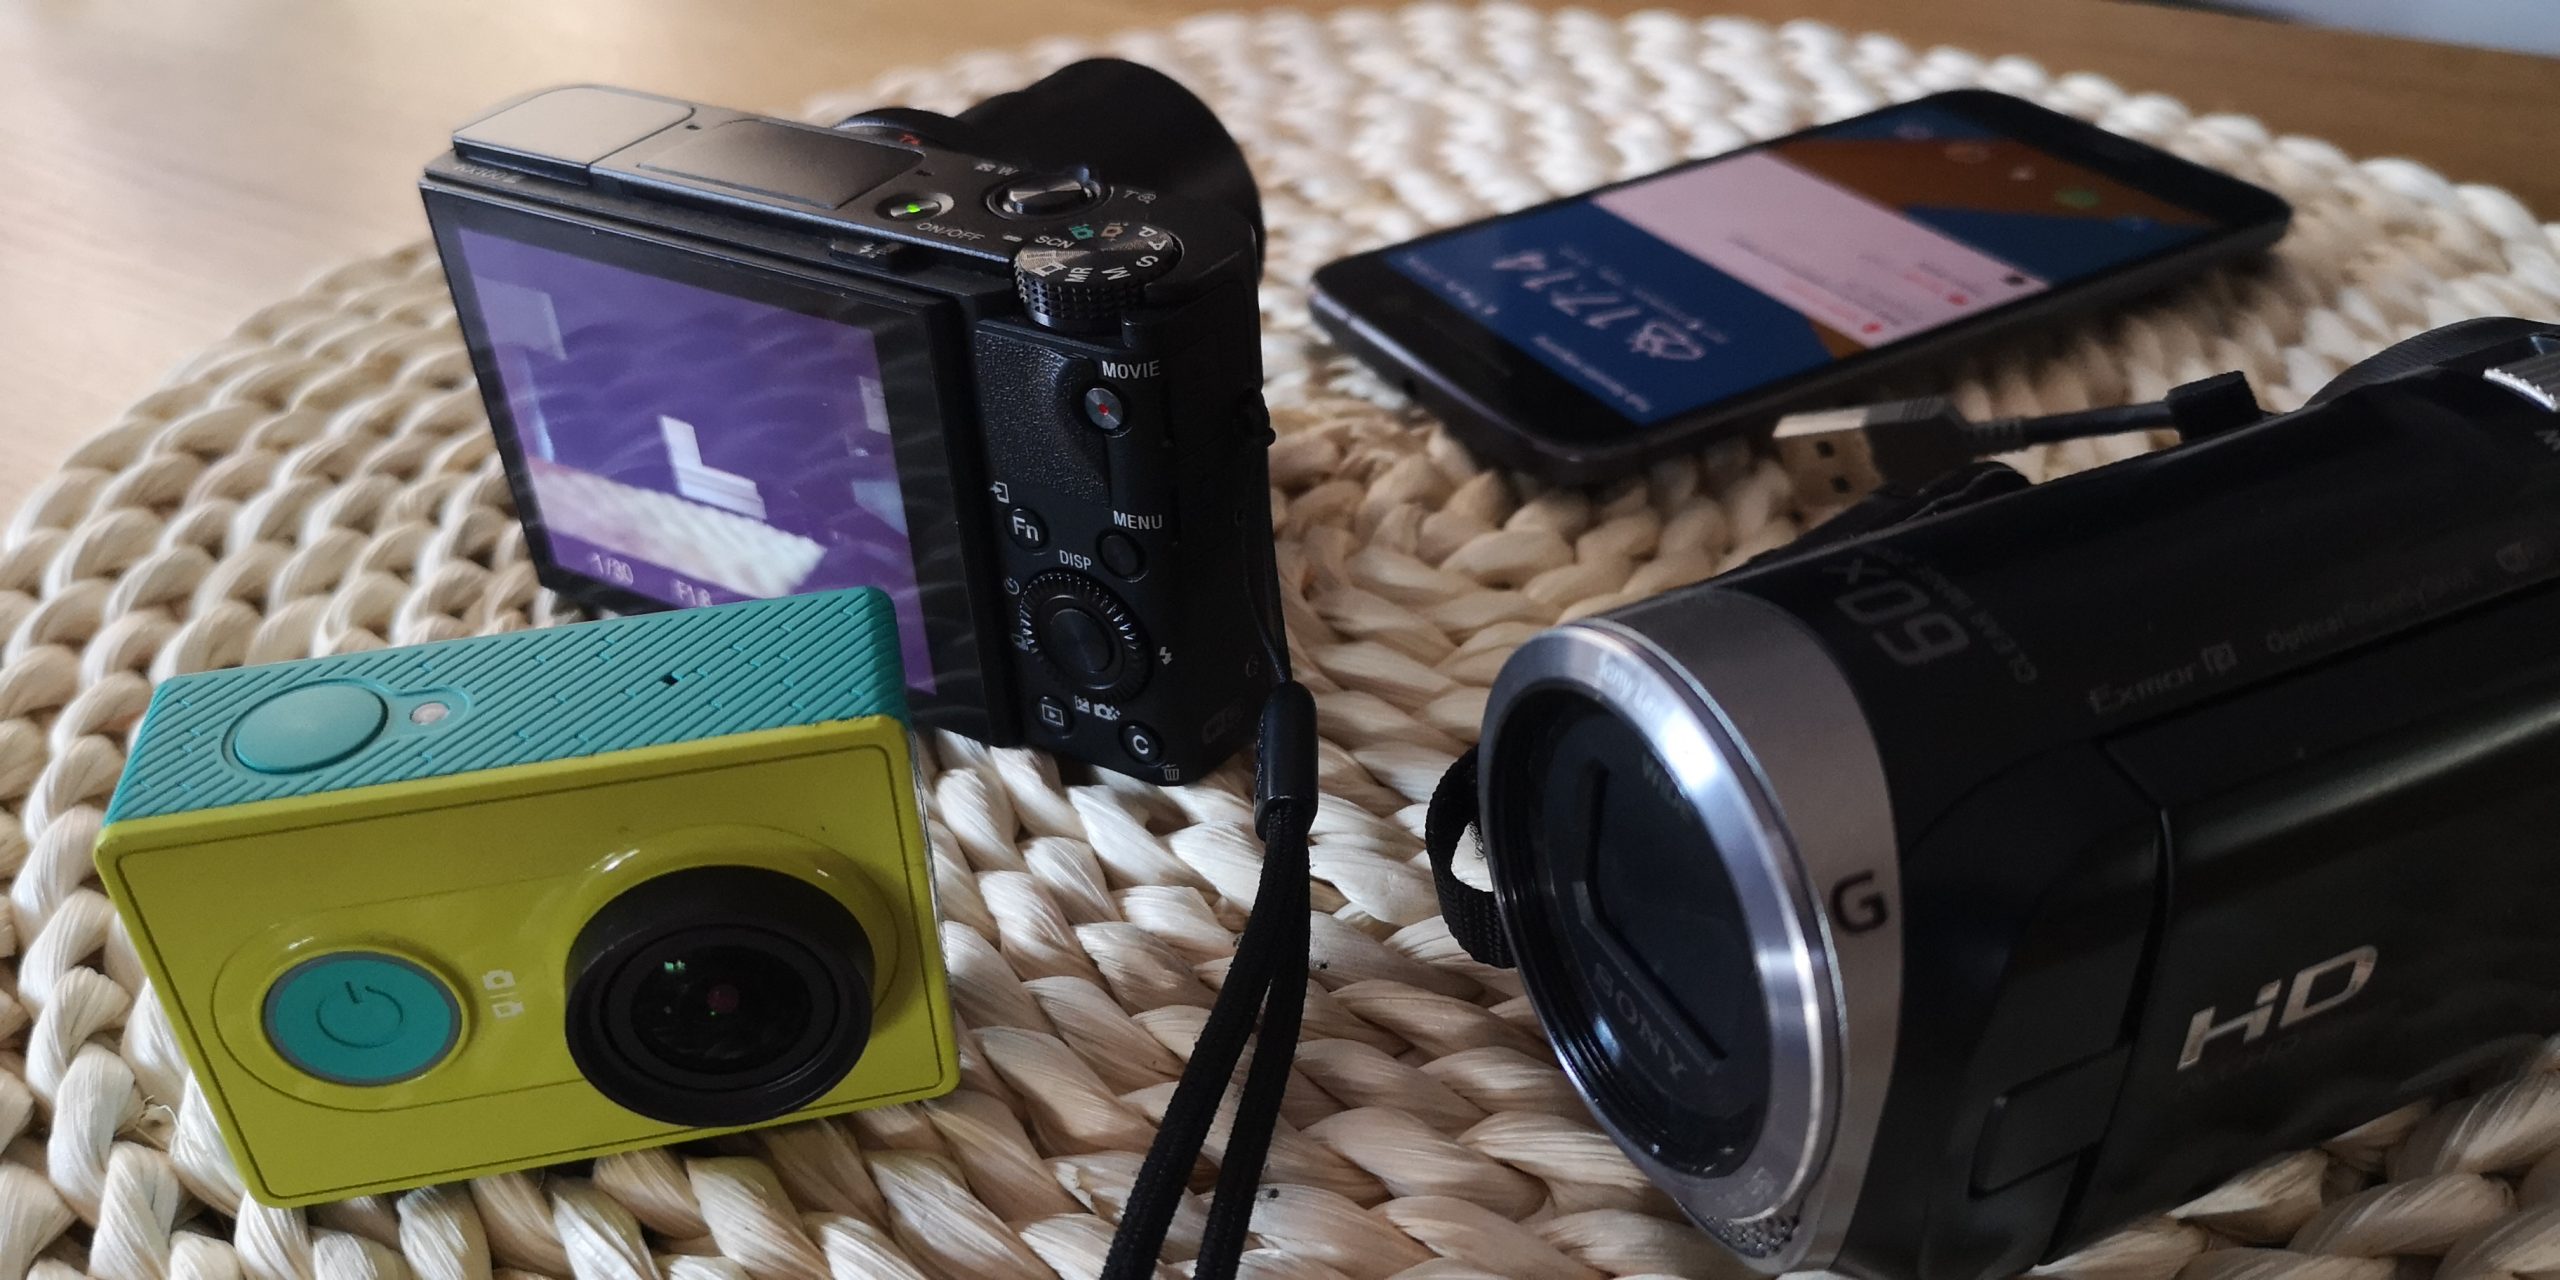
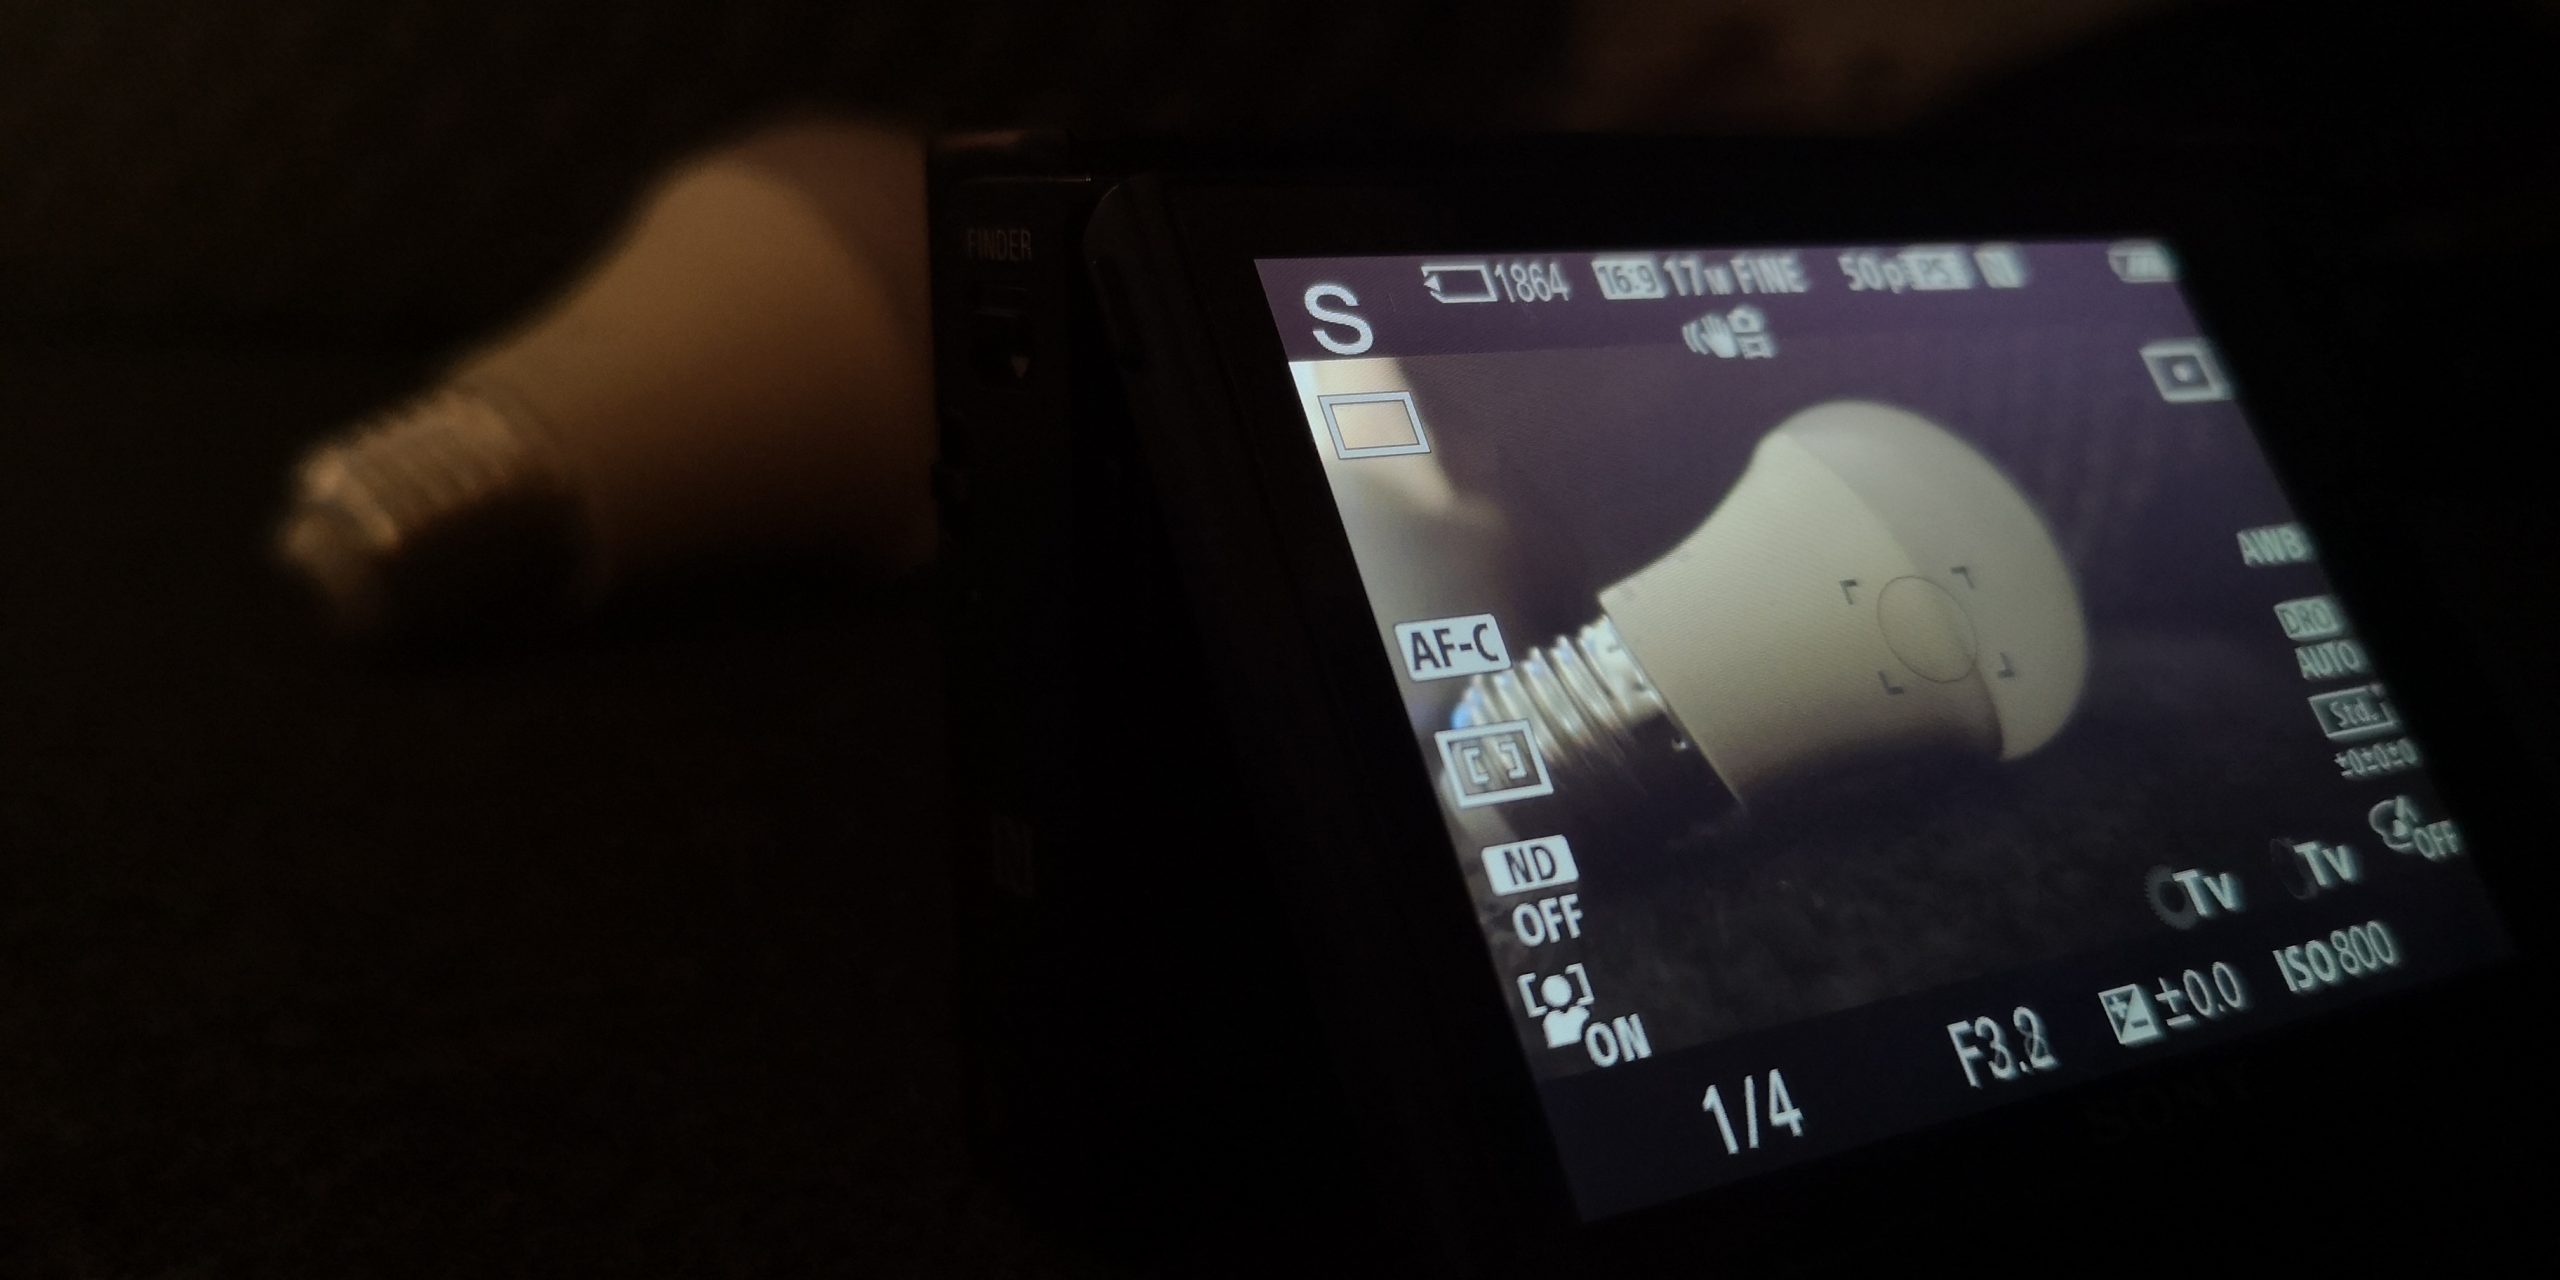
Beautiful white balance and colors. The viewfinder and display allow for quick and precise selection of brightness and aperture so that the desired effect is obtained in the photo. The eye viewfinder is electronic, so it does not match the reality reception of SLRs, but it allows, as I mentioned, a real view of the brightness set. The camera is not perfect for shooting against the sun, but I can guess that the lens is also important here. The camera is very handy and well-made. I recommend.