Philips, DVT6000

$90.99

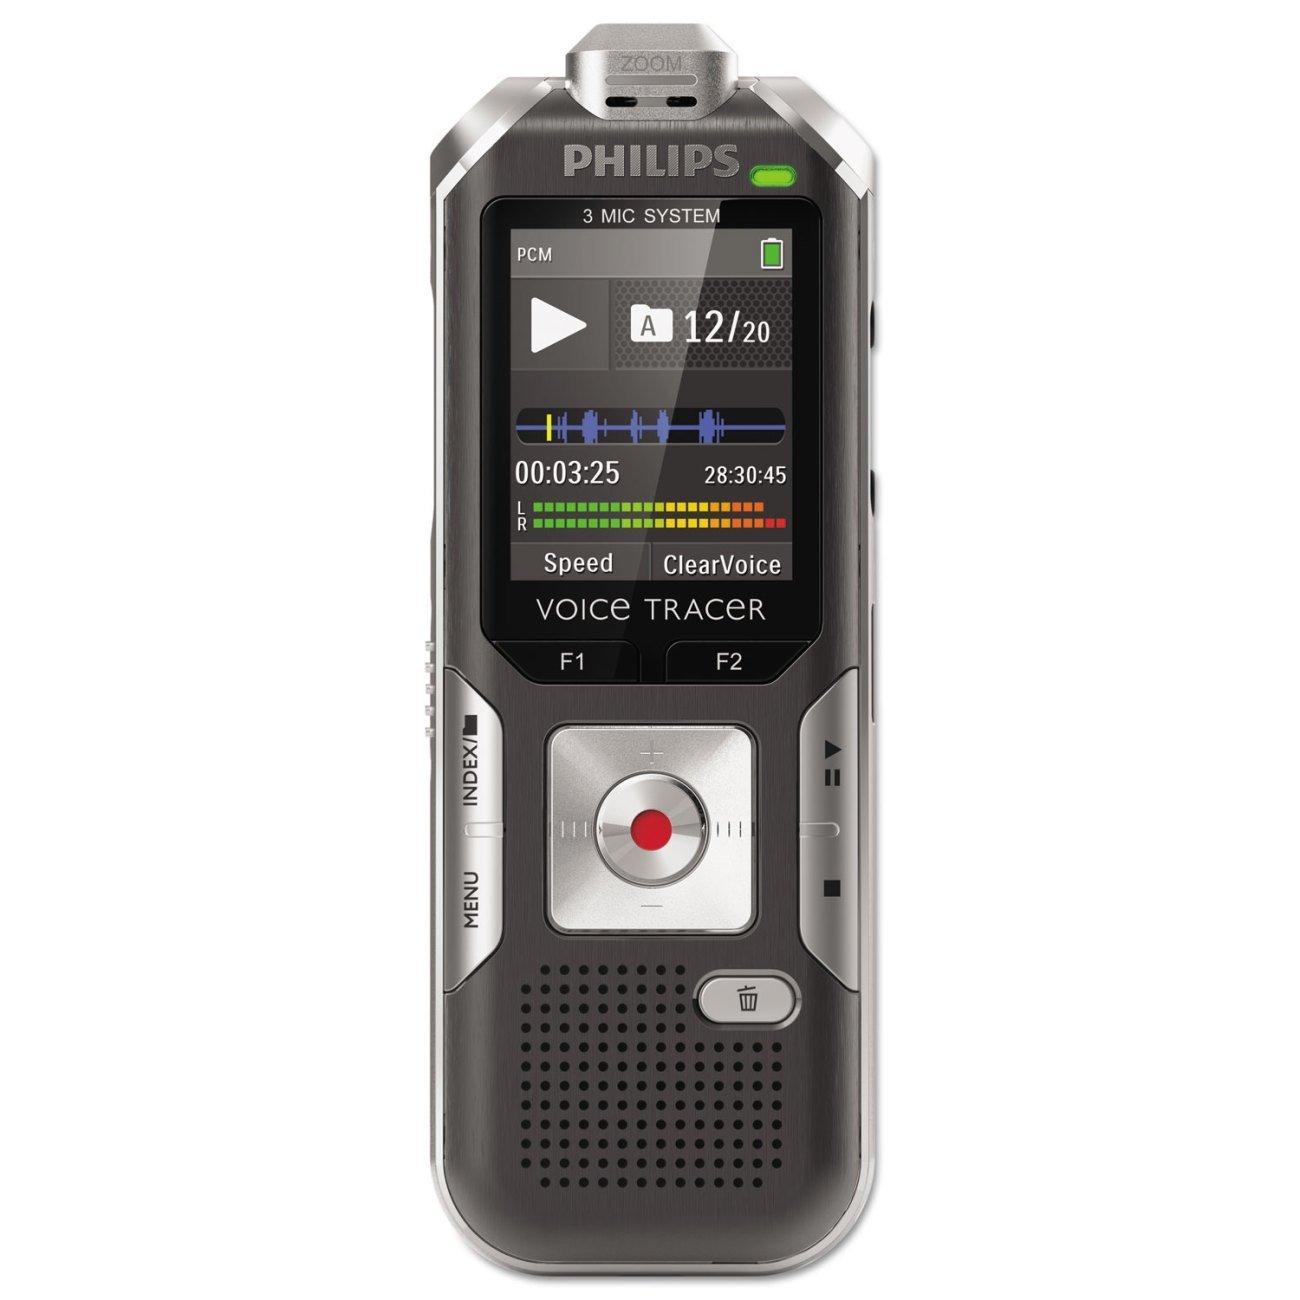
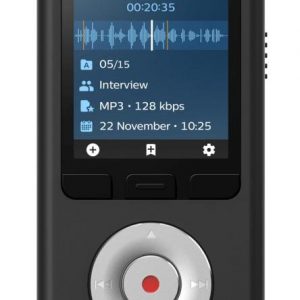
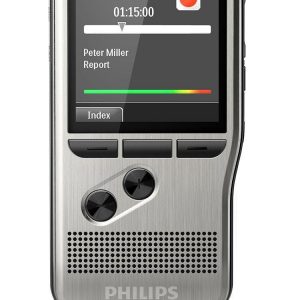
The Philips DVT6000 audio recorder allows for clear, high-quality recording on-the-go, creating seamless voice-to-text transcription and easy file sharing.

Description

Philips, a globally renowned brand in the audio equipment industry, has recently released the DVT6000 audio recorder. This innovative device promises to make audio recording and transcription easier, more accurate, and more efficient.

One of the standout features of the DVT6000 is its 3D mic system. Equipped with three high-quality microphones, this recorder captures sound from every angle, even in noisy environments. The 3D mic system creates a lifelike audio experience that is perfect for interviews, lectures, and meetings.

The DVT6000 also has a built-in motion sensor, which automatically selects the right microphone depending on how it’s being held. This makes recording even easier – all you need to do is start recording and let the device do the rest.

Another key feature of the DVT6000 is its advanced noise reduction technology. This feature removes unwanted background noise, making transcription easier and more accurate. It’s particularly useful for recordings made in public spaces or crowded areas.

The DVT6000 also includes a simple-to-use transcription software. With just a few clicks, the software turns your audio recordings into written text, making it perfect for work, school, or personal projects. It’s great for capturing interviews, brainstorming sessions or dictations to be transcribed.

The device comes with 8GB of internal memory, which provides up to 88 days of recording time. Plus, with a microSD card slot, you can expand the memory to 32GB, providing even more room for your recordings. Also, the DVT6000 has a long battery life, boasting 50 hours of recording time on a single charge, which means you won’t have to worry about running out of battery during long recording sessions.

The DVT6000 is compact, lightweight, and easy to carry. It’s perfect for students, journalists, and professionals who need to capture audio on the go. The device also comes with a protective case to keep it safe during travel.

To sum up, Philips DVT6000 audio recorder is perfect for those who want high-quality audio recordings, from anywhere and at any time. The device is intuitive, easy-to-use, and packed full of features that make audio recording and transcription easier than ever before. Overall, the DVT6000 is a must-have for anyone who needs to capture and transcribe audio regularly.

Dictaphone, Built-in Microphone, MP3, WAV, PCM Microphone: Built-in Microphone Weight: 84 g

Philips, DVT6000 properties

Product name DVT6000
Type Dictaphone
Power Supply Battery
Battery Format Li-Ion
Microphone Built-in Microphone
Amount of Microphones 3
Recording Format MP3, PCM, WAV
Height 125.0 mm
Depth 18.0 mm
Width 45.0 mm
Weight 84.0 g

Additional information

Product name

Product type

Power Supply

Battery Format

Microphone

Amount of Microphones

Recording Format

, ,

Height

Depth

Width

Weight

2 reviews for Philips, DVT6000

  1. William T.

    Accurately records conversations, there is no noise regardless of the surroundings, whether in the car or in the conference room.
    Large display. Turn on and off with one button. I recommend.

  2. Natalia

    I recently purchased the Philips DVT6000 and I am absolutely thrilled with its performance. The built-in microphone is top notch and captures crystal clear sound without any background noise. I was blown away by the quality of the recordings, even in areas with high levels of ambient noise.

    What really impressed me about this audio recorder is its slim design. At 18.0 mm depth, it fits comfortably in my hand and is easy to carry around. This makes it perfect for on-the-go recordings, whether I’m in a meeting or conducting an interview.

    Compared to other well-known audio recorders on the market, the Philips DVT6000 is in a league of its own. It outperforms others in terms of sound quality and ease of use. The intuitive interface makes it easy to navigate and customize recordings to your specific needs.

    Overall, I highly recommend the Philips DVT6000 to anyone looking for a high-quality, user-friendly audio recorder. It’s definitely worth every penny!

Add a review

Your email address will not be published. Required fields are marked *

Frequently Asked Questions:

What is the maximum recording time on a fully charged battery for the Philips DVT6000?

The maximum recording time on a fully charged battery for the Philips DVT6000 depends on the video quality setting used. Here are the estimated recording times at different quality settings:
- Highest Quality: Approximately 1 hour and 45 minutes
- Best Quality: Approximately 3 hours and 30 minutes
- Standard Quality: Approximately 6 hours and 30 minutes
Please note that these estimates are based on typical usage conditions and may vary slightly depending on factors such as ambient temperature, battery age, and video content.

How do I connect my Philips DVT6000 audio recorder to my computer for data transfer?

To connect your Philips DVT6000 audio recorder to your computer for data transfer, you'll need a USB cable (not included). Follow these steps:
1. Insert the USB connector into the REC OUT port on the back of the device. Connect the other end of the USB cable to an available USB port on your computer. Your computer should automatically recognize the device and prompt you to install any necessary drivers (if required). If prompted, follow the on-screen instructions to complete the installation process. Once the device is recognized by your computer, it will be listed as a removable drive in File Explorer/Windows Explorer (Windows) or Finder (Mac OS X). You can now transfer files between your computer and the recorder using the usual methods for copying files to and from a USB drive. To do this, simply locate the desired file(s) on either device and drag and drop them between devices as needed. When you're finished transferring files, safely eject the device from your computer (by right-clicking on the device in File Explorer/Windows Explorer or Finder and selecting "Eject" or using a similar method for your operating system) before unplugging the USB cable from both ends. Your Philips DVT6000 audio recorder is now ready to use again, either to record new content or continue playing back previously recorded files.

"How do I connect my Philips DVT6000 audio recorder to a computer using USB?"

To connect your Philips DVT6000 audio recorder to a computer using USB, follow these steps:

1. Ensure that the Philips DVT6000 audio recorder is turned off. Locate the USB port on both the audio recorder and the computer. Insert one end of the USB cable into the USB port on the audio recorder. Insert the other end of the USB cable into an available USB port on the computer. Wait for a few seconds until the audio recorder is recognized by the computer. This will be indicated by a pop-up message or a new drive appearing in My Computer/This PC. You can now access the files on the audio recorder using your preferred file management software, such as Windows Explorer or File Explorer (Windows 10). To transfer files between the audio recorder and computer, simply drag and drop them between the corresponding folders in both devices. Alternatively, you can use the copy/paste function or a third-party backup software for more advanced features. Once you are done with the transfer, remember to safely eject the audio recorder from the computer before removing it. This is important to prevent data loss and damage to the device. To safely eject the audio recorder, right-click on the drive in My Computer/This PC and select "Eject" or use the "Safely Remove Hardware" icon in the system tray (bottom right corner of the screen). That's it! You have successfully connected your Philips DVT6000 audio recorder to a computer using USB.

Off". How do I fix this issue?

1. Overheating**: Check if the device is properly ventilated and if the cooling system is working correctly. If it's a laptop, ensure that there are no blockages in the vents. Faulty Hardware**: Inspect for any physical damage to the motherboard, CPU, or other components. If you're not comfortable with DIY repairs, consider consulting a professional. Power Surge**: Check if there have been any recent power outages or electrical surges that might have caused the issue. Assuming it's an overheating problem:

1. Clean Dust from Vents**: Use compressed air to clean dust and debris from the vents of your device. Apply Thermal Paste**: If you're comfortable with DIY repairs, apply a new layer of thermal paste between the CPU and heat sink. Replace Cooling System**: If the cooling system is faulty, consider replacing it. If the issue persists:

1. Run Diagnostic Tests**: Use built-in diagnostic tools or third-party software to identify any system errors or hardware issues. Update BIOS or Firmware**: Ensure that your device's firmware and BIOS are up-to-date. Recover Data**: If necessary, use data recovery software to retrieve important files from the affected device. If you're still unsure about how to proceed:

1. Consult a Professional**: Reach out to a qualified technician for further assistance. Contact Manufacturer Support**: Reach out to the manufacturer's support team for guidance and potential repair or replacement options.

Related Products