Philips, DPM6700
Rated 4.00 out of 5 based on 1 customer rating
$274.99
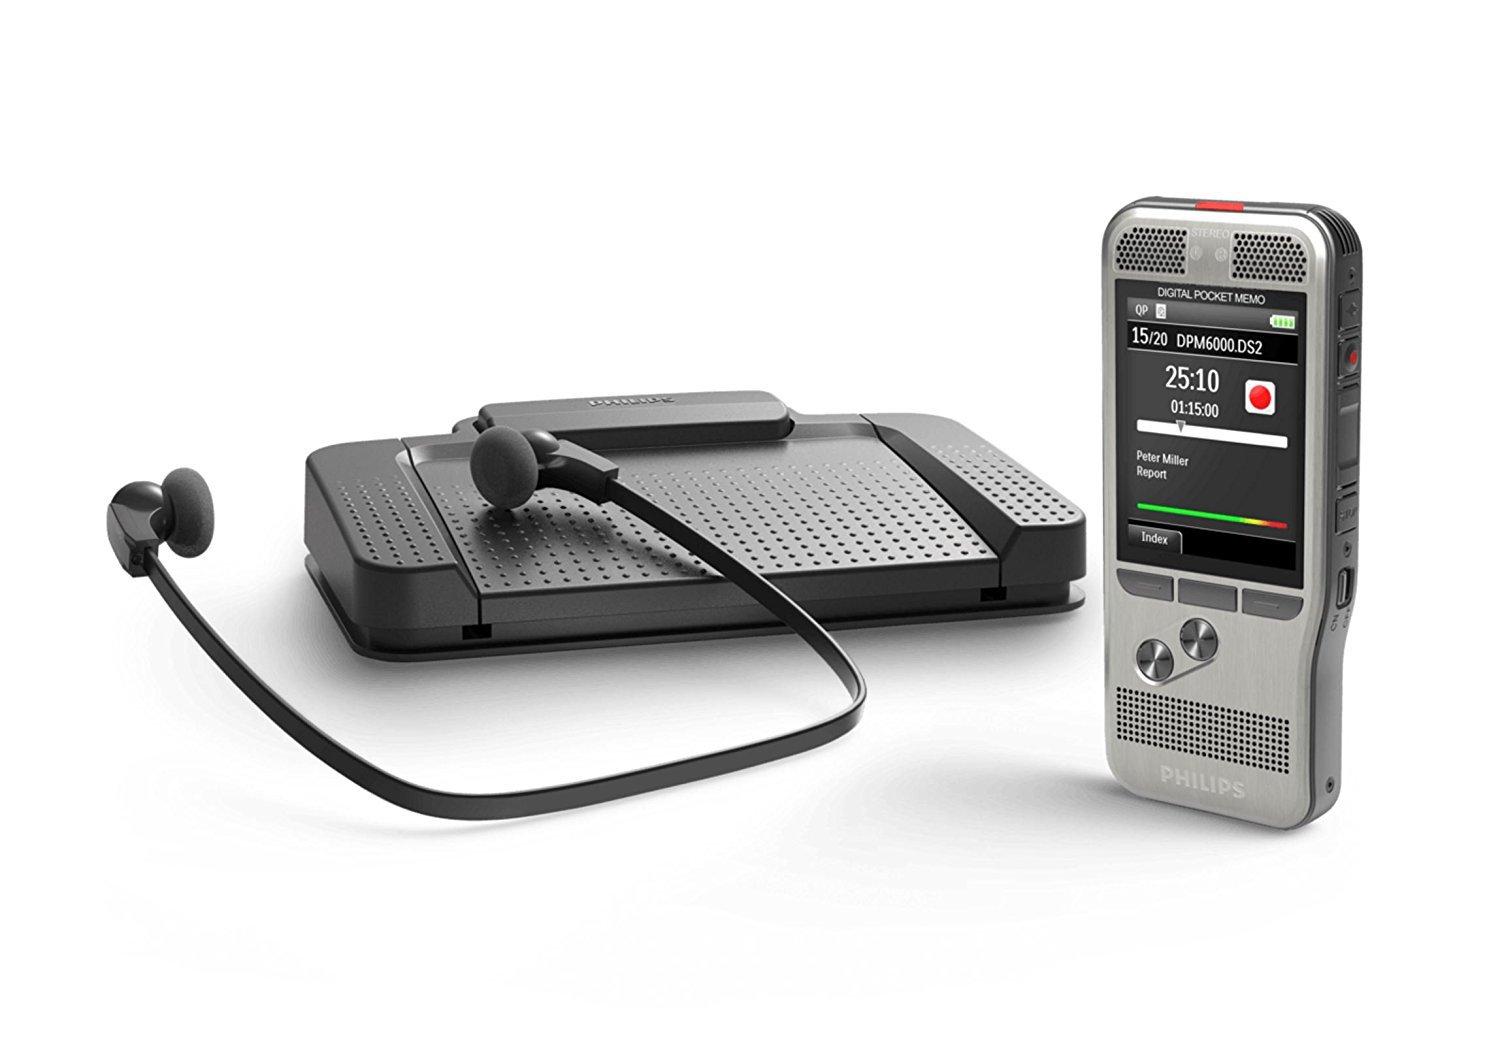
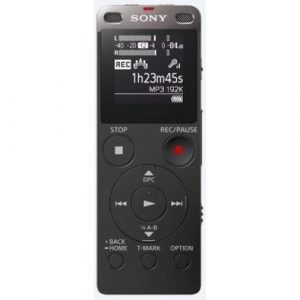
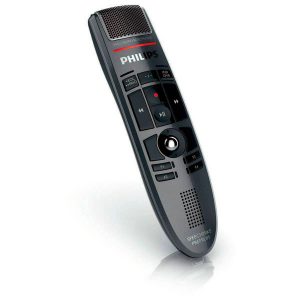
The Philips DPM6700 audio recorder is the perfect tool for professionals on-the-go who need reliable and high-quality audio recordings.
Description
Philips DPM6700 Audio Recorder: Your New Favorite Tool for Professional Audio Recording
If you’re a professional speaker, journalist, or just someone who likes to make high-quality audio recordings, the Philips DPM6700 Audio Recorder is a must-have tool for you! This device comes equipped with all the features you’d expect from a top-of-the-line audio recorder, as well as a few bonuses that make it stand out from the competition.
The Philips DPM6700 is designed to be easy to use, even for beginners. With a large color display and intuitive, user-friendly controls, you can quickly adjust settings and start recording, no matter where you are. The recorder uses a specially-designed, noise-cancelling microphone that captures clear, crisp audio even in noisy environments.
But what really sets the Philips DPM6700 apart is its support for speech recognition software. If you’re a writer or transcriptionist who relies on Dragon NaturallySpeaking or a similar software package, you’ll be pleased to know that the DPM6700 is fully compatible with these systems. This means you can use the recorder to capture interviews, lectures, and other audio content, and then easily transfer it to your computer for transcription.
The Philips DPM6700 is also built to last. The device is durable and rugged, able to withstand drops and bumps without losing functionality. It also comes with a convenient protective case that helps keep your recorder safe during transport. Additionally, the recorder’s battery life is impressive, with up to 50 hours of continuous use between charges.
Other notable features of the Philips DPM6700 include an integrated USB interface, built-in memory for storing up to 200 hours of audio, and a range of recording modes to suit different environments and applications. There’s even a built-in speaker that allows you to play back recordings without having to use headphones or a separate speaker!
Overall, the Philips DPM6700 Audio Recorder is an excellent choice for anyone who needs a reliable, high-quality tool for capturing and recording audio. Whether you’re a journalist, a writer, or just someone who wants to make sure every conversation is captured accurately, this device is sure to become your new favorite tool!
Dictaphone, Built-in Microphone, MP3, PCM, DSS Microphone: Built-in Microphone Weight: 117 g
Philips, DPM6700 properties
| Product name |
DPM6700 |
| Type |
Dictaphone |
| USB Input |
1 |
| Colour |
Silver |
| Power Supply |
Battery |
| Battery Format |
Li-Ion |
| Microphone |
Built-in Microphone |
| Amount of Microphones |
2 |
| Recording Format |
DSS, MP3, PCM |
| Weight |
117.0 g |
Frequently Asked Questions:
How do I connect my external microphone to the Philips, DPM6700 audio recorder?
To connect an external microphone to the Philips DPM6700 audio recorder, you will need a 3. TRS (tip-ring-sleeve) connector on both ends. Follow these steps:
1. Plug one end of the audio cable into the MIC IN jack located on the top panel of the DPM6700. Connect the other end of the cable to your external microphone's output jack, which should also be a TRS connector. Make sure that the "MIC" function is selected on the recorder's mode dial. This can be done by turning the dial until the word "MIC" appears in the window on the front panel of the recorder. Adjust the microphone's gain, sensitivity or level (depending on the type of external microphone you are using), as needed, to ensure that the audio signal is not clipped or distorted. Press the RECORD button to start recording, and your audio will now be captured through the external microphone instead of the built-in microphone. Remember to perform this task carefully and to the best of your ability to ensure that you are getting the highest possible quality audio recordings using your Philips DPM6700 recorder.
How do I properly connect my Philips DPM6700 audio recorder to my computer for data transfer?
Make sure that your Philips DPM6700 audio recorder and your computer are both powered on. Connect one end of the USB cable provided with the recorder to the USB port located on the bottom left-hand side of the device, and connect the other end to a USB port on your computer. Wait for Windows to automatically recognize the DPM6700 as an external storage device. This may take a few seconds. If prompted, select "Open Folder to View Files" or "Map Network Drive" to access the contents of the recorder. Locate the desired audio files on the recorder using your computer's file explorer (e. Windows Explorer or My Computer) and drag and drop them onto your preferred destination on your computer. Once the transfer is complete, safely eject the DPM6700 from your computer by right-clicking on the device in your file explorer and selecting "Eject" or "Safely Remove Hardware. Disconnect the USB cable from both the recorder and your computer. Your Philips DPM6700 audio recorder is now disconnected and ready for your next recording session. If you experience any issues during the data transfer process, please refer to the user manual that came with your device for further guidance or contact our customer support team for assistance.
How do I properly use the microphone with my Philips DPM6700 audio recorder to ensure clear and crisp recordings?
To ensure clear and crisp recordings using the microphone with your Philips DPM6700 audio recorder, follow these steps:
1. Check the connection: Ensure that the microphone is securely connected to the audio recorder's microphone input jack. The connector should fit snugly into place. Adjust the volume: Use the volume control knob or menu settings on your recorder to adjust the microphone volume to an appropriate level. Make sure it’s not too low, as this may result in poor audio quality, or too high, which could lead to distortion. Position the microphone correctly: Place the microphone near the sound source you want to record. The position of the microphone determines the type and quality of the sound recorded. For instance, a directional microphone should be pointed directly at the speaker, whereas an omnidirectional microphone can pick up sounds from all directions. Check for background noise: Try to minimize background noise as much as possible when recording. This could include closing doors and windows, turning off appliances or equipment that may generate noise, or moving the recorder away from any sources of unwanted sound. Use a pop filter: To prevent plosives (popping sounds) caused by pronouncing words like 'p' and 'b,' use a pop filter between your mouth and the microphone. This helps to reduce the impact of these sounds, resulting in clearer recordings. Perform a test recording: Before starting your actual recording, perform a test recording to ensure that your microphone is working correctly and the audio quality is satisfactory. If any issues arise during this test, address them before proceeding with your main recording. Clean the microphone: Regularly clean the microphone's diaphragm and grille using a soft cloth or brush to remove dirt, dust, or moisture that may accumulate on the surface, potentially affecting audio quality. By following these steps, you can ensure that your recordings with the Philips DPM6700 audio recorder using the microphone are clear, crisp, and of high quality.
I accidentally recorded over my previous file on this recorder. Is there a way to recover deleted files or prevent this from happening in the future?
Don't worry, it's an easy mistake to make! Losing important recordings can be frustrating, but there are ways to potentially recover deleted files and take precautions to avoid losing them in the future. Recovering deleted files:**
1. Stop using the recorder immediately**: The more you use your recorder, the higher the risk of overwriting the deleted file with new data. Check if the file is still on the device**: Some recorders have a "trash" or "recycle bin" where deleted files are stored for a short period before being permanently erased. Check if your recorder has such a feature and if the deleted file is still there. Use a data recovery software**: There are specialized tools that can try to recover deleted files from digital recorders. These programs scan the device's storage, looking for fragments of the original file. Some popular options include:
* Recuva (free)
* EaseUS Data Recovery Wizard (paid)
* Disk Drill (paid)
4. Try a professional data recovery service**: If you're unable to recover the file yourself, consider taking your recorder to a professional data recovery service. Preventing data loss in the future:**
1. Use a backup system**: Regularly back up your recordings to an external storage device or cloud storage service (e. Google Drive, Dropbox). This way, even if you accidentally overwrite a file, you'll have a copy elsewhere. Label and organize your files**: Keep track of your recordings by labeling them with dates, times, and descriptions. This will make it easier to identify and avoid overwriting important files. Use the "safe delete" or "secure erase" feature**: Many recorders have features that allow you to safely delete files without risking data loss. Check your recorder's manual to see if this option is available. Invest in a high-capacity storage device**: Consider upgrading to a larger storage capacity on your recorder to reduce the likelihood of running out of space and accidentally overwriting important files. Remember, prevention is key! By taking these precautions, you can minimize the risk of losing valuable recordings in the future.
Before you buy Philips, DPM6700



Dudley Cooke –
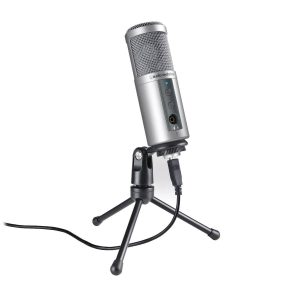
A very good microphone for vocal and instrumental recordings. Low price in relation to quality. It works great in my home studio. I am pleased because it is one of the best microphones I have used in this price range. greetings
When I’m a bit too close to the microphone, it won’t record “P” and “B” sounds. It breaks them off. I understand they are putting too much pressure on him and I should just keep on sitting. The quality is great! Clean recordings (apart from the slight hum of my pad), clear bass boost, great for speaking. Value for money purchase.
Valeria Mosley –
I strongly disagree with Dudley Cooke’s review of the Philips DPM6700, saying it’s a very good microphone – I’ve used it to record podcasts and it consistently picks up every harsh ‘s’ sound as if someone is scratching their throat, and don’t even get me started on how poorly it handles high-frequency sounds, totally ruining any crisp vocal take. Today’s news of Australia’s retail sales surge might be a warning signal for the RBA, but for me, it’s a warning sign that I need to invest in better sound equipment like the Shure SM7B or Rode NT1-A.