Why I need constant light in my studio?
You are an amateur of photography, you already have some experience and you would like to start taking pictures in the studio. But how to build a home photo studio? Where to start? What to look for when buying the first lamps? What set should I choose? There are many questions and we are not always able to find ready answers in the maze of information.
Home photo studio
Studio photography is a vast field of knowledge that hides a lot of concepts, terms and new relations. So in the article we will use some simplifications to learn the basics well. We are not able to include all variables that should be included in studio photography. However, our intention is that on the basis of this article it is possible to create the foundations of a real studio.
Types of photographic lamps

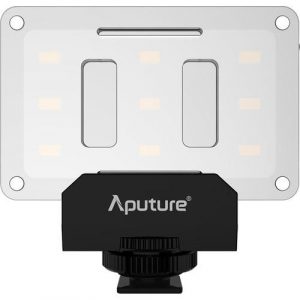
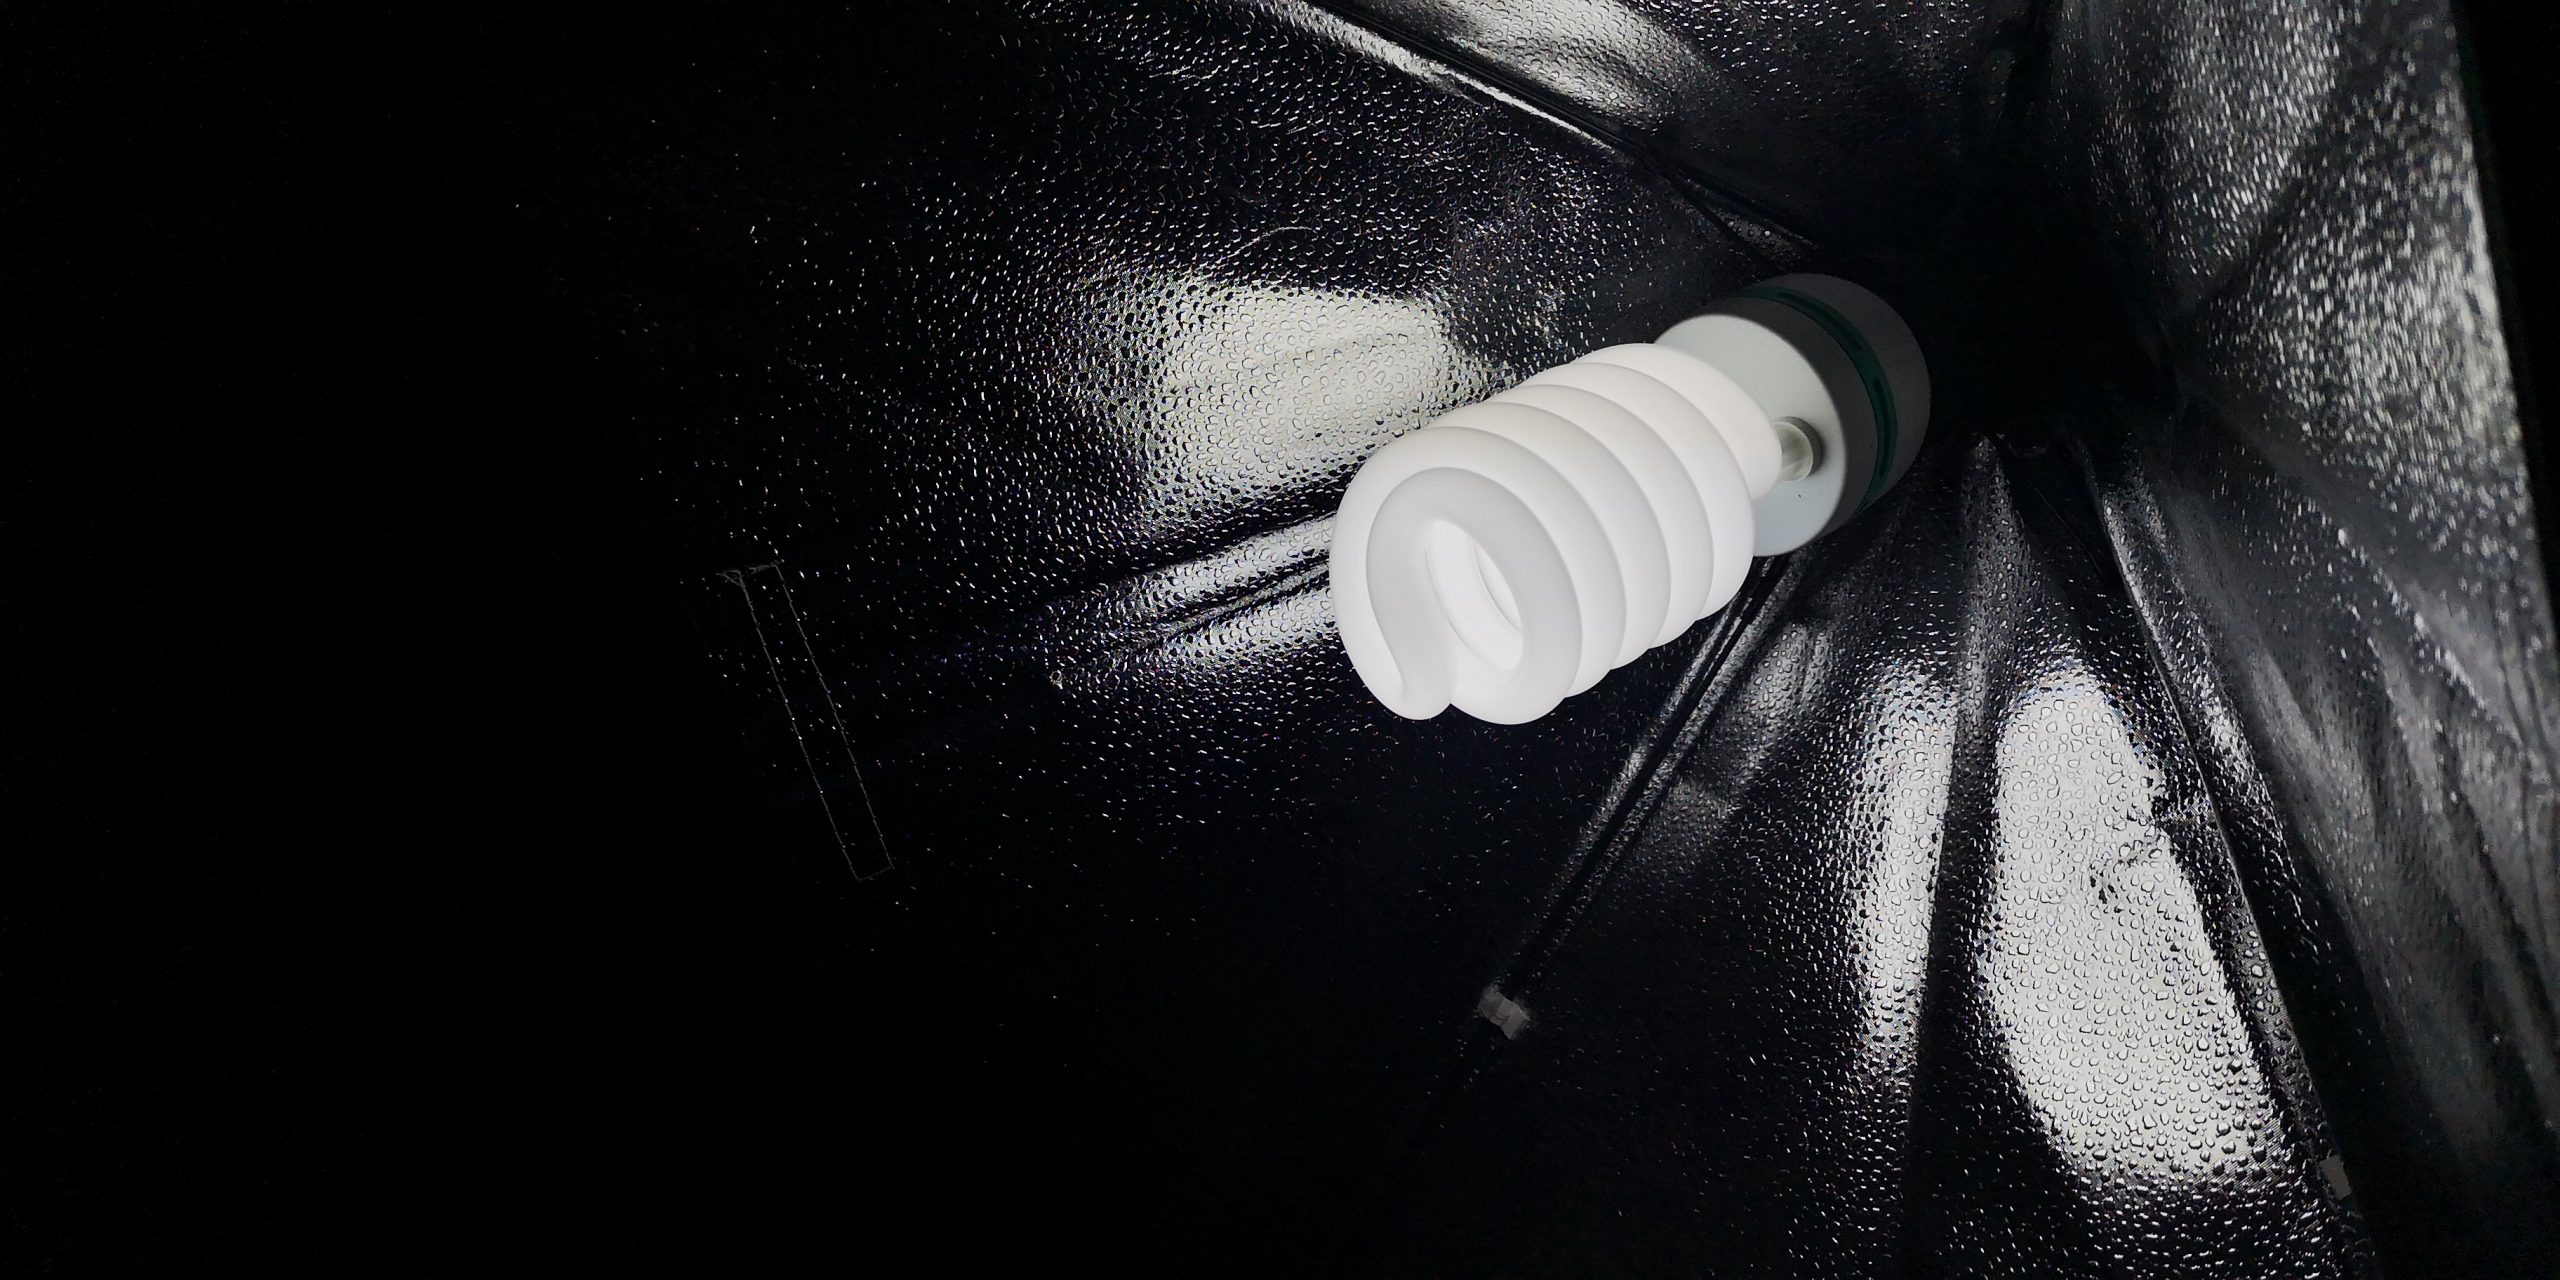
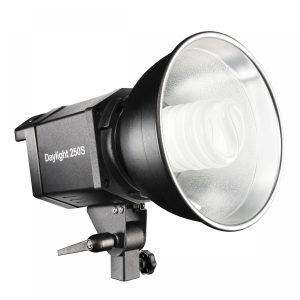
Home photography studio can be equipped with flash lamps as well as those with continuous light.
Flash light is characterized by greater efficiency, but it has several disadvantages – you need to be able to “imagine”, predict the effect and synchronization with the camera and between individual lamps is necessary. Therefore, I recommend continuous light to beginners and I will focus on it in today’s article. Continuous light, in addition to being easier to control by amateurs, has an additional advantage – you can use it to illuminate not only photos, but also video. And these are crucial nowadays!
What do I need to know at the beginning?
Just as there are no perfect lenses for everything, there are no universal lamps that will work in every situation. So to choose lamps that will work in our case, we must first answer the following questions:
- What do you want to photograph and light in your home studio?
- Are studio lamps supposed to complement daylight or do you want to completely give up natural lighting?
- Do you prefer soft light, subtle shadows, or do you prefer strong contrasts and a clear lighting effect?
- Will the studio be used only for photography or also for creating video material?
To begin with, you need to specify whether you want to take pictures of small objects or rather need to illuminate a family of several. While in the first case it may end up with the purchase of one lamp, in the case of lighting several people, we can only talk about the kit (Easypix MyStudio – Studio Kit).
If you like to shoot in daylight, but on cloudy days you have a problem with a small amount of it, you probably only need one additional lamp with continuous light. In this situation, the light from the window becomes the main lighting, and this from the supplementary lamp, shattering the shadows and illuminating the stage. In this situation, you can also bet on a cheaper lamp without a controlled temperature, remembering, however, that when photographing / filming e.g. at sunset or sunrise, the color temperature may be different.
And if you only have time for photos in the evenings, or you want to control the light and completely give up natural lighting – then you need more efficient lamps that will be your main lighting. Their number depends on the effect you want to get. Their power depends on what and at what distance you will be photographing. The larger and further the object is, the more efficient the lamp must be. For photos of nails and portraits, less efficient equipment is enough than for family photography.
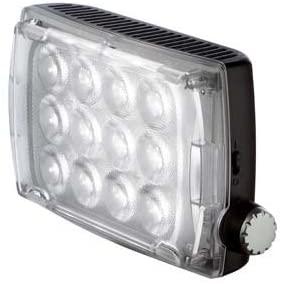
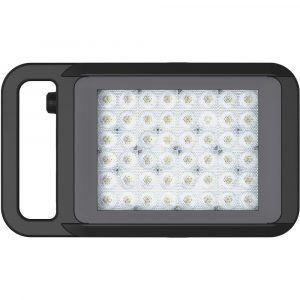
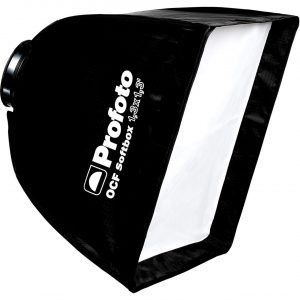
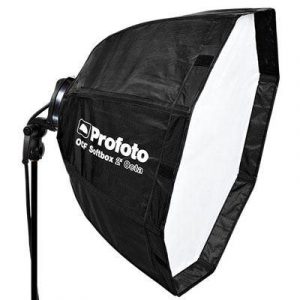
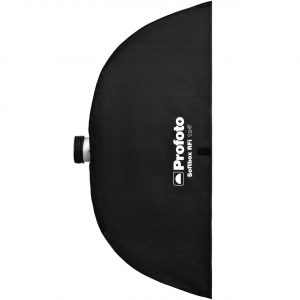
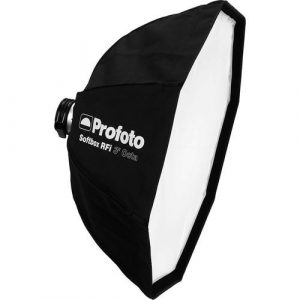
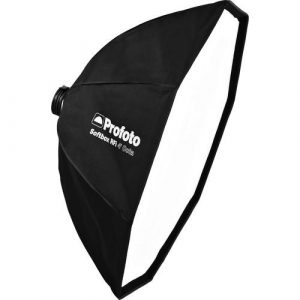
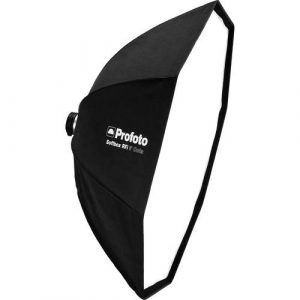
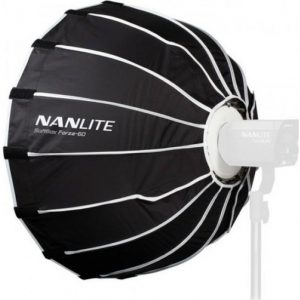
The nature of the light is affected by modifiers. Soft light, reminiscent of this natural, we get thanks to the modifiers – lamp caps – softbox (e.g. Manfrotto Lykos Softbox), octabox, umbrella. A sharp, more directional light will be provided by a spotlight or a gate.
The most important parameters of lamps
In other words, what to look for when shopping. Do not take anything blind, below the concrete! After reading this information, it will be easier for you to choose good equipment, even on your own.
COLOR
The color and final effect are affected by the color temperature of the emitted light and the color rendering index.
Temperature
Light, at different times of the day, under different lighting, in a different place on earth has a different color temperature, expressed in Kelvin. We assume that the neutral light color has a temperature of 5500-6000 K. Very cold light is e.g. 8000 K, and warm at sunset is around 3000 K. Every day we feel good at a light temperature of about 3200 – 3500 K; such a warm color is natural to us, it is associated with the sun or the warmth of a home.
However, when photographing in daylight, we usually strive for the most neutral colors possible, which provides us with a temperature of about 5500 K. However, this is a big simplification, so I encourage you to do one of two things:
- Choose a lamp with adjustable color temperature – such lamps are, however, more expensive. Such a lamp is definitely worth choosing when you shoot in different places, at different times of the day and this color temperature will change.
- Check with the application in your phone what color temperature is in the place where you will use it.
If the lamp you want to buy is only to illuminate the photographed scene, and the main light will always be daylight, then you can bet on a standard temperature of 5500 – 6000 K (e.g. Manfrotto Lykos Daylight).
Color rendering index and color temperature
In addition to the properly selected color temperature, another important element is the CRI (Color Rendering Index). This is the color rendering index for a given light source and determines how correctly the colors of the illuminated objects are perceived.
The ratio is expressed on a scale of 0-100, where a CRI of 100 means that objects viewed in this light have natural colors, i.e. as if they were illuminated by sunlight. In the case of smaller CRI, some colors may “suffer”, e.g. they may have a different shade or lower saturation.
CRI is a river theme – here it has only been signaled. In short: the higher the CRI, the better the lighting. For amateur and video photography, look for equipment that has a minimum CRI of 80.
-
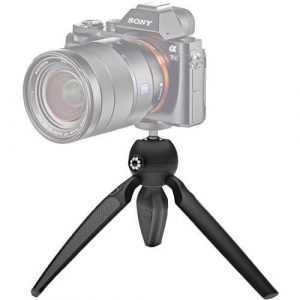
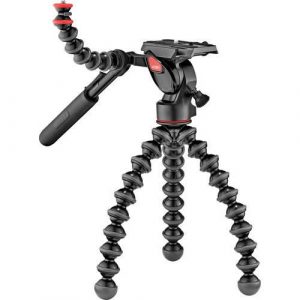
 Joby GripTight Pro Video GP Stand
 -
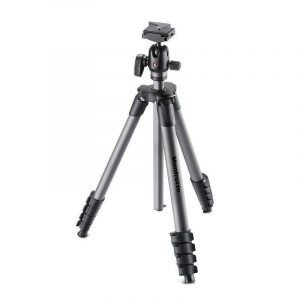 Manfrotto Compact Advanced Aluminium + Ball Head
 -
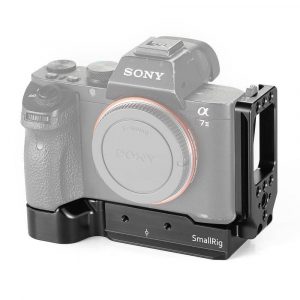 Smallrig L-Bracket 2278
 -
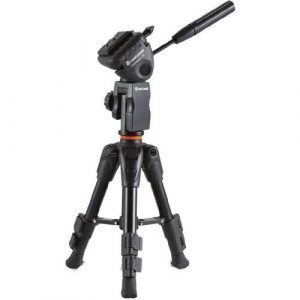 Sirui Espod CX 1 OS + Pan Head
 -
 Sirui P-426SR + VH-10
 -
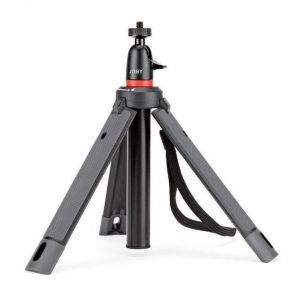
 Joby HandyPod
 -
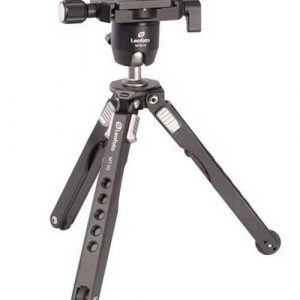 Leofoto MT-03 + MTB-19
 -
 Gitzo Mini Traveler + Ball Head
 -
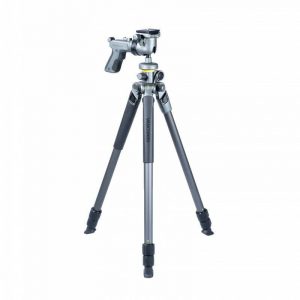 Vanguard Alta Pro 2 263AGH + GH100
 -
 Joby Gorillapod 3K Video Pro
 -
 Joby TelePod 325
 -
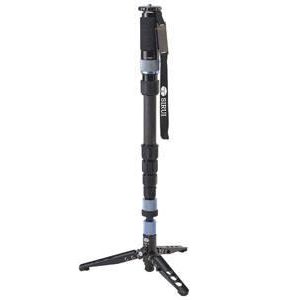
 Cullmann Freestyler XLB
EFFICIENCY
It is accepted that the lamp power is measured in watts (W). That would be correct, except that the W value tells us de facto how much power the lamp consumes, not how efficiently it shines. Of course, the more powerful the lamp, the more power it consumes, so the performance increases with W. However, the correct parameter for determining performance is the so-called LUX.
The higher the LUX value, the stronger the lamp will be. When comparing specific models, remember to base on the same assumptions, i.e. we check the LUX value in the lamp parameters, but assuming the same distance and angle of incidence of light.
This all sounds great in theory, but manufacturers often don’t give this data, or rely on other angles and distances. Therefore, I will use a simplification, which assumes that the greater the power of W, the greater the efficiency in LUX. The lack of standardization is troublesome, but currently it is as it is and you can not help it. Nevertheless, I believe that thanks to this post it will be easier for you to build your home photo studio.
One more trap! In some online stores you will read that an X bulb is equivalent to 400W. Don’t look at counterparts, look for information on W.
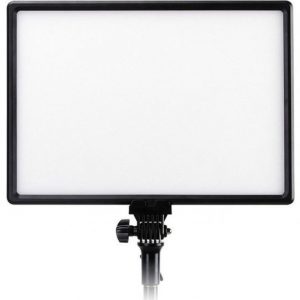
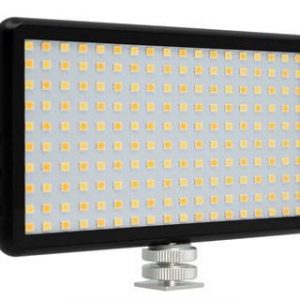
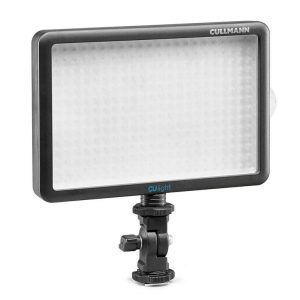
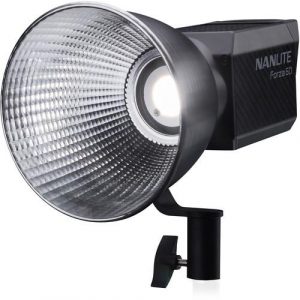
LIGHT SURFACE TYPE
Steady light can be further divided into:
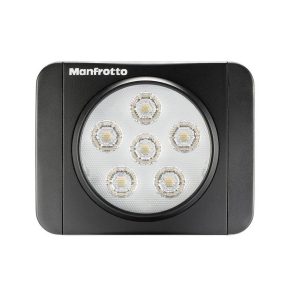
- spotlights with one or more bulbs,
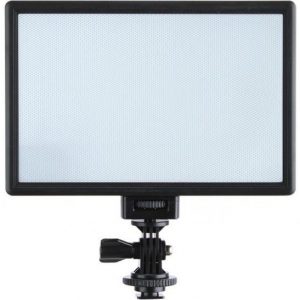
- panel with a surface filled with many LEDs.
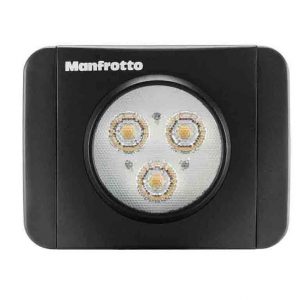
Spot lighting is much more popular because it is easier to change using modifiers. Modifiers, e.g. softboxes, umbrellas, inlets, gates … We can change them, thanks to which we will get a whole range of effects. A home photo studio is probably best equipped with such a lamp.
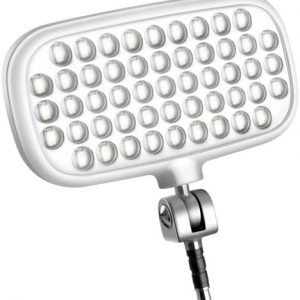
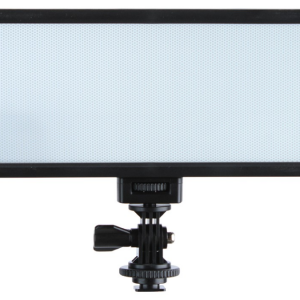
Panel lighting is recommended when we want to evenly illuminate larger areas. It is worth looking at Lume Cube Panel Bi-Color LED or Phottix Nuada S3.
Examples of kits that will work when you shoot:
- small products – one 36D lamp. If you give up daylight, choose two 36D lamps.
- large products, group photos – two 100D or 150D lamps.
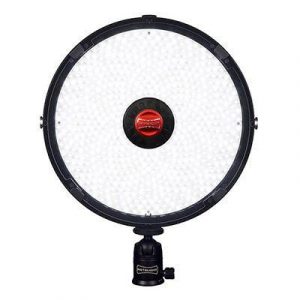
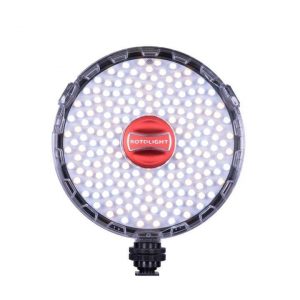
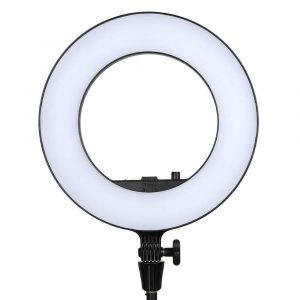
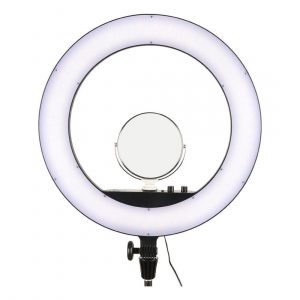
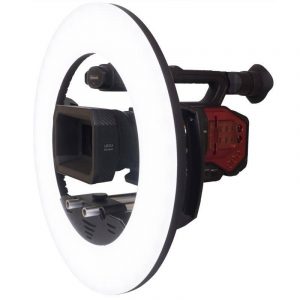
- beauty photos, portraits – LED ring (Godox LR180) or if you give up daylight, choose two lamps and more powerful bulbs, e.g. 105W.
- interviews, “talking heads” type video blogs – two 100D or 150D lamps.
BULB TYPE
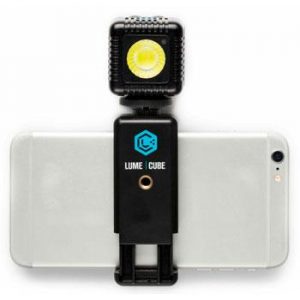
We have halogens, fluorescent lamps, LED lighting, once incandescent lamps. What to choose? I am inclined to LED lighting due to numerous advantages. I also light myself with LED spotlights and white umbrellas for filming my YouTube channel. So what are the advantages of LED lamps?
- low power consumption – home budget is also important in a home studio,
- power supply via batteries, thanks to which studio lamps can turn into outdoor,
- smooth change of color temperature,
- they don’t heat like bulbs,
- easily available, a wide range of stationary and online.
You already know how to create a home photo studio. It is equally important to remember that by using additional lighting, we must strive for what we are used to in everyday life, namely only one shade. A larger number of shadows is one of the basic mistakes of beginners. To start running, you must first learn to walk. The same is true for photos. We must first know how to get the best mapping of reality so that the artistic photo is a conscious process, not a coincidence. You need to know the rules to be able to deliberately break them.
Gwenni Lucho Alfonzo
Now I am ready to do my breakfast, later than having my breakfast coming yet again to read other news.
Benjie Hedve
Your mode of describing the whole thing in this piece of writing is really nice, every one can simply know it, Thanks a lot.
Richard
that everyone can simply know it.
Oh please, if it were really that simple, we wouldn’t need scientists and astronauts like those four pioneers on the Polaris Dawn mission to brave the radiation belts in space. I mean, have you ever tried working in a studio with constant light? It’s not exactly rocket science (pun intended), but it does require some basic understanding of human physiology.
You see, Benjie Hedve, when you’re exposed to constant light, your body starts to think it’s always daytime, which can lead to all sorts of problems, like disrupting your circadian rhythms and making you feel like a zombie. And let me tell you, I’ve seen some zombies in my day (okay, maybe not in real life, but definitely in movies), and they’re not exactly known for their creativity or productivity.
So, while I appreciate your enthusiasm, Benjie Hedve, I think we need to take this conversation up a notch. Or should I say, down to the Earth’s surface? Because when it comes to constant light in a studio, we’re not just talking about aesthetics; we’re talking about human health and well-being.
And by the way, have you read about the Polaris Dawn mission? It’s fascinating stuff! Four people are going to spend five days in space, braving radiation belts and performing commercial spacewalks. Now that’s what I call a studio with constant light – not because of the lighting, but because of the sheer intensity of their endeavors.
So, Benjie Hedve, if you’re looking for some inspiration on how to create art under constant light, maybe we should take a cue from these four pioneers and push ourselves to new heights (again, pun intended).
Ariel
I’ve read the article with great interest and I must say that it’s a comprehensive guide for building a home photo studio. However, I have some reservations about the author’s approach.
Firstly, I think that the author has been overly optimistic about the ease of building a home photo studio. While it’s true that you can start taking pictures in a studio with minimal investment, creating a high-quality studio requires a significant amount of expertise and equipment.
Secondly, I’m concerned about the lack of attention to color temperature in the article. Color temperature is crucial for photography, as it affects the overall mood and atmosphere of an image. The author mentions that lamps can be either daylight or tungsten-balanced, but fails to mention the importance of matching the color temperature of the lamp to the subject being photographed.
Lastly, I think that the article could benefit from some expert tips on lighting modifiers. While the author mentions softboxes and umbrellas as options for creating soft light, they don’t explain how to use them effectively or how to choose the right size and type of modifier for a particular shot.
Overall, while I appreciate the author’s enthusiasm for building a home photo studio, I think that the article could benefit from some additional expertise and attention to detail.