Canon PowerShot G7 X Mark III
Rated 4.00 out of 5 based on 3 customer ratings
$26.99
Capture stunning photos and videos with the Canon PowerShot G7 X Mark III – the perfect camera for vloggers and content creators.
Description
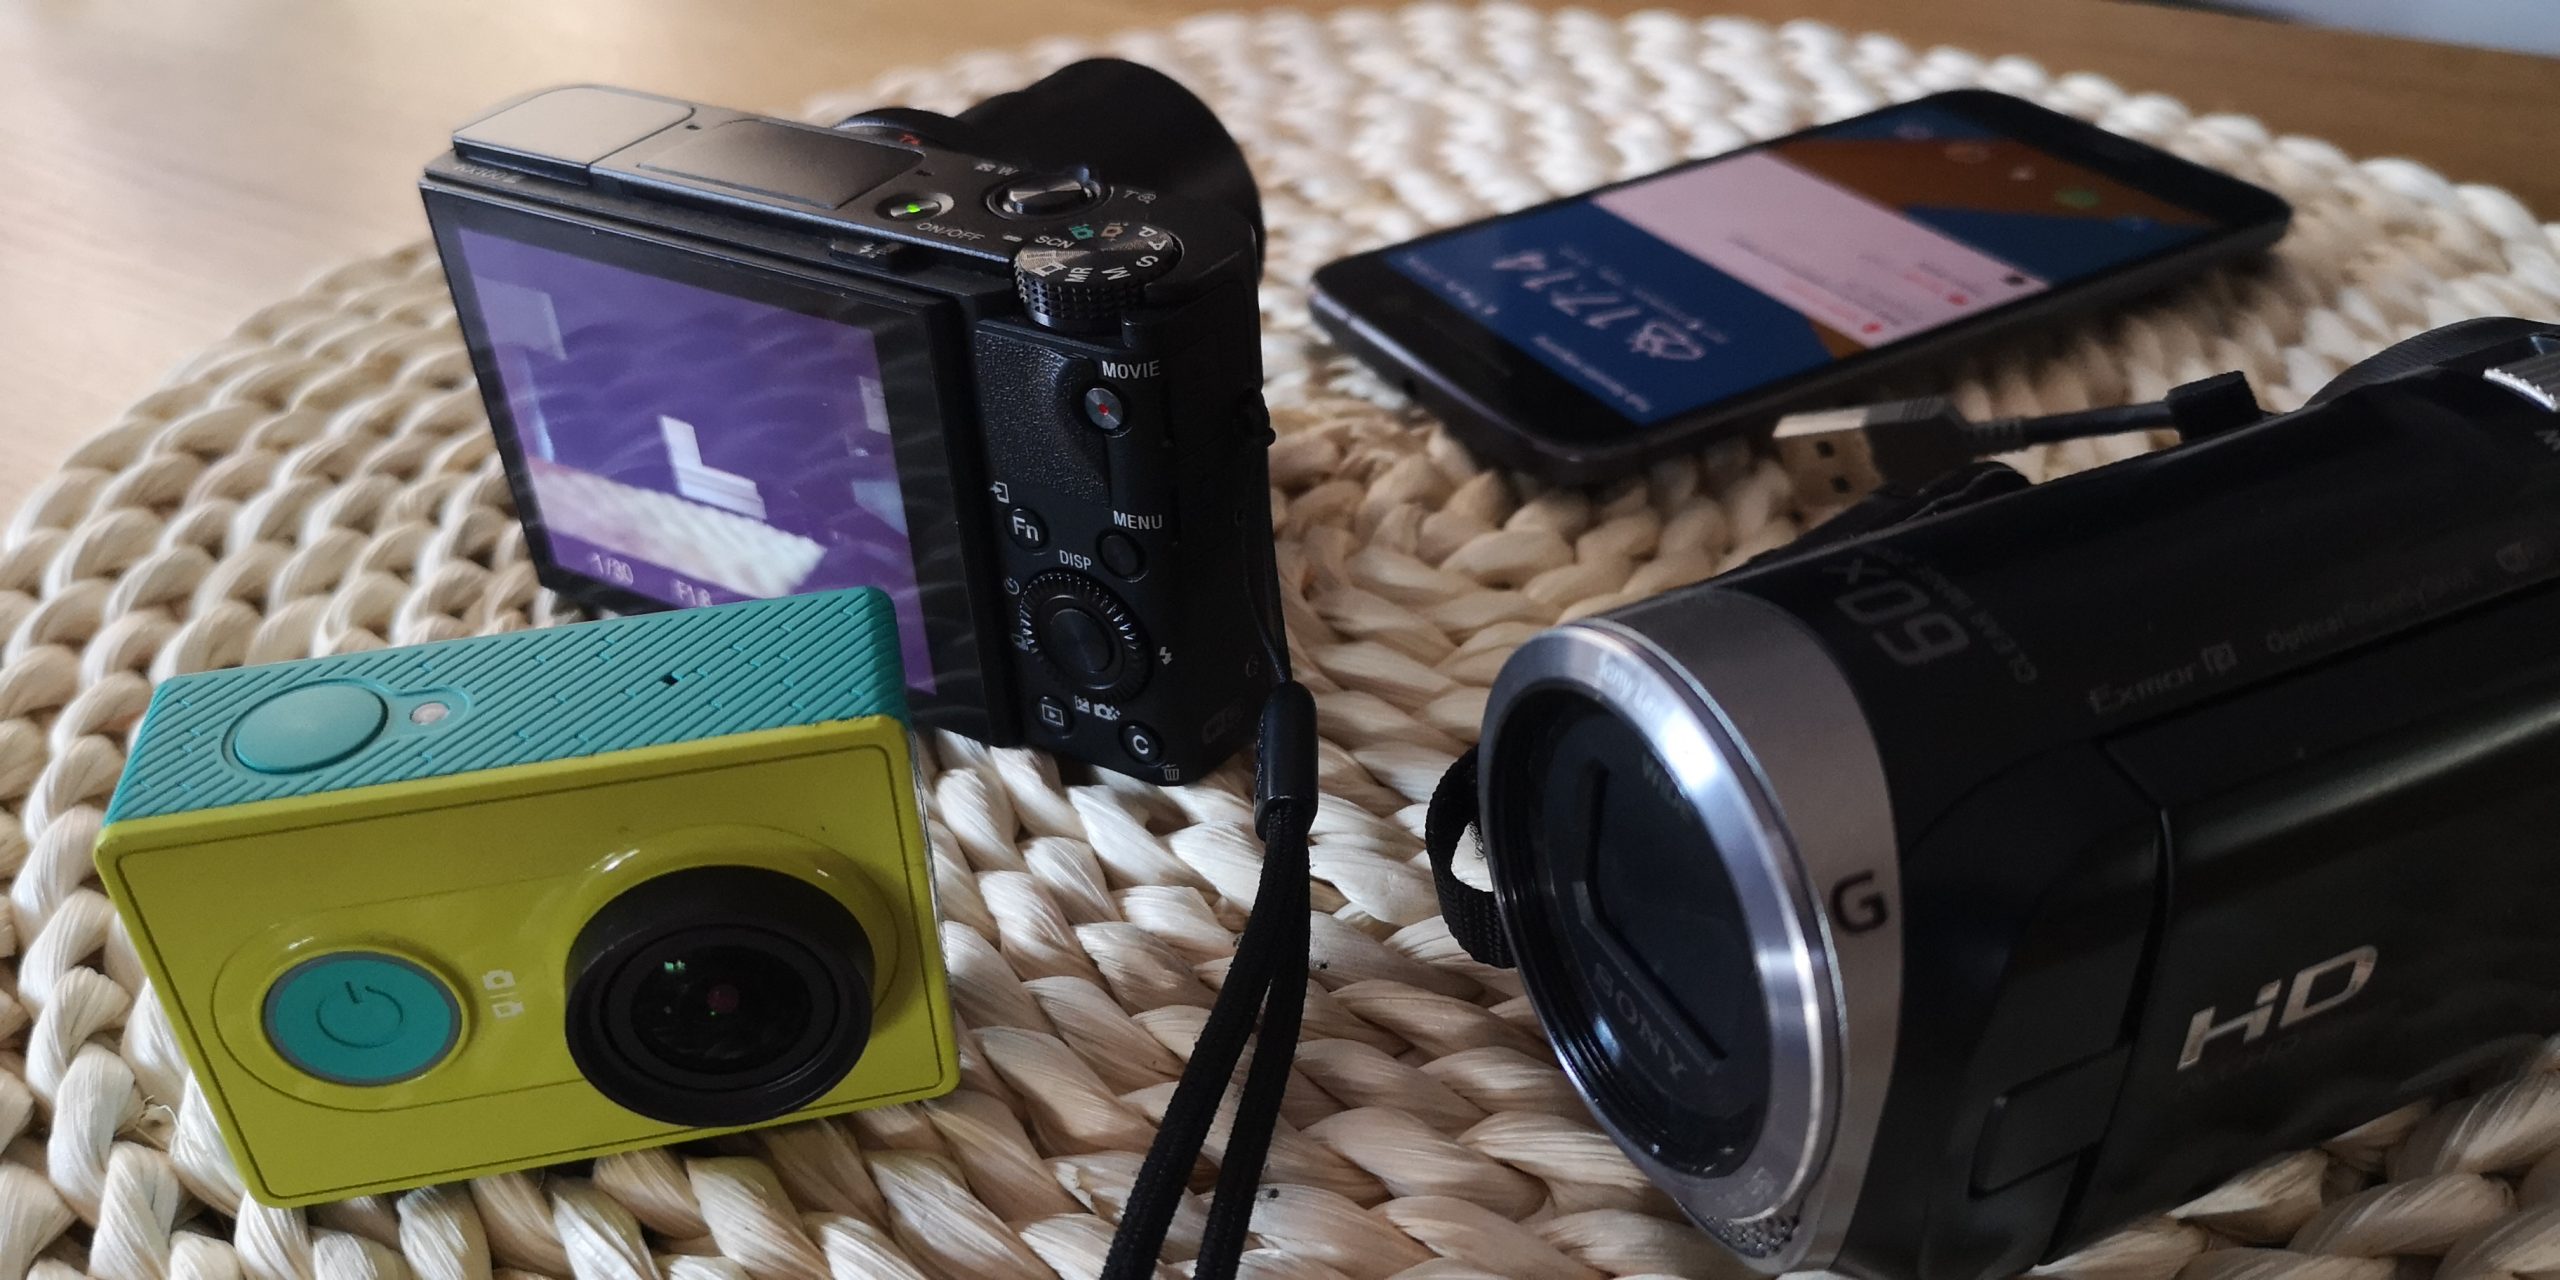
The Canon PowerShot G7 X Mark III is a high-end digital camera that offers exceptional image quality and versatility in a compact and portable package. With its advanced features and intuitive controls, this camera is ideal for both amateur and professional photographers who demand the best in their images.
One of the standout features of the PowerShot G7 X Mark III is its 1.0-inch 20.1 Megapixel stacked CMOS sensor. This sensor provides sharp and clear images, even in low light conditions. The camera also features a powerful DIGIC 8 Image Processor, which allows for fast autofocus and rapid processing of images.
Another great feature of the PowerShot G7 X Mark III is its 4.2x optical zoom lens, which offers a focal range of 24-100mm. This lens is ideal for capturing a wide range of subjects, from landscapes to portraits, with stunning detail and clarity. The camera also features image stabilization technology, which helps to reduce blur and shake when shooting at slow shutter speeds.
In terms of video capabilities, the PowerShot G7 X Mark III is an excellent choice. It can record 4K UHD video at up to 30fps, or Full HD 1080p video at up to 120fps for slow-motion playback. It also features built-in microphone and headphone jacks, as well as a tilting touch screen LCD monitor, which allows for easy framing and composition of shots.
Finally, the PowerShot G7 X Mark III features built-in Wi-Fi and Bluetooth connectivity, making it easy to share your images and videos on social media or transfer them to your computer or mobile device. The camera also includes a range of creative filters and shooting modes, which allow you to capture stunning images with ease and explore your creative potential.
In conclusion, the Canon PowerShot G7 X Mark III is an excellent choice for anyone looking for a high-quality, compact digital camera that delivers excellent image quality and versatility. With its powerful sensor, fast autofocus, and advanced features, this camera is sure to please even the most discerning photographers.
Digital Compact, CMOS, 1, 30-1/25600, 20.1 MP, GPS, Bluetooth, Wi-Fi, 280g
Canon PowerShot G7 X Mark III properties
| Product name |
PowerShot G7 X Mark III |
| Type |
Digital Compact |
| Lens |
Integrated |
| Focal Length |
24-100mm |
| Ports |
HDMI, USB |
| Memory Cards |
SD, SDHC, SDXC |
| Features |
Bluetooth, GPS, Wi-Fi |
| Viewfinder |
Electronic (EVF) |
| Shutter Speed |
30-1/25600 bps |
| Continuous Drive |
30 fps |
| Auto Focus |
Yes |
| AF points |
31 |
| Image Stabilization |
Yes |
| Manual Focus |
Yes |
| Optical Zoom |
4.2 x |
| Digital Zoom |
4.0 x |
| Max Picture Resolution |
5490X3660 pixels |
| Image File Format |
DPOF, EXIF, JPEG, RAW |
| Flash |
Built-in, External |
| Flash Sync Speed |
1/2000 sec |
| Battery Type |
Rechargeable Li-ion Battery |
| Display Size |
3.0 “ |
| Display Resolution |
1040000 pixels |
| Max Video Resolution |
3840×2160 (4K) |
| Video resolutions (fps) |
3840X2160 (29.97, 25 fps), 1920×1080 (119.9, 100, 59.94, 50, 29.97, 25 fps), 1280×720 (50 fps) |
| Video File Format |
MP4, MPEG4 |
| Audio File Format |
AAC |
| Sensor Type |
CMOS |
| Sensor Format |
1 |
| Effective Pixels |
20.1 MP |
| Total Pixels |
20.9 MP |
| ISO Rating |
125/160/200/250/320/400/500/640/800/1000/1250/1600/2000/2500/3200/4000/5000/6400/8000/10000/12800/25600 |
| Weight |
280.0 g |
| Dimensions (HxWxD) |
60.9×105.5×41.4 mm |
Frequently Asked Questions:
How do I transfer photos from my Canon PowerShot G7 X Mark III to my laptop using a USB cable?
Connect one end of the USB cable into the USB port on your Canon PowerShot G7 X Mark III camera and the other end into an available USB port on your laptop computer. Turn on your camera and wait for it to recognize that it's connected to a computer. You should see a screen appear on your camera asking if you want to allow your computer to access your data. Press the "Menu" button on your camera, then navigate to the "Setup 3" menu and select "PC Auto Connect. Here, you can choose whether or not your camera connects automatically when it's plugged into a computer. Select "Enable" if you want this feature turned on. On your laptop computer, open a file explorer window (such as Windows Explorer on a PC or Finder on a Mac). You should see your camera listed in the left-hand menu under "Removable Disk. Click on it to view the contents of your memory card. Locate the folder containing the photos you want to transfer, then drag and drop them from your camera's folder onto your laptop's hard drive to copy them over. Alternatively, you can use the "Copy" function in your computer's file explorer window to copy the files. Once you've transferred all of the photos you want, safely eject your camera from your laptop by right-clicking on the camera's drive letter in File Explorer and selecting "Eject" (or dragging it to the trash can in Finder). Then, disconnect the USB cable from your camera and your laptop. Your photos are now transferred to your laptop! You can view them, edit them, or do whatever you'd like with them on your computer. If you need to transfer more photos later, simply connect your camera and follow these same steps again.
How do I properly adjust the focus and exposure settings on my Canon PowerShot G7 X Mark III for better images?
To adjust the focus and exposure settings on your Canon PowerShot G7 X Mark III for better images, follow these steps:
1. Focus:
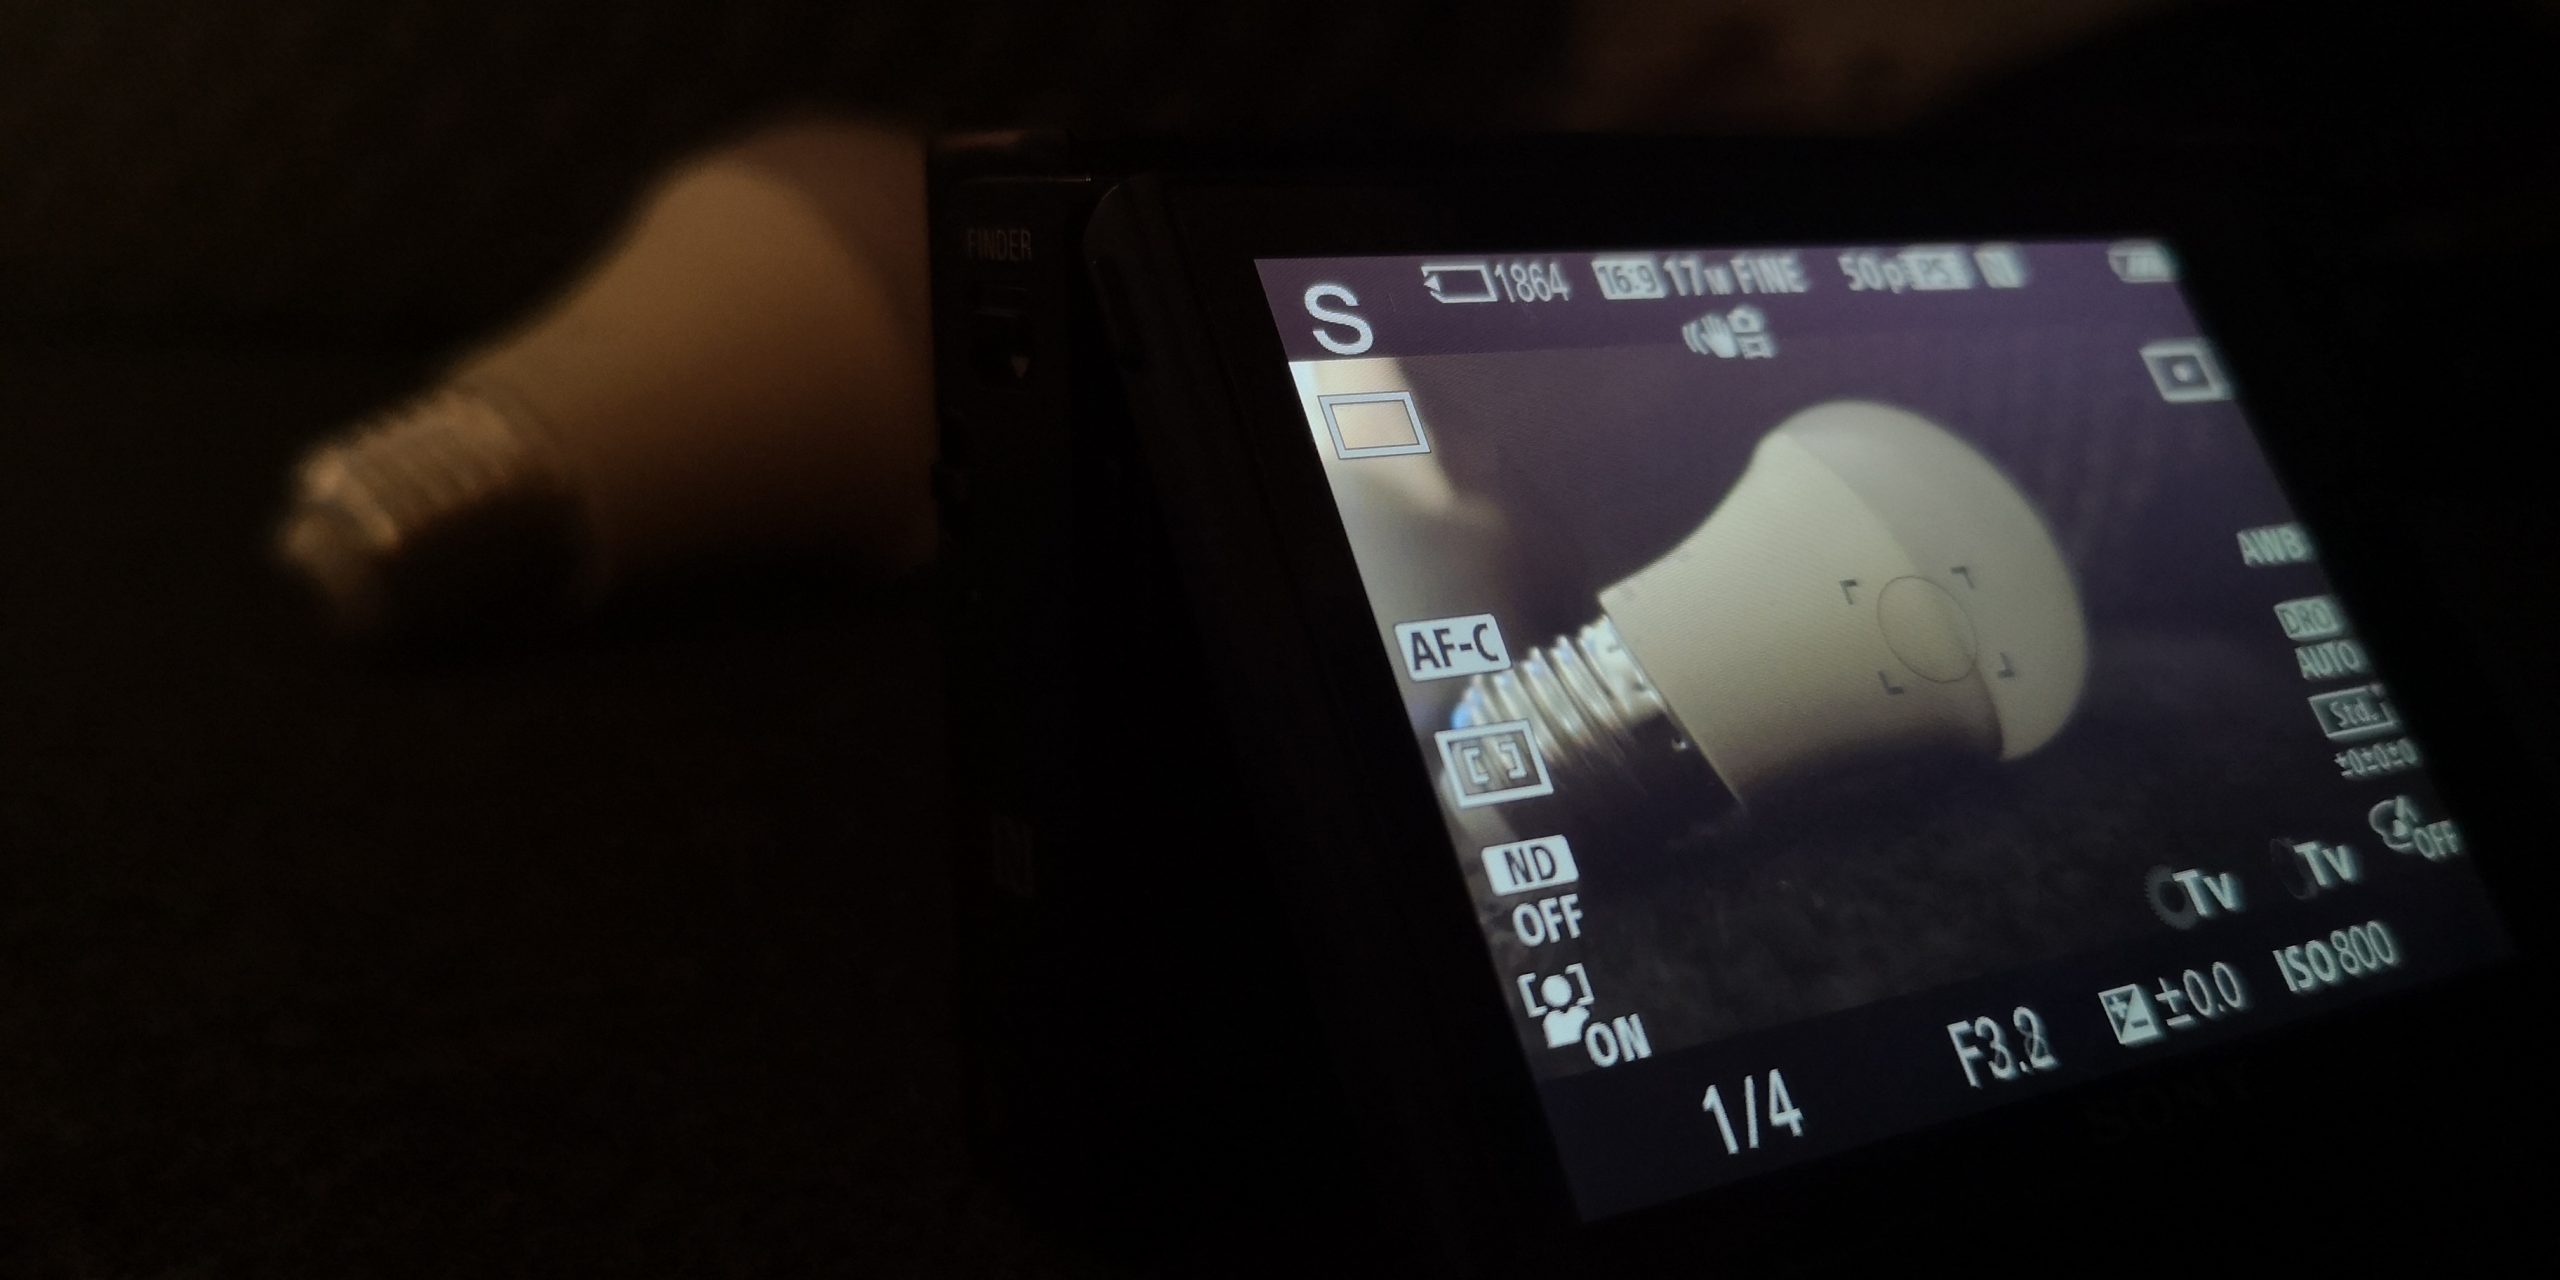
a. Auto-focus (AF): The camera will automatically detect and focus on the subject. To activate AF, press and hold down the shutter button halfway until you hear a beep or see the subject in focus. Manual-focus (MF): If you prefer to have more control over focusing, switch your lens to MF mode. Turn the focusing ring on the lens until the image is sharp. This option can be useful when shooting close-ups or low light situations where the camera may struggle to autofocus properly. Exposure:
a. Auto exposure (AE): The camera will automatically set the correct exposure based on the lighting conditions. To activate AE, press and hold down the shutter button halfway until you hear a beep or see that the exposure meter in the viewfinder is centered. Manual exposure (ME): If you prefer to have more control over the exposure, switch your camera to ME mode. Use the exposure compensation dial (-2EV to +2EV) to make adjustments based on the lighting conditions. This option can be useful when shooting in bright or low light situations where the camera may not set the correct exposure automatically. Remember, always strive to perform each task to the best of your ability. By following these steps and practicing with your Canon PowerShot G7 X Mark III, you'll be able to capture better images with more control over focus and exposure settings.
How do I adjust the focus and exposure settings on my Canon PowerShot G7 X Mark III camera for better photos?
Adjusting Focus:
- Switch your camera mode to "P" (Program Auto) or "AV" (Aperture Priority) for more manual control over focus. Use the zoom lens to frame your shot, and then switch to manual focusing mode by pressing the AF/MF button on the back of the camera. You can also use the touchscreen display to select a specific point of focus by tapping it. Adjust the focus ring on the lens until the subject is sharp. For moving subjects, use continuous autofocus (AF-C) mode to keep them in focus as they move. If you're shooting in low light conditions or with a shallow depth of field, consider using the camera's focus peaking feature to help ensure accurate focus. Adjusting Exposure:
- Switch your camera mode to "P" (Program Auto) or "TV" (Shutter Priority) for more manual control over exposure. Use the camera's exposure compensation feature (-/+ EV) to adjust the overall brightness of the image, which is helpful in situations with backlighting or very bright or dark scenes. In low light conditions, use a tripod and slow down the shutter speed to allow more light into the lens, but be aware that this may result in blurring if there's any movement in the scene. If you want to freeze motion, increase the shutter speed using the camera's "S" (Shutter Priority) mode. To capture motion blur and create a sense of motion, use a slower shutter speed and pan the camera with the subject as they move. Use the camera's histogram feature to check exposure levels in real time, ensuring that your images are not overexposed or underexposed. Remember, practice makes perfect! Keep trying out different settings until you find what works best for you and the scene you're capturing.
How do I properly use the Wi-Fi and Bluetooth features on my Canon PowerShot G7 X Mark III camera for image transfer and remote shooting?
To use Wi-Fi and Bluetooth features on your Canon PowerShot G7 X Mark III camera for image transfer and remote shooting, follow these steps:
1. Turn on Wi-Fi and Bluetooth (if desired) - Press the MENU button to access the main menu. Navigate to the WIRELESS CONNECTIONS tab and select it. Select the "Wi-Fi" option and then choose "Enable". If you'd like to also use Bluetooth, navigate back to the WIRELESS CONNECTIONS menu and select "Bluetooth" to enable it as well. Connect camera to a device - To transfer images or use remote shooting, you'll need to connect your camera to another device (smartphone, tablet, computer). Here are the steps:
a. Smart Device Connect - This allows you to connect your camera to a compatible smartphone or tablet using Wi-Fi. Press the MENU button and select SETUP. Select "Smart Device Connect" and then follow the on-screen instructions to pair your device with your camera. You can then transfer images, view them on a larger screen, or use your device as a remote control for shooting. PC Auto Connect - This allows you to connect your camera directly to a computer using Wi-Fi without the need for additional software. Press the MENU button and select SETUP. Select "PC Auto Connect" and then follow the on-screen instructions to connect your camera to your computer. You can then transfer images or view them on a larger screen. EOS Utility - This allows you to connect your camera directly to a computer using USB or Wi-Fi, and also provides additional features such as remote shooting and tethered shooting. Download the EOS Utility software from Canon's website and follow the installation instructions. Connect your camera to your computer using USB or Wi-Fi and then launch the EOS Utility software. Use Bluetooth for image transfer - To use Bluetooth for image transfer, press the MENU button and select SETUP. Select "Bluetooth" and then follow the on-screen instructions to pair your camera with a compatible smartphone or tablet. You can then transfer images between devices using the Canon Camera Connect app (available for free in the App Store and Google Play). Troubleshooting - If you're having trouble connecting your camera or transferring images, here are some tips:
a. Make sure your camera is within range of the device you're trying to connect to. Bluetooth has a shorter range than Wi-Fi. Check that both devices (camera and smartphone/tablet/computer) have Wi-Fi or Bluetooth turned on and are connected to the same network (if using Wi-Fi). Make sure your camera's firmware is up-to-date. Go to the SETUP menu and select "Firmware Ver. If there's an update available, download it from Canon's website and follow the installation instructions. Restart both devices (camera and smartphone/tablet/computer) if necessary. By following these steps, you should be able to use Wi-Fi and Bluetooth features on your Canon PowerShot G7 X Mark III camera for image transfer and remote shooting. If you have any further questions or issues, consult the user manual that came with your camera or contact Canon's customer support.
My camera's Wi-Fi is not connecting to my smartphone, even though I've followed the steps in the manual and ensured that both devices are within range. What could be causing this issue?
1. Outdated or incompatible firmware: Make sure that the firmware on your camera is up-to-date. Sometimes, newer firmware versions can resolve connectivity issues with certain devices. Incorrect network settings: Double-check that you've entered the correct Wi-Fi password and SSID (network name) on both your camera and smartphone. Even a small typo or incorrect capitalization can prevent connection. Interference from other devices: Other wireless devices in your home, such as routers, cordless phones, microwaves, or neighboring Wi-Fi networks, might be interfering with the signal between your camera and smartphone. Try moving both devices to different locations to see if the issue persists. Distance limitations: While you mentioned being within range, it's possible that the distance is still too great for a stable connection. Move the camera closer to your router or try using a Wi-Fi extender to boost the signal. Smartphone settings: Ensure that your smartphone's Wi-Fi settings are set to "scan always" and not "auto-switch networks. This can cause it to disconnect from your camera's network and connect to a stronger one. Camera's Wi-Fi frequency: Some cameras have dual-band (2. GHz and 5GHz) capabilities, while others only operate on one band. If you're using an older smartphone that only supports 2. GHz, try switching the camera's frequency settings to see if it resolves the issue. Physical obstructions: Walls, furniture, or other physical obstacles can block or weaken the Wi-Fi signal between your camera and smartphone. Try moving both devices to a more open area to see if the connection improves. Quality of Service (QoS) settings: Some routers have QoS settings that can prioritize traffic for certain devices or applications. If these settings are enabled, it might be limiting the bandwidth available for your camera's Wi-Fi connection. To troubleshoot further, I'd recommend trying a few more things:
* Restart both your camera and smartphone to see if it resolves any issues. Use a different smartphone or device to test the connection. Check your router's firmware version and update it if necessary. Consider using a Wi-Fi analyzer app on your smartphone to scan for nearby networks and identify potential sources of interference.
Before you buy Canon PowerShot G7 X Mark III


Peter Pan –
The product has expensive accessories (e.g. power cord almost necessary for streaming). Good recording quality, but focus is awful even with upgraded software and overheats all the time. It is not enough for the price.
Joe Kro –
Top-of-the-range equipment and whether so expensive translating into quality. It is probably not the amount that everyone will take out of their pocket, but it is worth the money.
I love nature photography and I have been doing it systematically for over a dozen years, but I have always used the equipment of Nikon’s biggest competition and after reading the reviews, I decided to switch to another brand, exactly 750, which I do not regret and after attaching a 150-600 telephoto lens (without a brand I do not want to do taking pictures is still my passion, but also pure pleasure. No bird will escape him and thanks to this, no photo is blurred.
Jeremiah –
The Canon PowerShot G7 X Mark III may have some drawbacks, as highlighted by Peter Pan’s review, but I am here to challenge his opinions. Firstly, while it’s true that the power cord for this camera is quite expensive, I believe it’s a worthwhile investment for those who frequently stream or capture long videos. The high-quality recording capabilities of this camera make it an excellent choice for professionals and serious enthusiasts alike. Secondly, Peter Pan mentions issues with focus, but I have found that the camera’s autofocus system is quite advanced and accurate. It may require some adjustments to settings or updates to software, but these are minor inconveniences compared to the camera’s overall performance. Lastly, while it’s true that the camera can overheat during extended use, I believe this is a common issue with high-performance cameras in today’s market. It’s essential to manage expectations and take necessary precautions, such as using a cooling pad or taking breaks between recordings. Overall, I believe the Canon PowerShot G7 X Mark III is an exceptional camera that exceeds expectations in terms of recording quality, versatility, and design. While it may have some minor drawbacks, these are outweighed by its strengths and make it a must-have for anyone serious about photography or videography. As for the news today, it seems that the Tories are facing a potential electoral disaster, with ex-minister Sir Robert Buckland warning of electoral Armageddon if they fail to address internal divisions. It’s crucial that politicians put aside their personal agendas and work towards the greater good, as the country faces unprecedented challenges due to the ongoing pandemic. Let us hope that common sense prevails and that our elected officials prioritize the needs of their constituents above their own interests.